
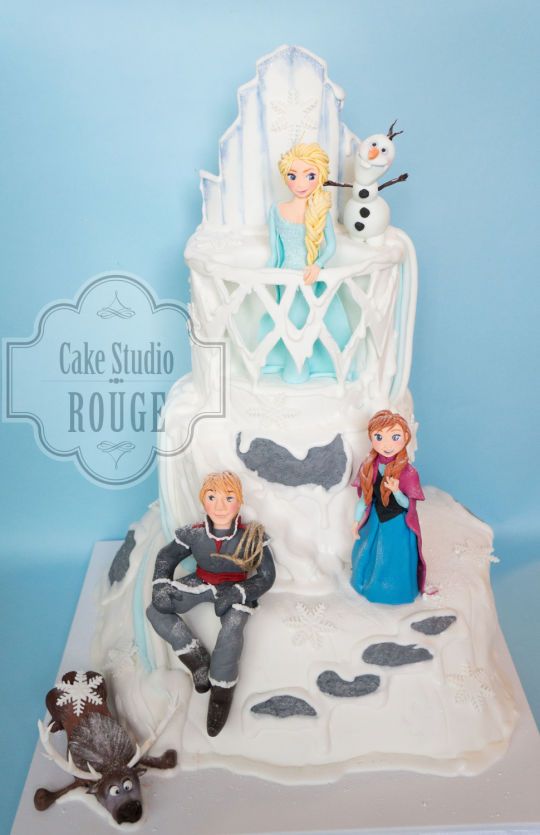
Making a cake takes a lot of time, and I’ve got a whopper coming up this weekend. It’s a chocolate cake with blackberry filling for a 5-year-old little girl at Warren Village who is crazy about the movie Frozen. It’s going to be multi-tiered, includes several detailed figurines, and I’ll even be making an attempt at some homemade candy elements. So basically, it’s going to be my life for the next few days.
I thought it might be fun to document each step of the cake making process and the craziness, frustration, and joy it brings to my life. Though I will throw in some baking and decorating tips and recipes, the main point is for you all to get a little peak into my life and how I barely manage to juggle pulling one of these big cake projects off. I also thought I would keep track of the actual time I spent on this project which is bound to be enlightening/embarrassing. At the end, I’ll be able to share a post about the birthday party too. I absolutely can’t wait- this little girl didn’t get a birthday party last year and I want to make this party extra special for her!
Cake Day 1: Saturday, March 29th
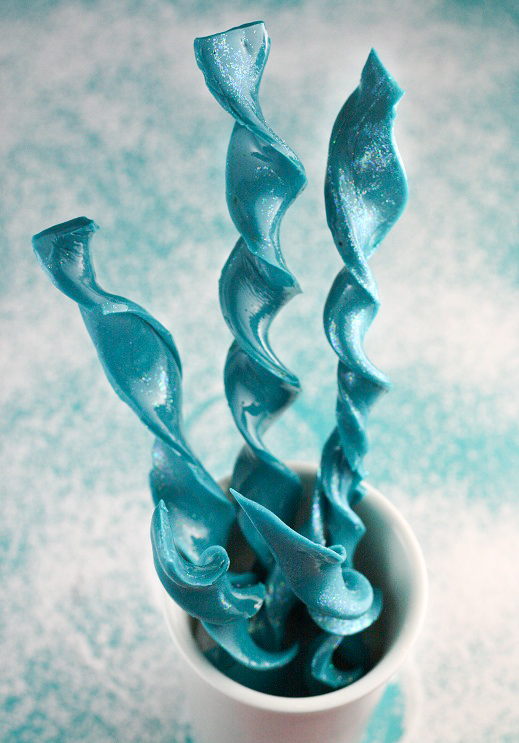
8:30pm: Girls were asleep and Micah dropped off to bed early, so I rolled up my sleeves to attempt my hand at making some hard candy to use for Elsa’s ice castle. I thought I would attempt Sprinklebakes lovely looking icicle candy, even though the idea of candy making at high-altitudes has nearly given me nightmares in the past. It was supposed to look like this:
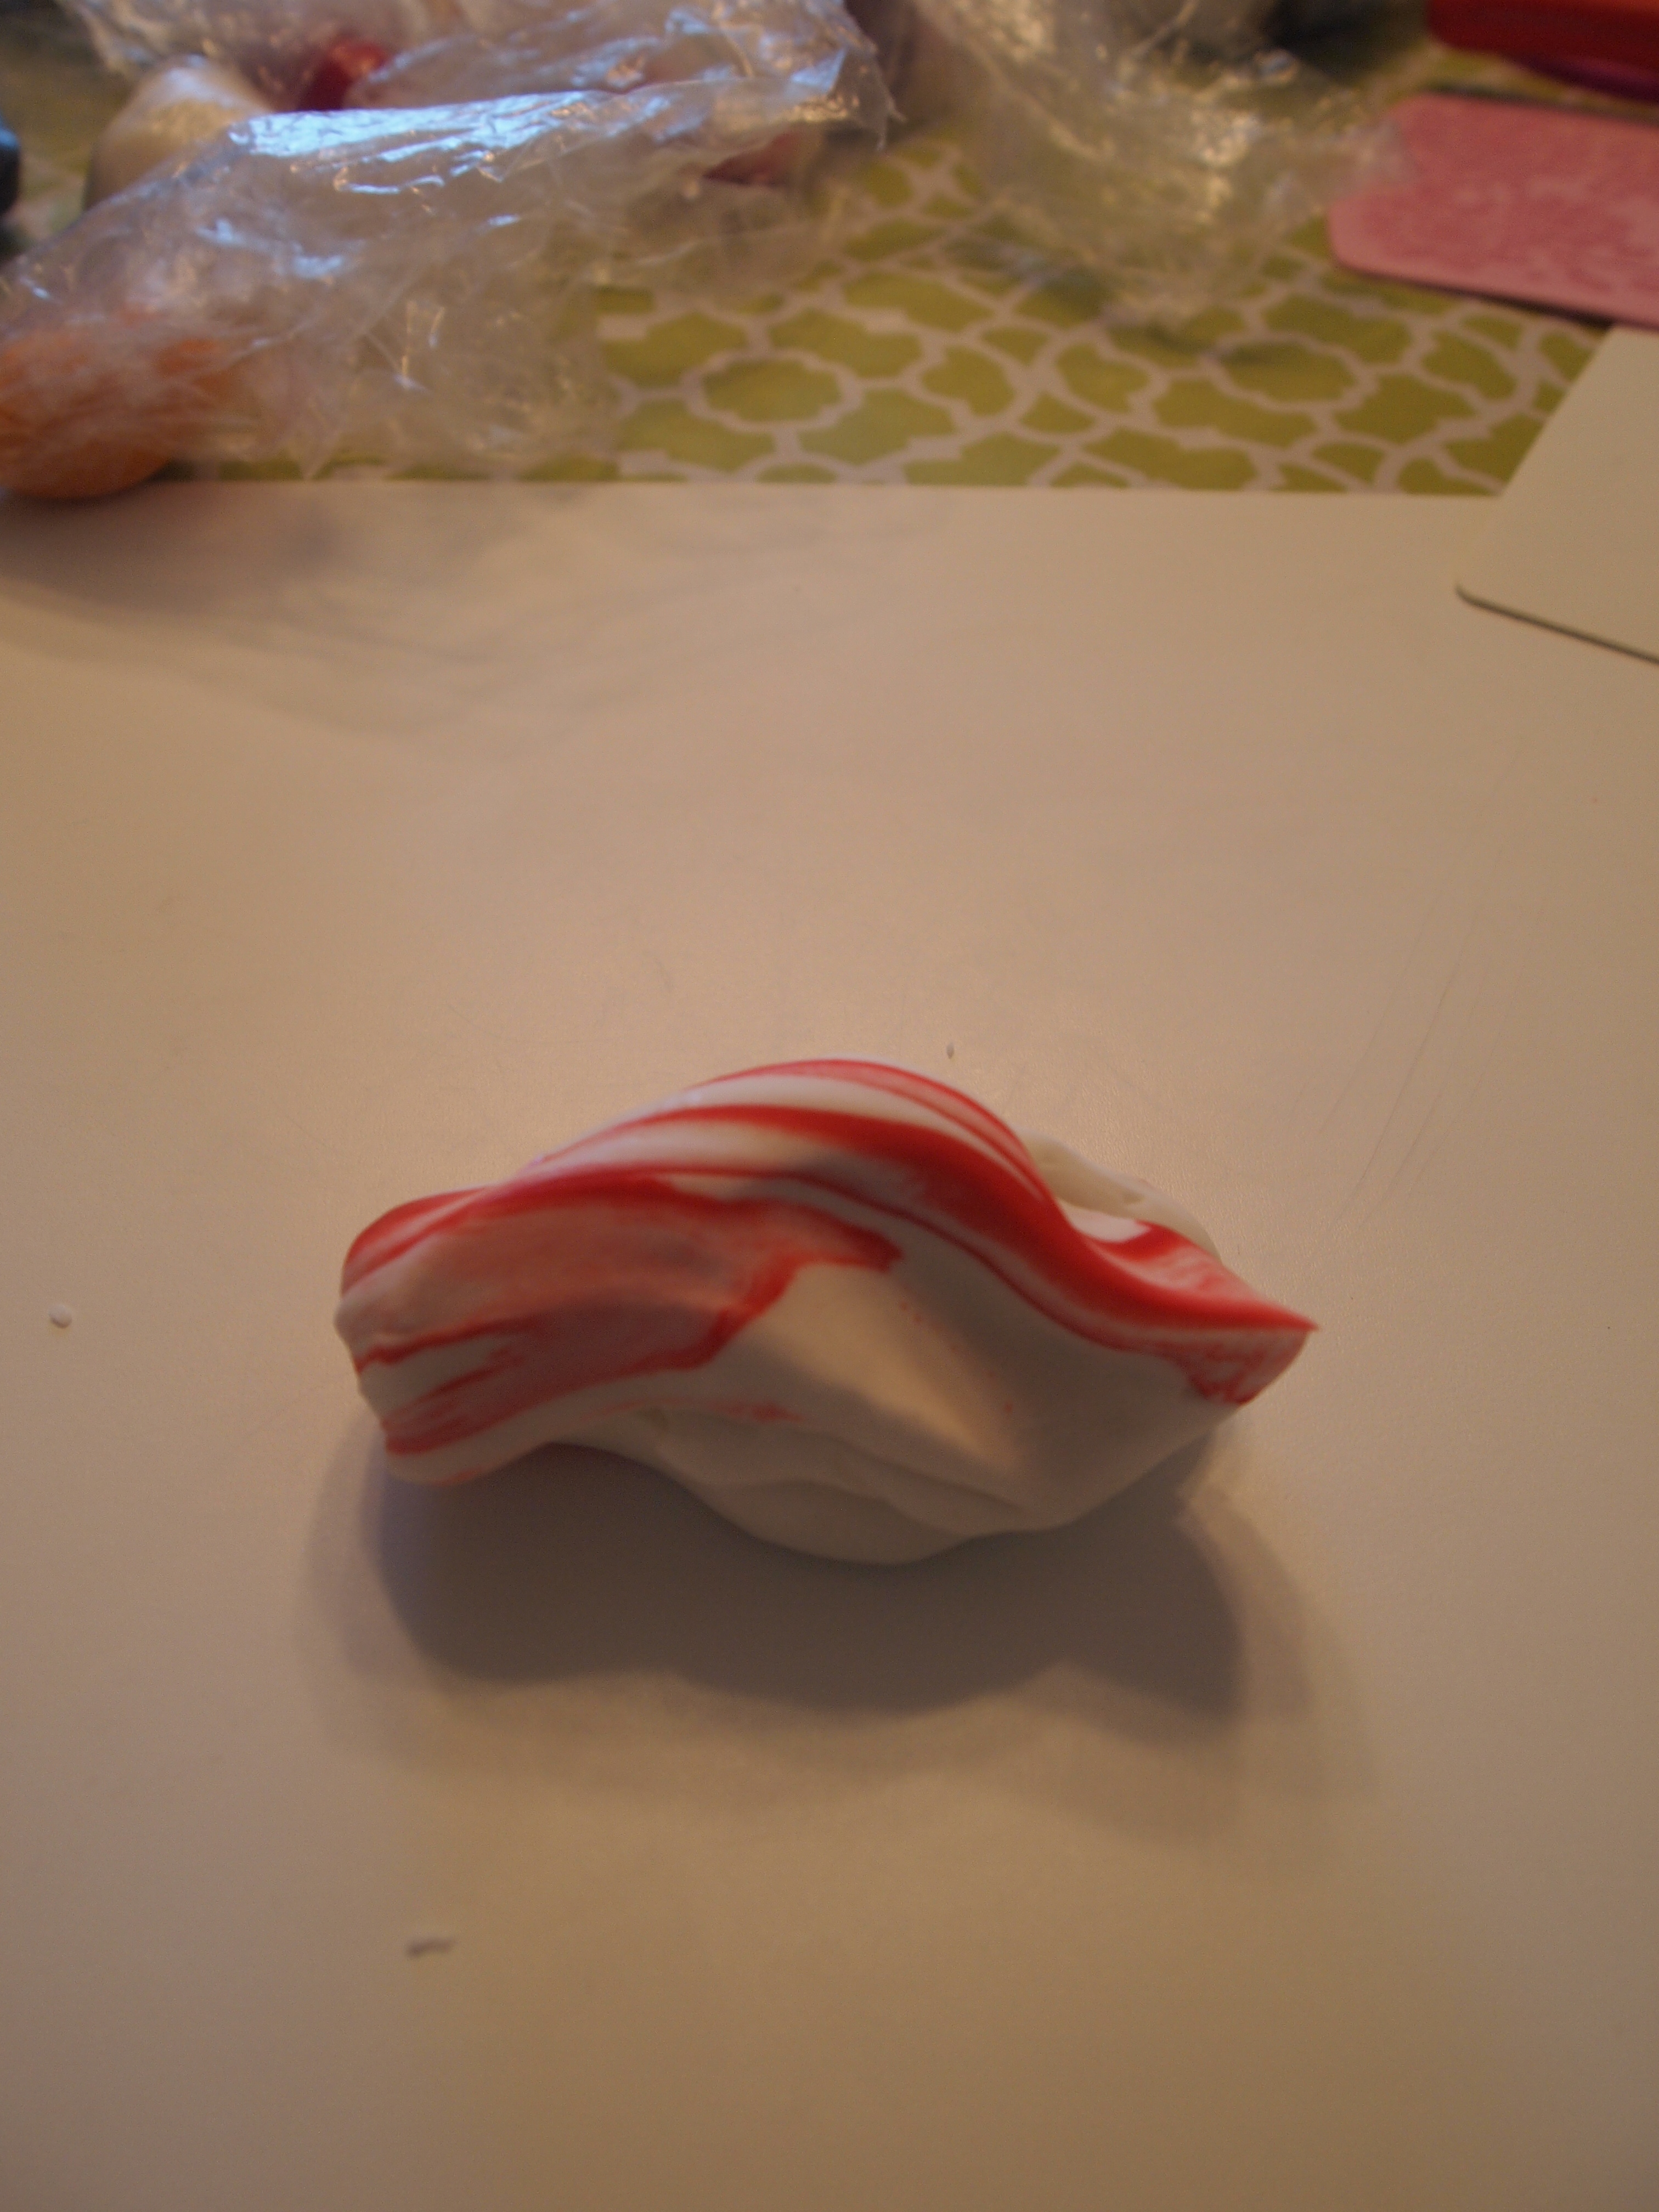
Apparently, the nightmares were well deserved because this is what mine looked like:
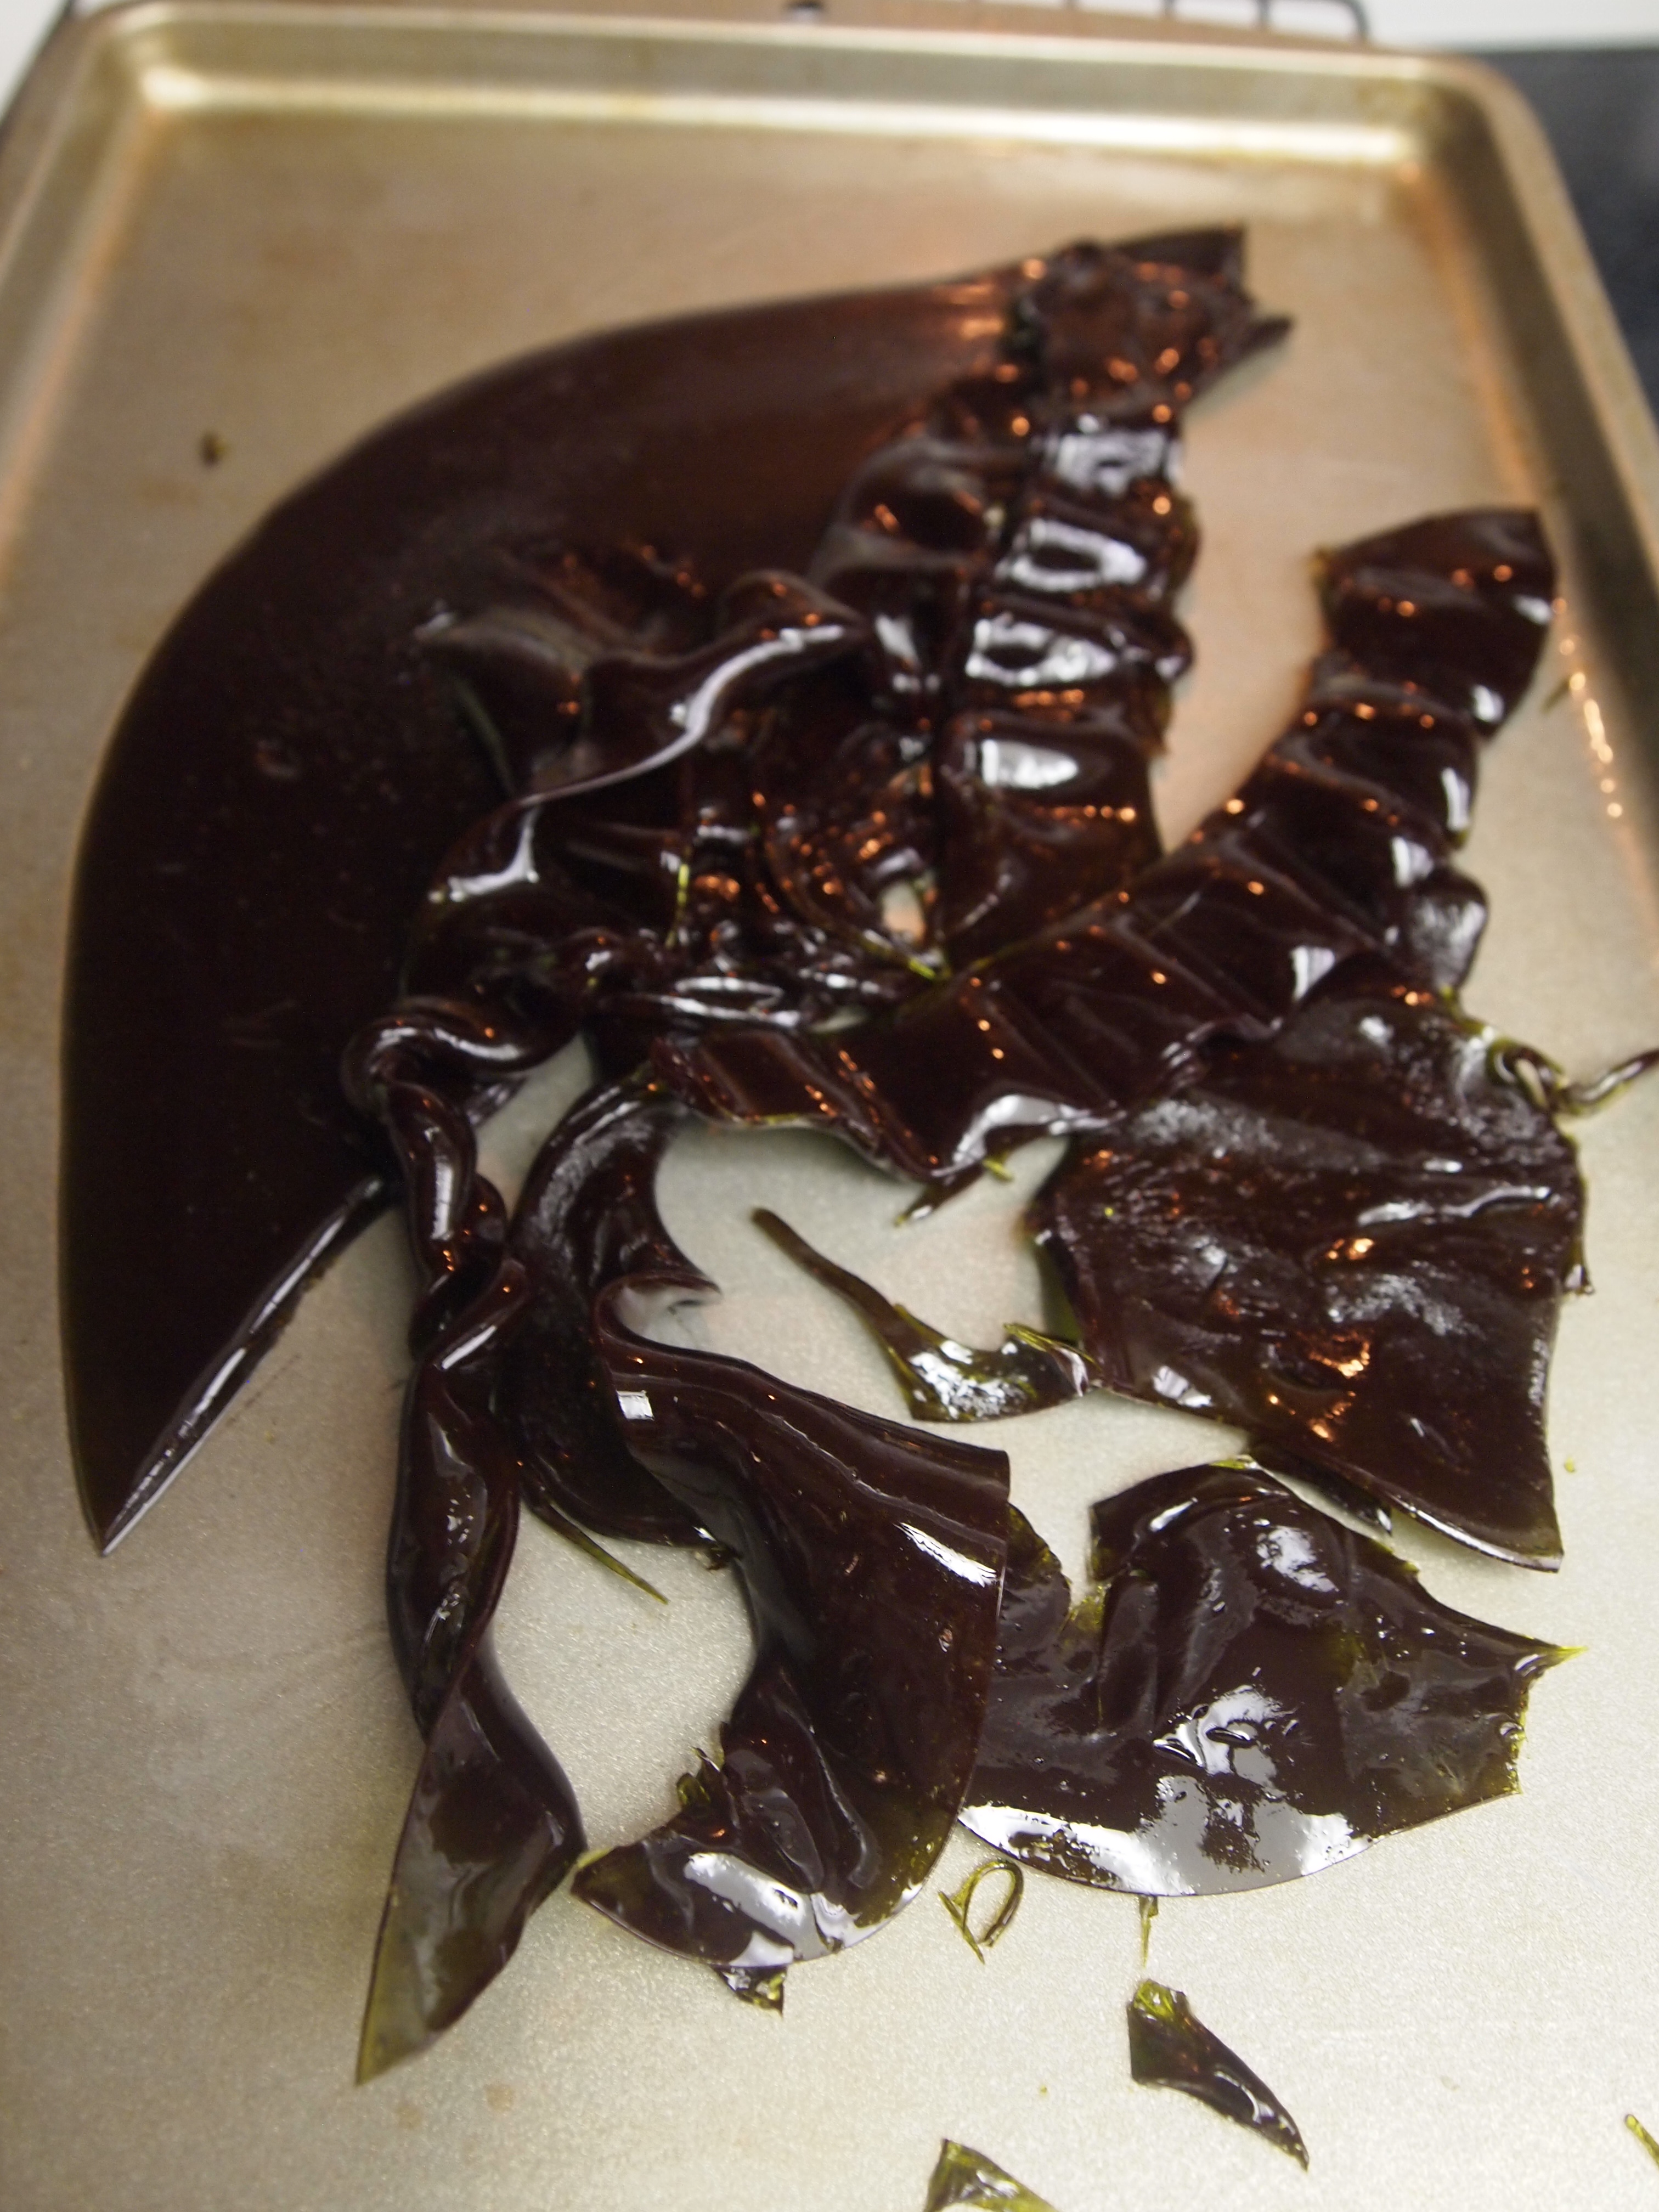
Kinda reminds me of Venom from Spiderman, and it tastes just about as good as an alien symbiote might as well. Does Pinterestfail, come to mind, anyone? Actually, I did find this on Pinterest so I should probably submit it as an entry- I can’t help busting up laughing when I look at these two pictures next to each other.
This recipe was made in the microwave, which I had reservations about anyway. Microwaves vary quite a bit and with the high elevation factor, I had no way to adjust for our lower boiling temperature. If you didn’t know, water actually boils at around 200F in Denver, whereas it boils at around 212F at sea level. This makes candy-making a bit more challenging, but if I can use a candy thermometer, it’s fairly easy to make the necessary adjustments.
So, needless to say, this batch slid into the trash and I retreated to bed to read Game of Thrones.
Time spent: 1 hour
Cake Day 2: Monday, March 31st
9:00am: Micah is on spring break this week, but Penny is back to school. Because he is an awesome husband, he took Penny to school in the morning and went grocery shopping with Ramona so I could get a good start on the cake. After a quick run (gotta do something to keep the weight off- I can’t resist licking the spoon…) a shower, and a cup of tea, I decided to give my ice candy another try. This time I decided to try Sugarhero’s recipe for Blue Crystal Meth Rock Candy. Weird name, I know- I guess it has something to do with the show Breaking Bad, which I have never seen. But I’ve enjoyed her posts in the past and her pics looked like something that could work perfectly for an ice castle.
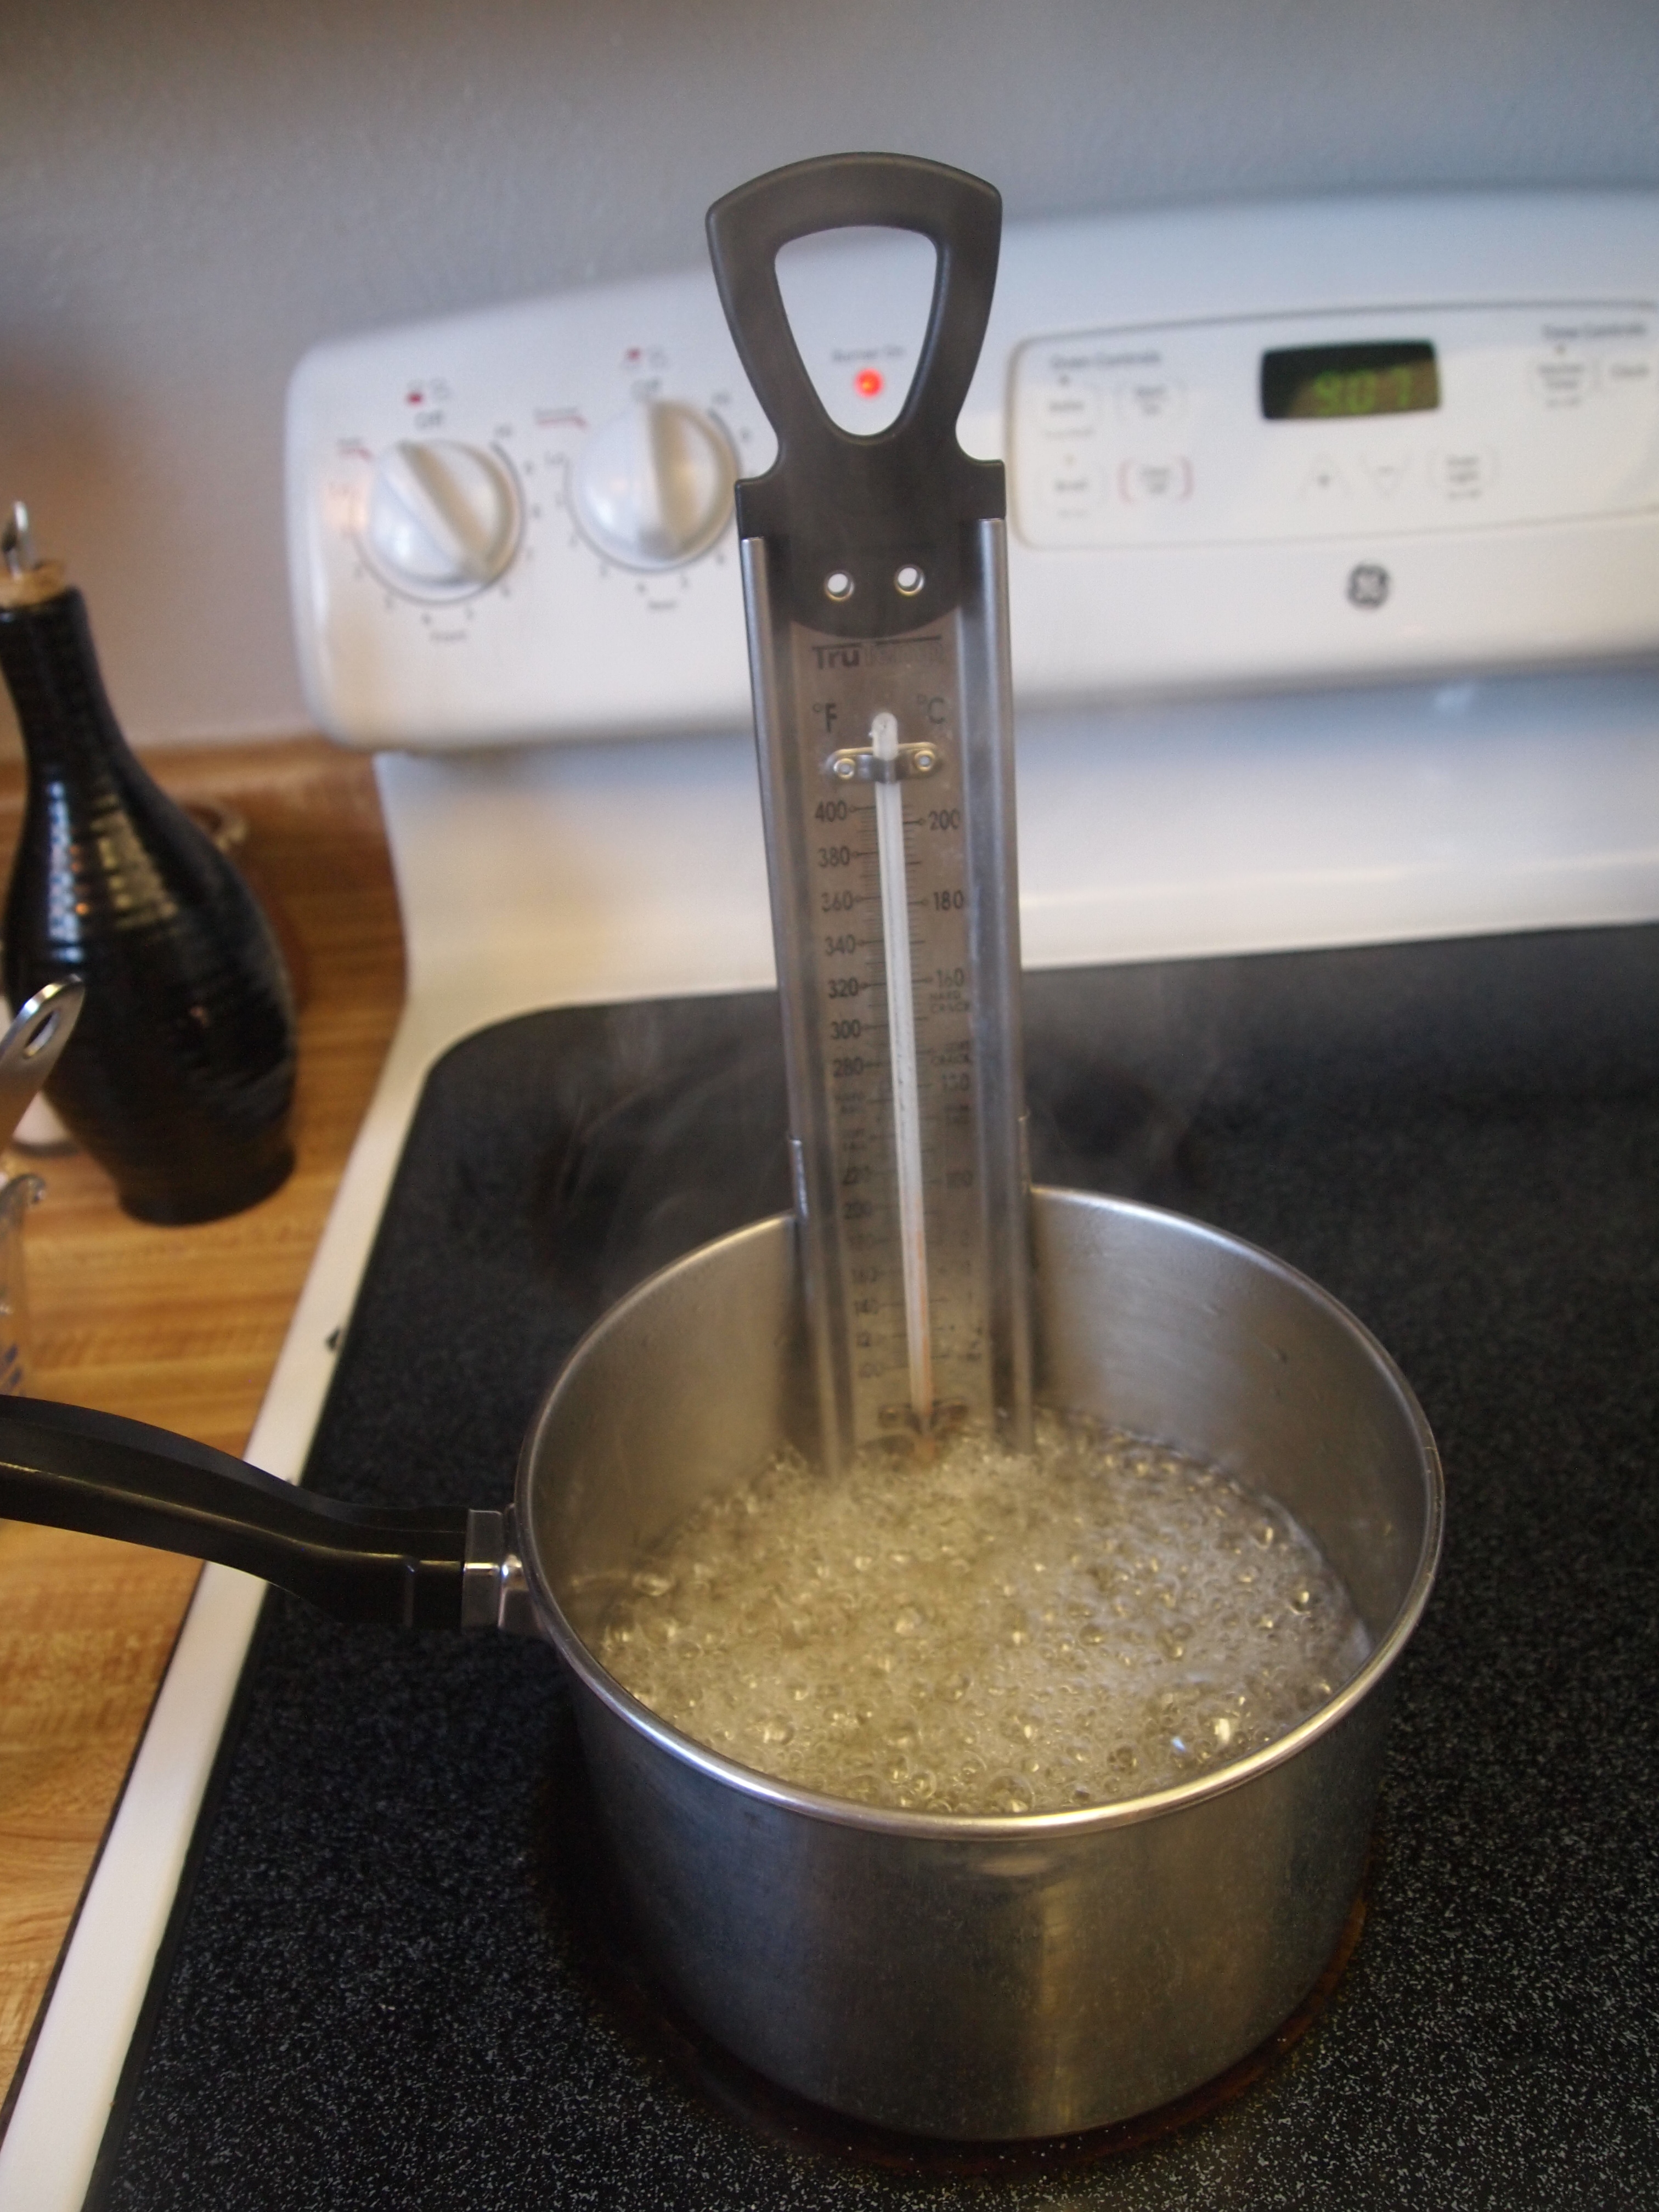
I started with my trusty candy thermometer and let the sugar, water, and corn syrup do it’s thing:
After waiting patiently while enjoying another cup of tea, I ended up with this lovely, vanilla flavored concoction:
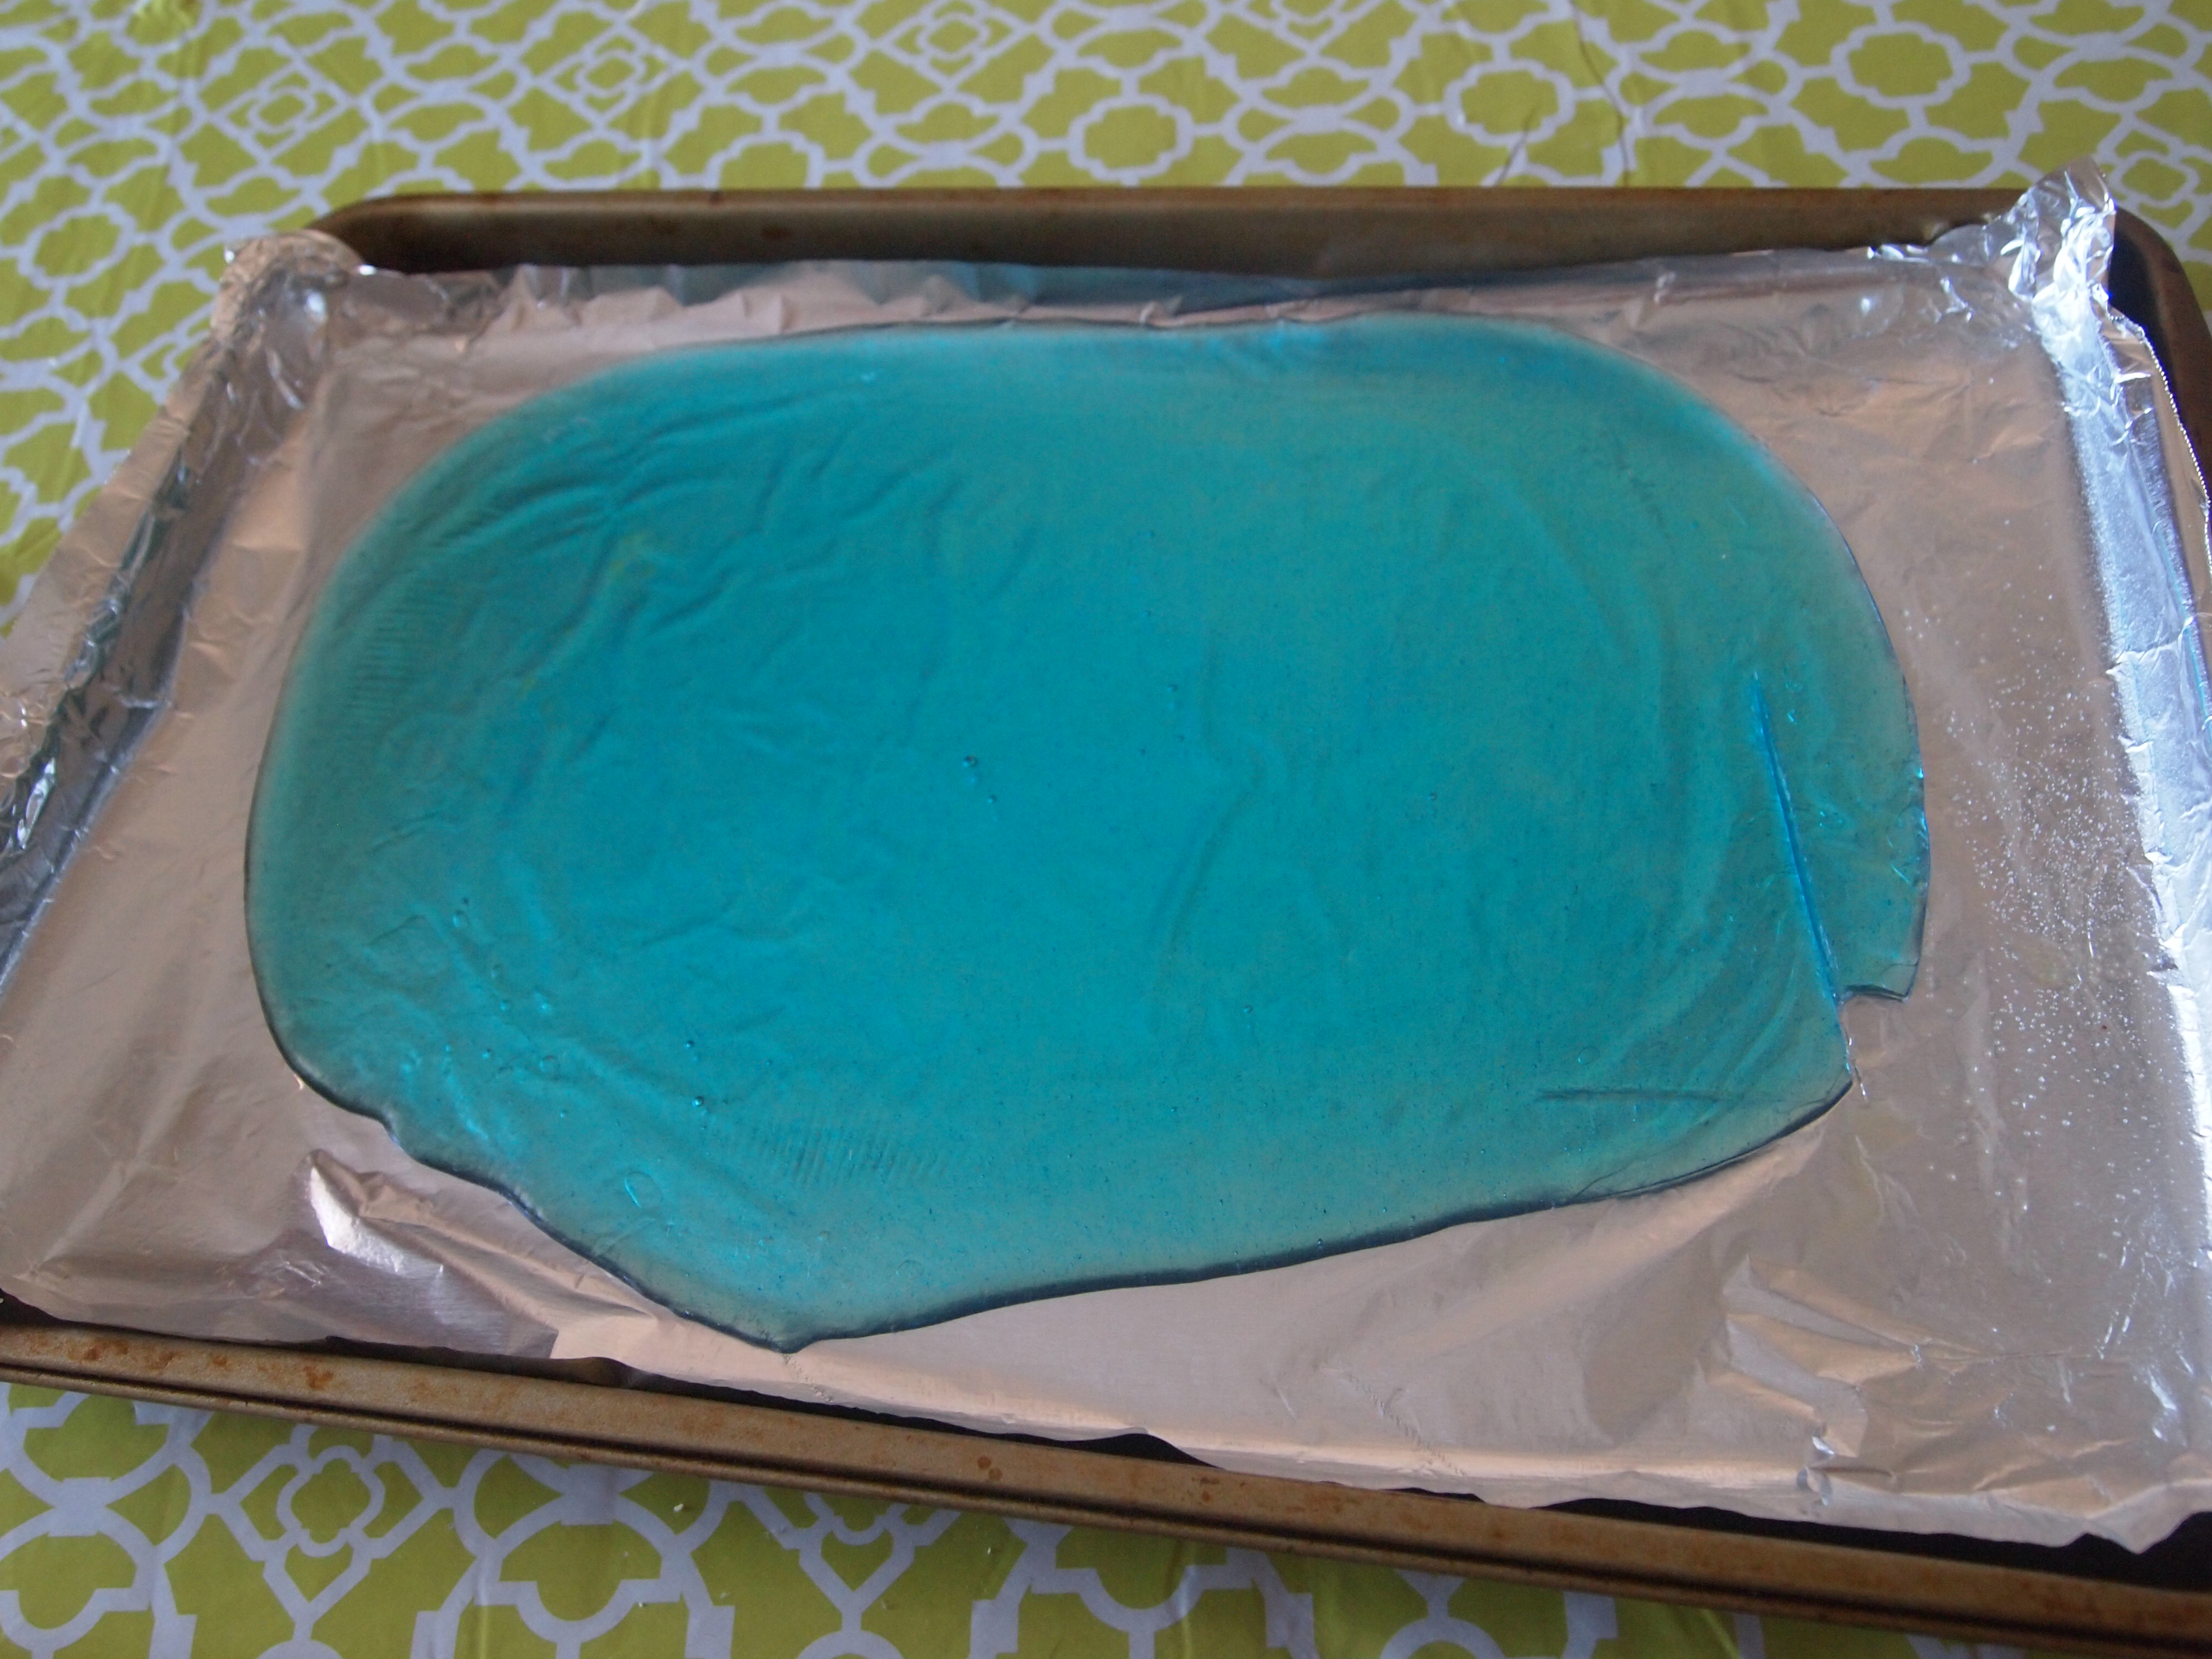
I broke it into pointy shards and I’m going to place them in a pattern on the top of the cake and hopefully it will look artsy, ice-like, and recognizable as a castle. We shall see…I also thought I might crush some of it and put it as a border around the bottom of the cake. I’ll probably need to make another batch in order to have enough for my purposes. Success!
Time spent: 1 hour
10:45am: Micah returned from the grocery store with a very moody 2-year-old. Honestly, Ramona seemed to miss Penny after having her around for a whole week, as her main complaint was that the cat wouldn’t play puppets with her. After wiping some tears, I jumped into my next goal of the day: to make a gumpaste figurine of the character, Anna, from Frozen.
Though I do like to sculpt, human figurines are very intimidating and challenging. Faces are very difficult to get right, especially when they are a specific character, not to mention realistic hands and accurate proportions. So though I would love to be able to make something like this someday,
time, skill level, and fear have made me trend toward the easy way out: chibi-style. If you aren’t familiar with this term, check out my Star Wars cake or my Spock cake. The figurines I made on those cakes were modeled after some Japanese toys I found online. They are very cartoon-looking, with large heads and little bodies. They are pretty adorable, and though they may not look realistic, people still recognize the characters. And I love how they don’t have necks, noses, or other details that often come out weird if you aren’t a crazy sculpture genius.
So began my Anna chibi attempt. First, (which always turns out to be WAY more time consuming than I think it will be), I had to color the gumpaste. Anna has tons of details so I needed 7 different colors before I could even start constructing her.
Here’s the process for “flesh” colored:
A little pink…
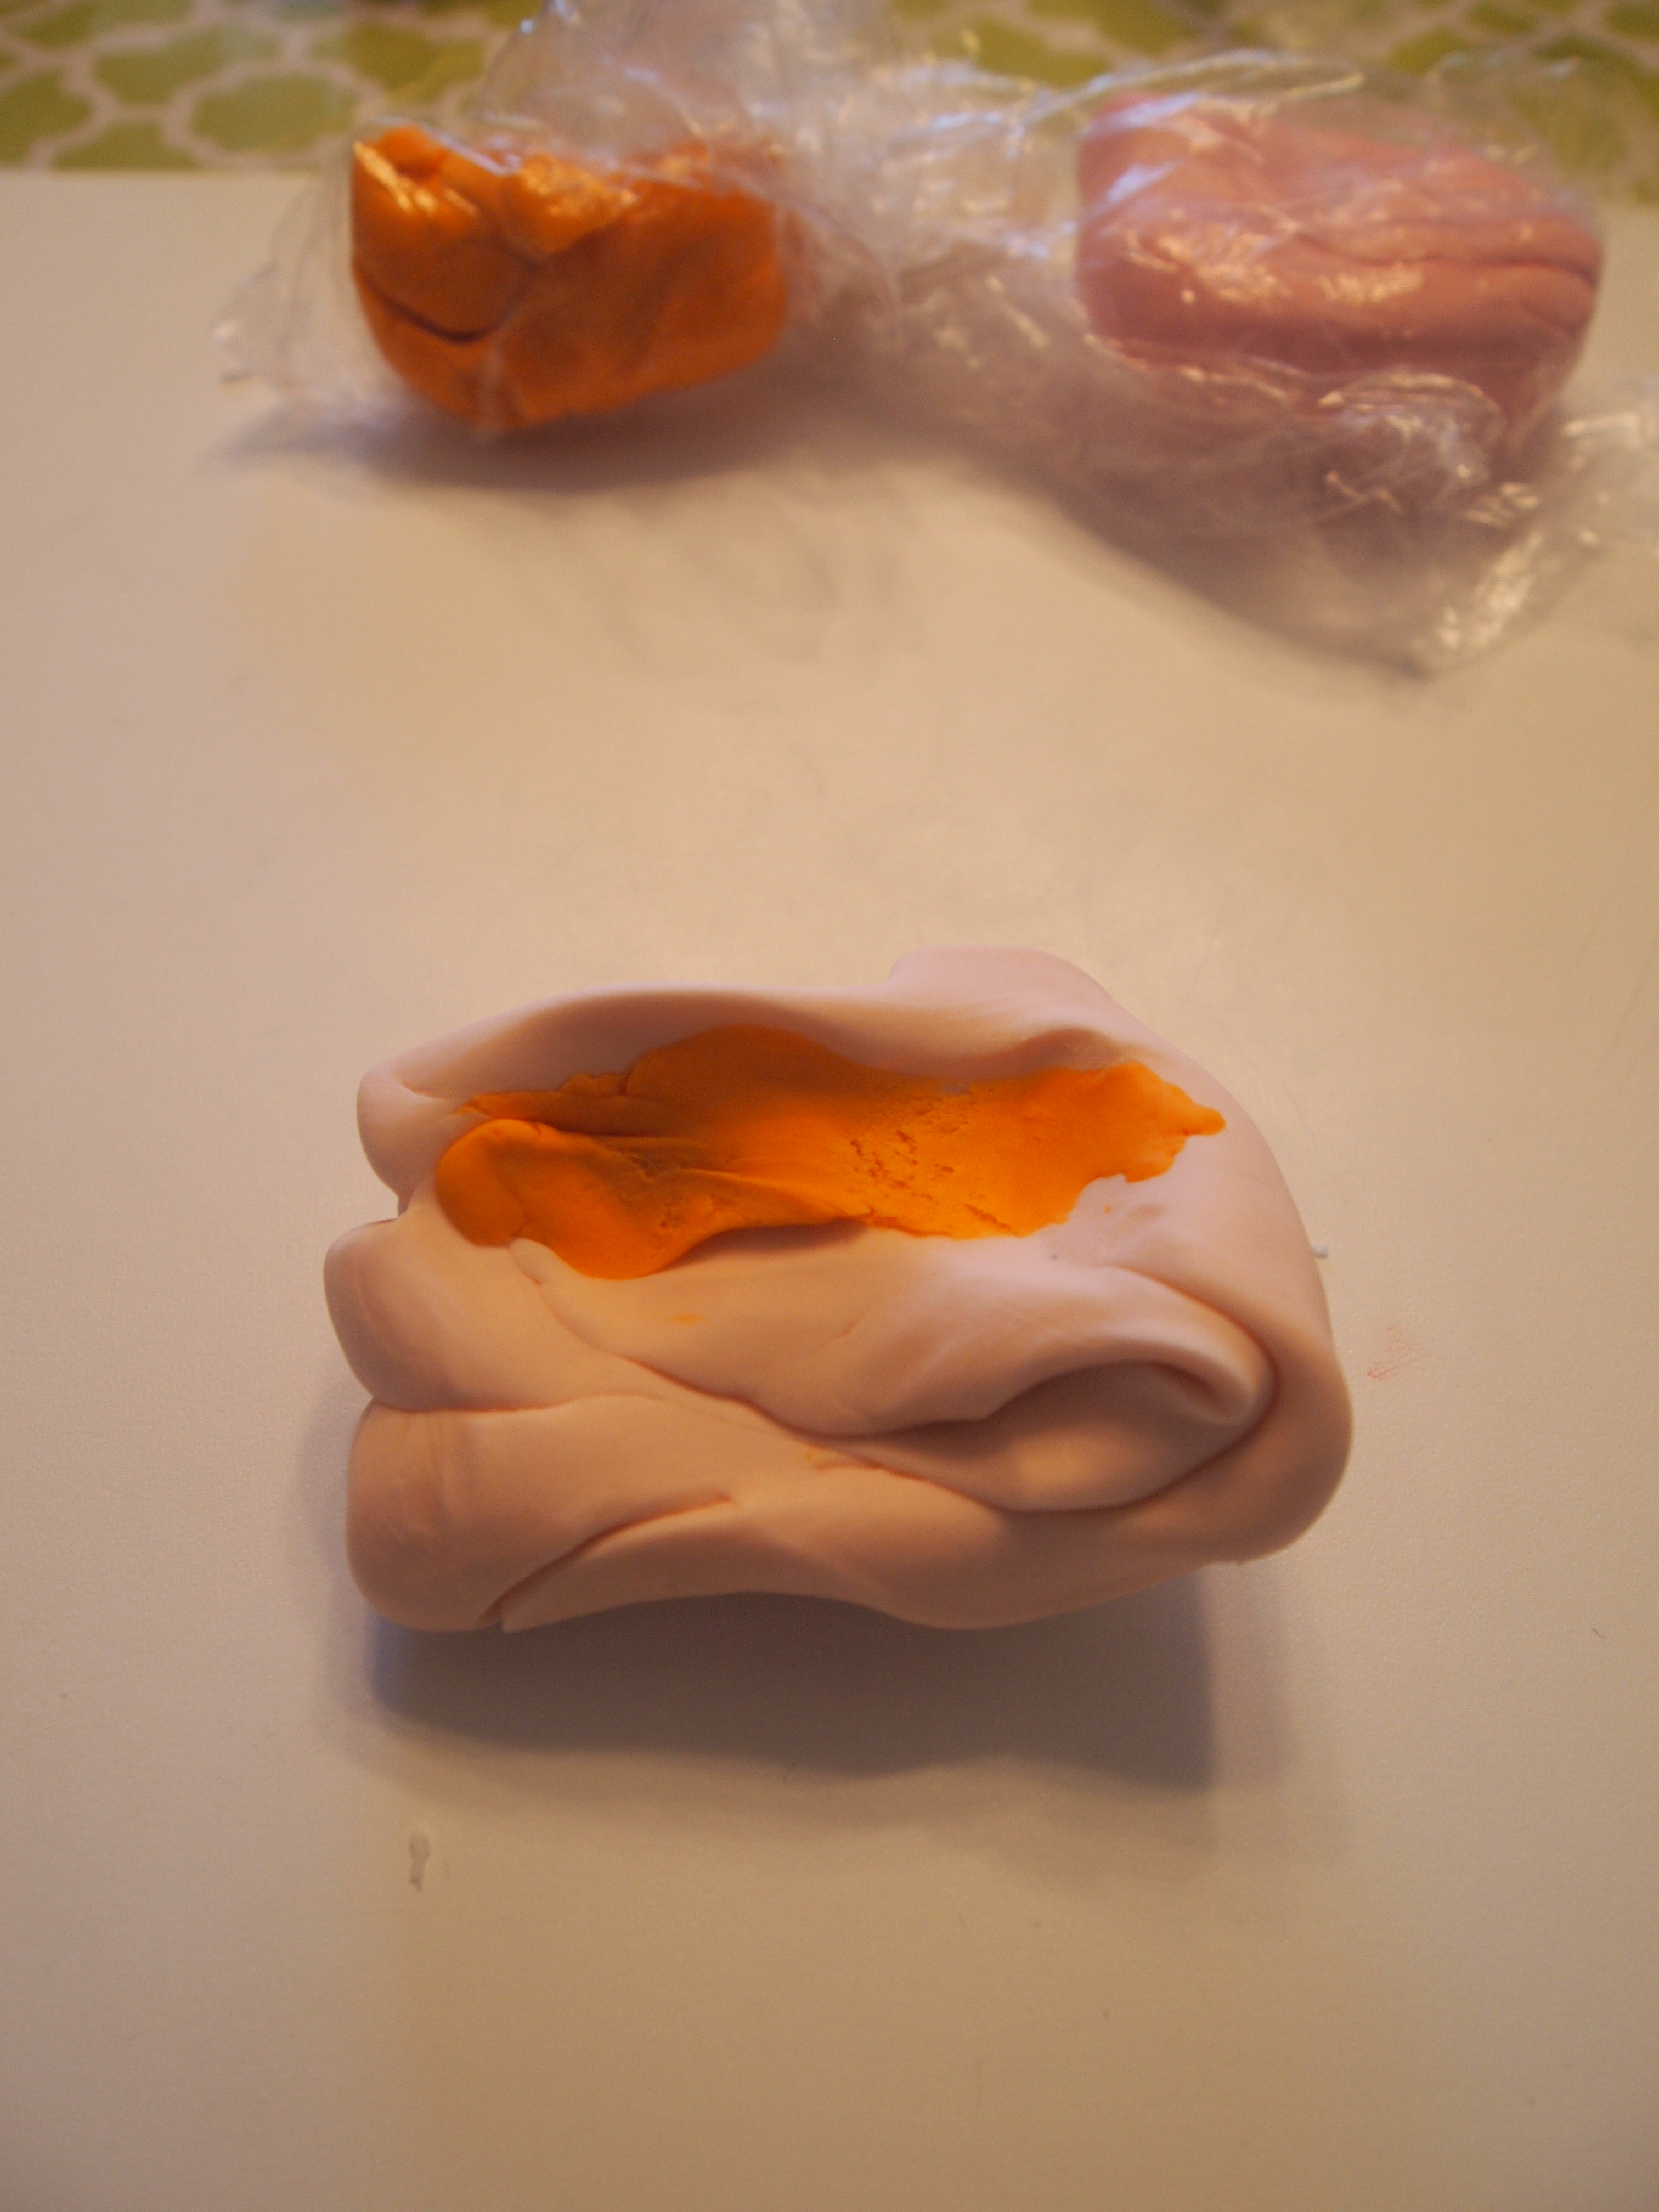
And a little orange…
By then, Ramona had gained her composure and decided she wanted to do what Mommy was doing. So I set her up next to me with her favorite activity: making “cakes” with playdough.
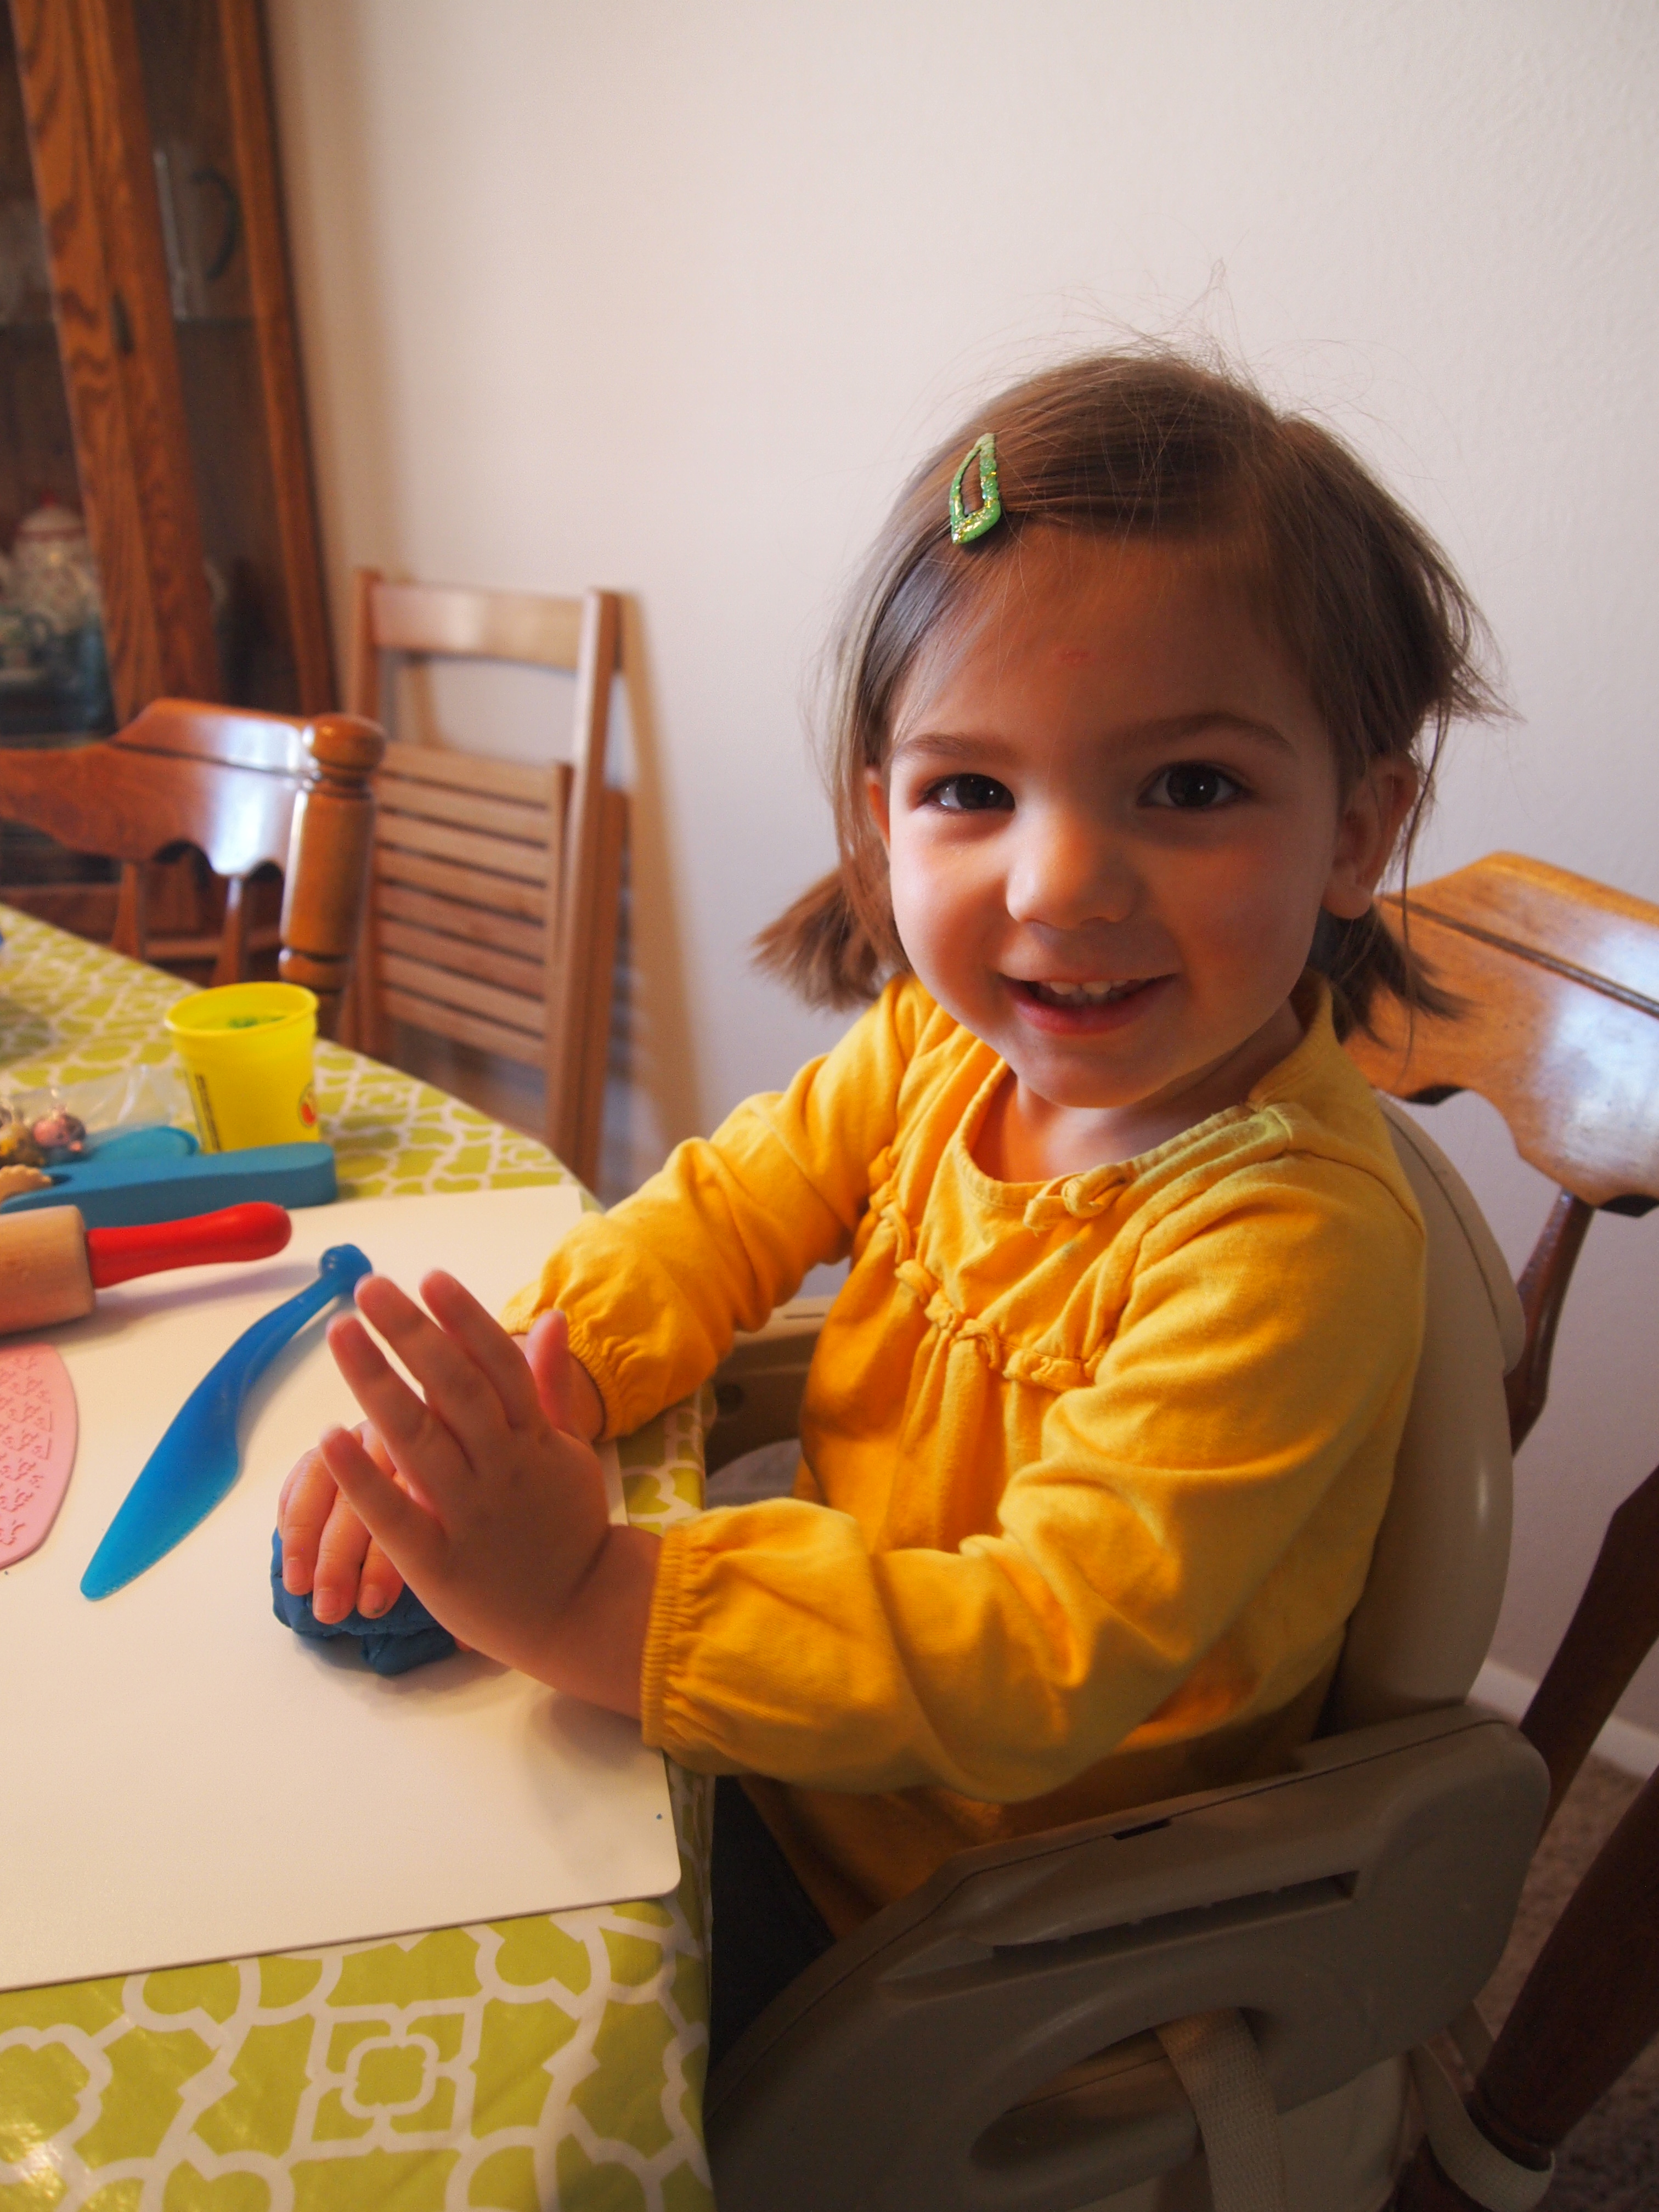

Here’s her finished figurine (that’s a wooden cupcake topper). She was very proud 🙂
Finally, about an hour after I started, I ended up with my lovely little balls of color:

To make Anna, I found a nice youtube tutorial for making a chibi with polymer clay, which translates pretty well to gumpaste/fondant. I got through making her head and part of her hair and then had to take a long break in order to run some errands and pick up Penny from school.
After we got back, Micah decided to take a nap which left me with kid duty. Honestly though, I intentionally ignore my children when I’m sculpting- I will not wipe their noses, help them find things, or mediate arguing. Since I probably help them more than I should when I’m not busy, it’s really good practice for them to have problem solve. If they can’t reach something, they have to get the stool. If they are hungry, they have to open the package themselves, etc. Today they both decided to join me at the table and continue making playdough creations while we sang to the Frozen soundtrack on youtube. Not a bad way to spend an afternoon.
A few hours later, I ended up with this:
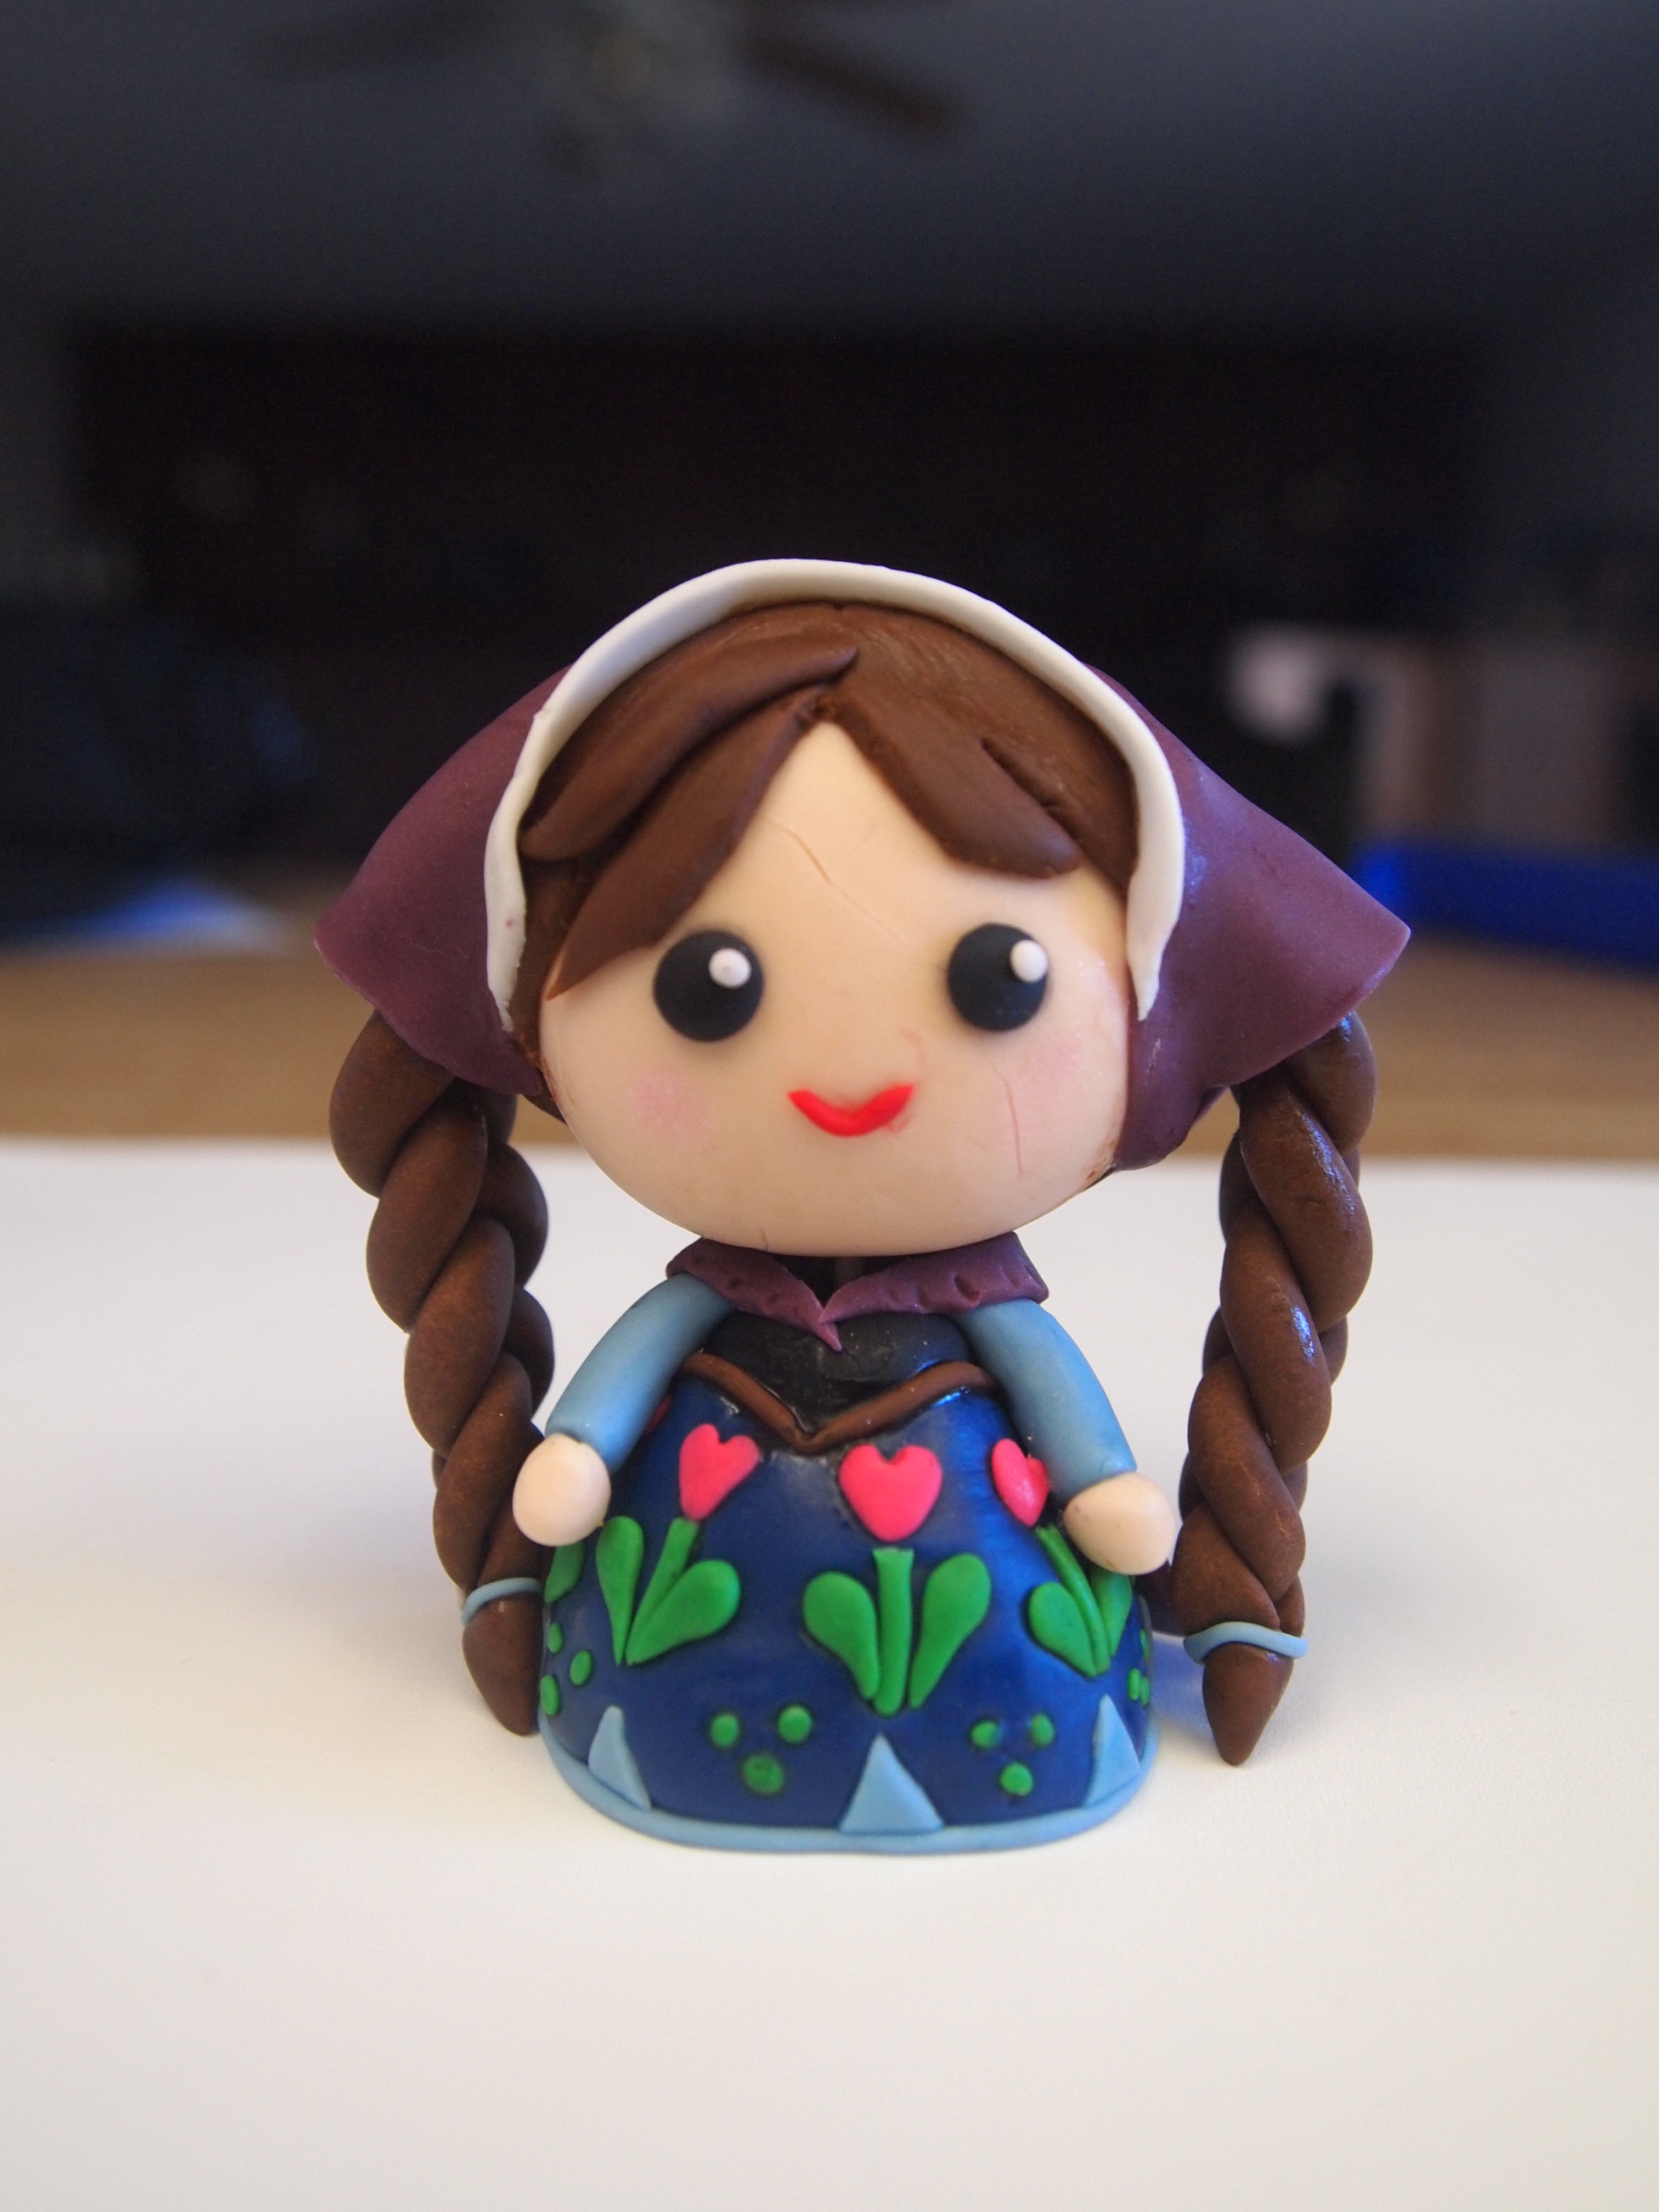
I needed to add her head covering because fondant doesn’t smooth out like clay does once there is a seam in it- the top of her head looked messy so I came up with the hood as a solution. Luckily Anna wears a hood sometimes in the movie!
Time Spent (including coloring of gumpaste): 4 hours
8:00pm: After cleaning up my enormous mess left in the wake of Anna’s creation, a dinner of BLTs (with Micah’s home-cured and smoked bacon…nom, nom, nom), and storytime, I used my last little bit of motivation to bang out a few batches of fondant.
Melting marshmallows:

Mixing the powdered sugar with the marshmallows:

And kneeding the fondant to make it happy and smooth:
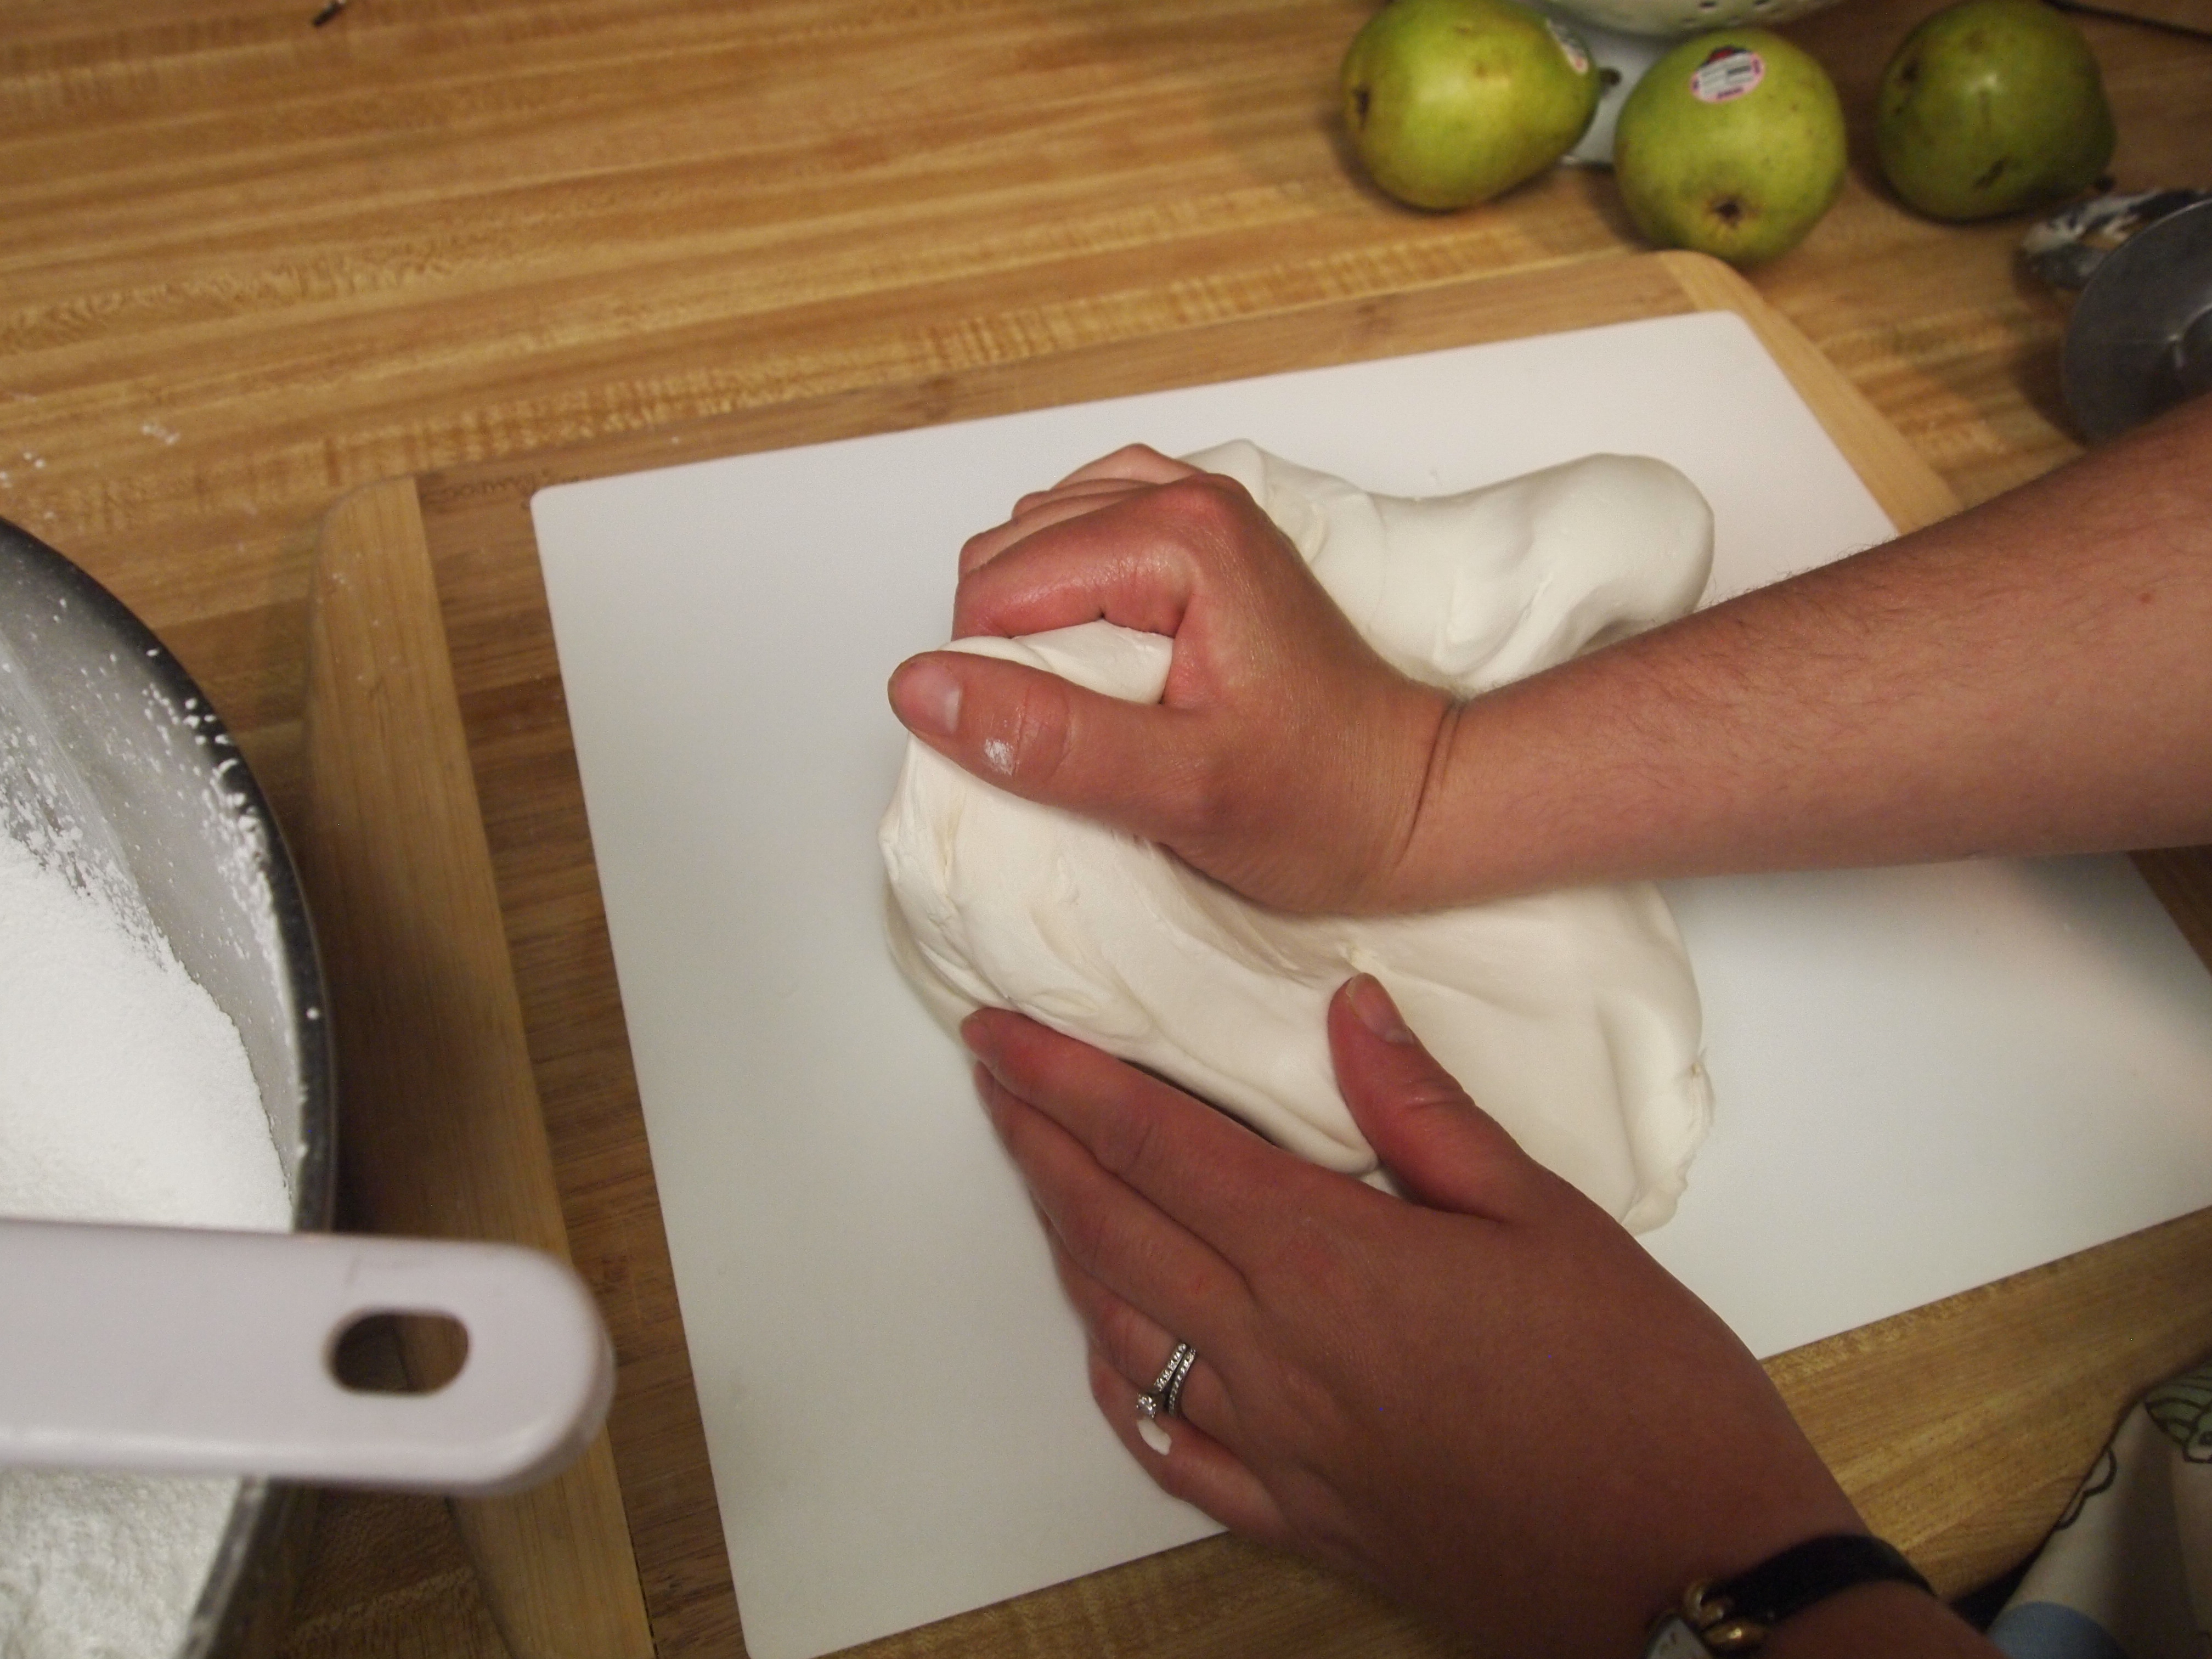
And the result was two lovely balls of marshmallow goodness, ready and waiting to become the smooth snow-like covering for Elsa’s mountain:

Notice the glass of wine? Yes, I think that was well deserved at this point. You can find my recipe for homemade marshmallow fondant here.
Time Spent: 1 hour
Total time spent so far: 7 hours (wow…and so far to go still. This is why I couldn’t do these kind of cakes if I had a real job).
Let’s see if I can be nearly as productive in the coming days!
P.S. Just because this song has been stuck in my head for 3 days, you should get it stuck in your head too: Let It Go It would make me feel better.

LOVE IT~and of course seeing the girls playing by your side 🙂