Category: Uncategorized

Honoring the Millions, the Workers and the One

We didn’t know if we would ever hear his voice again.

But as we entered the ICU that early morning to try and catch the first medical rounds, we were surprisingly greeted with excitement and smiles from the nursing staff. After days of helplessly watching him on life support, my Dad was awake. But his eyes weren’t just open- he recognized us and was breathing on his own.

Within in a few hours, they had removed his ventilator and though he was weak, it wasn’t long before he was able to start talking. Dad’s body was wrecked, but his spirit was there in full and he even started cracking jokes, quoting Bible verses, and emphatically told us how much he loved us.

Dad loved meeting new people and even in such a tragic situation, you could tell he loved having the medical staff at Providence as an audience. They wrote “Captain Neil” on his stats board, a nickname he created for himself from owning his own taxi business. And though we didn’t want to leave him that evening in fear he might slip away again, he urged us to go home and get some rest. He affectionately looked at the nurses in the room and said, “It’s ok, I’m in good hands here.”

 It was heartbreaking to see him so weak and sick, but those last days with him in the hospital were a miracle and a gift. And he was right- the doctors and nurses at Providence really did give him the best possible care and support that we could have asked for.

I wish I could say that after waking up, Dad made a full recovery and we got our happy ending. Unfortunately, after a few days of hopeful progress, his condition worsened and he slipped away into another coma. And just 2 weeks after his first symptoms of pneumonia, he had gone to be home with Jesus.

That was almost exactly 4 years ago. And so when the pandemic flipped all of our lives upside down last March, I couldn’t help but feel like I was having some sort of crazy nightmare déjà vu experience. The symptoms of COVID-19 and the loss people were having so closely mirrored what I had gone through with my Dad, I felt like my I was frozen in a silent scream.

This might be an understatement, but March is hard.

Maybe like you, I can’t wrap my brain around 2.6 million people losing their lives to a terrible virus. It feels impossible to comprehend what those statistics really mean, especially if you haven’t personally walked through a loss yourself.

But every single number has a real person behind it and a story. They are people who maybe didn’t expect life to take this sudden turn. They had a favorite food, children they loved, and more jokes to tell. And their deaths have a ripple effect that touches countless others- 2.6 million may be gone, but hundreds of millions of us are left to sort through the grief and pain that the pandemic has left in its wake.

Behind every number, there are also countless medical workers who rose up and fought for the lives of their patients but still had to watch them lose that fight over and over again. Putting their own safety at risk, they show up to do the hard work to try and stop that enormous number from growing. I feel so indebted to our doctors and nurses right now because of all sacrifices they have made over the past year. And though I may not be able to literally save a life myself, I can thank someone who has.

So let’s honor the millions this month who have lost their lives or been impacted by the loss of a family member by COVID-19.

Let’s honor the incredible bravery and hard work of our medical community who never cease to fight the good fight and care for our sick loved ones.

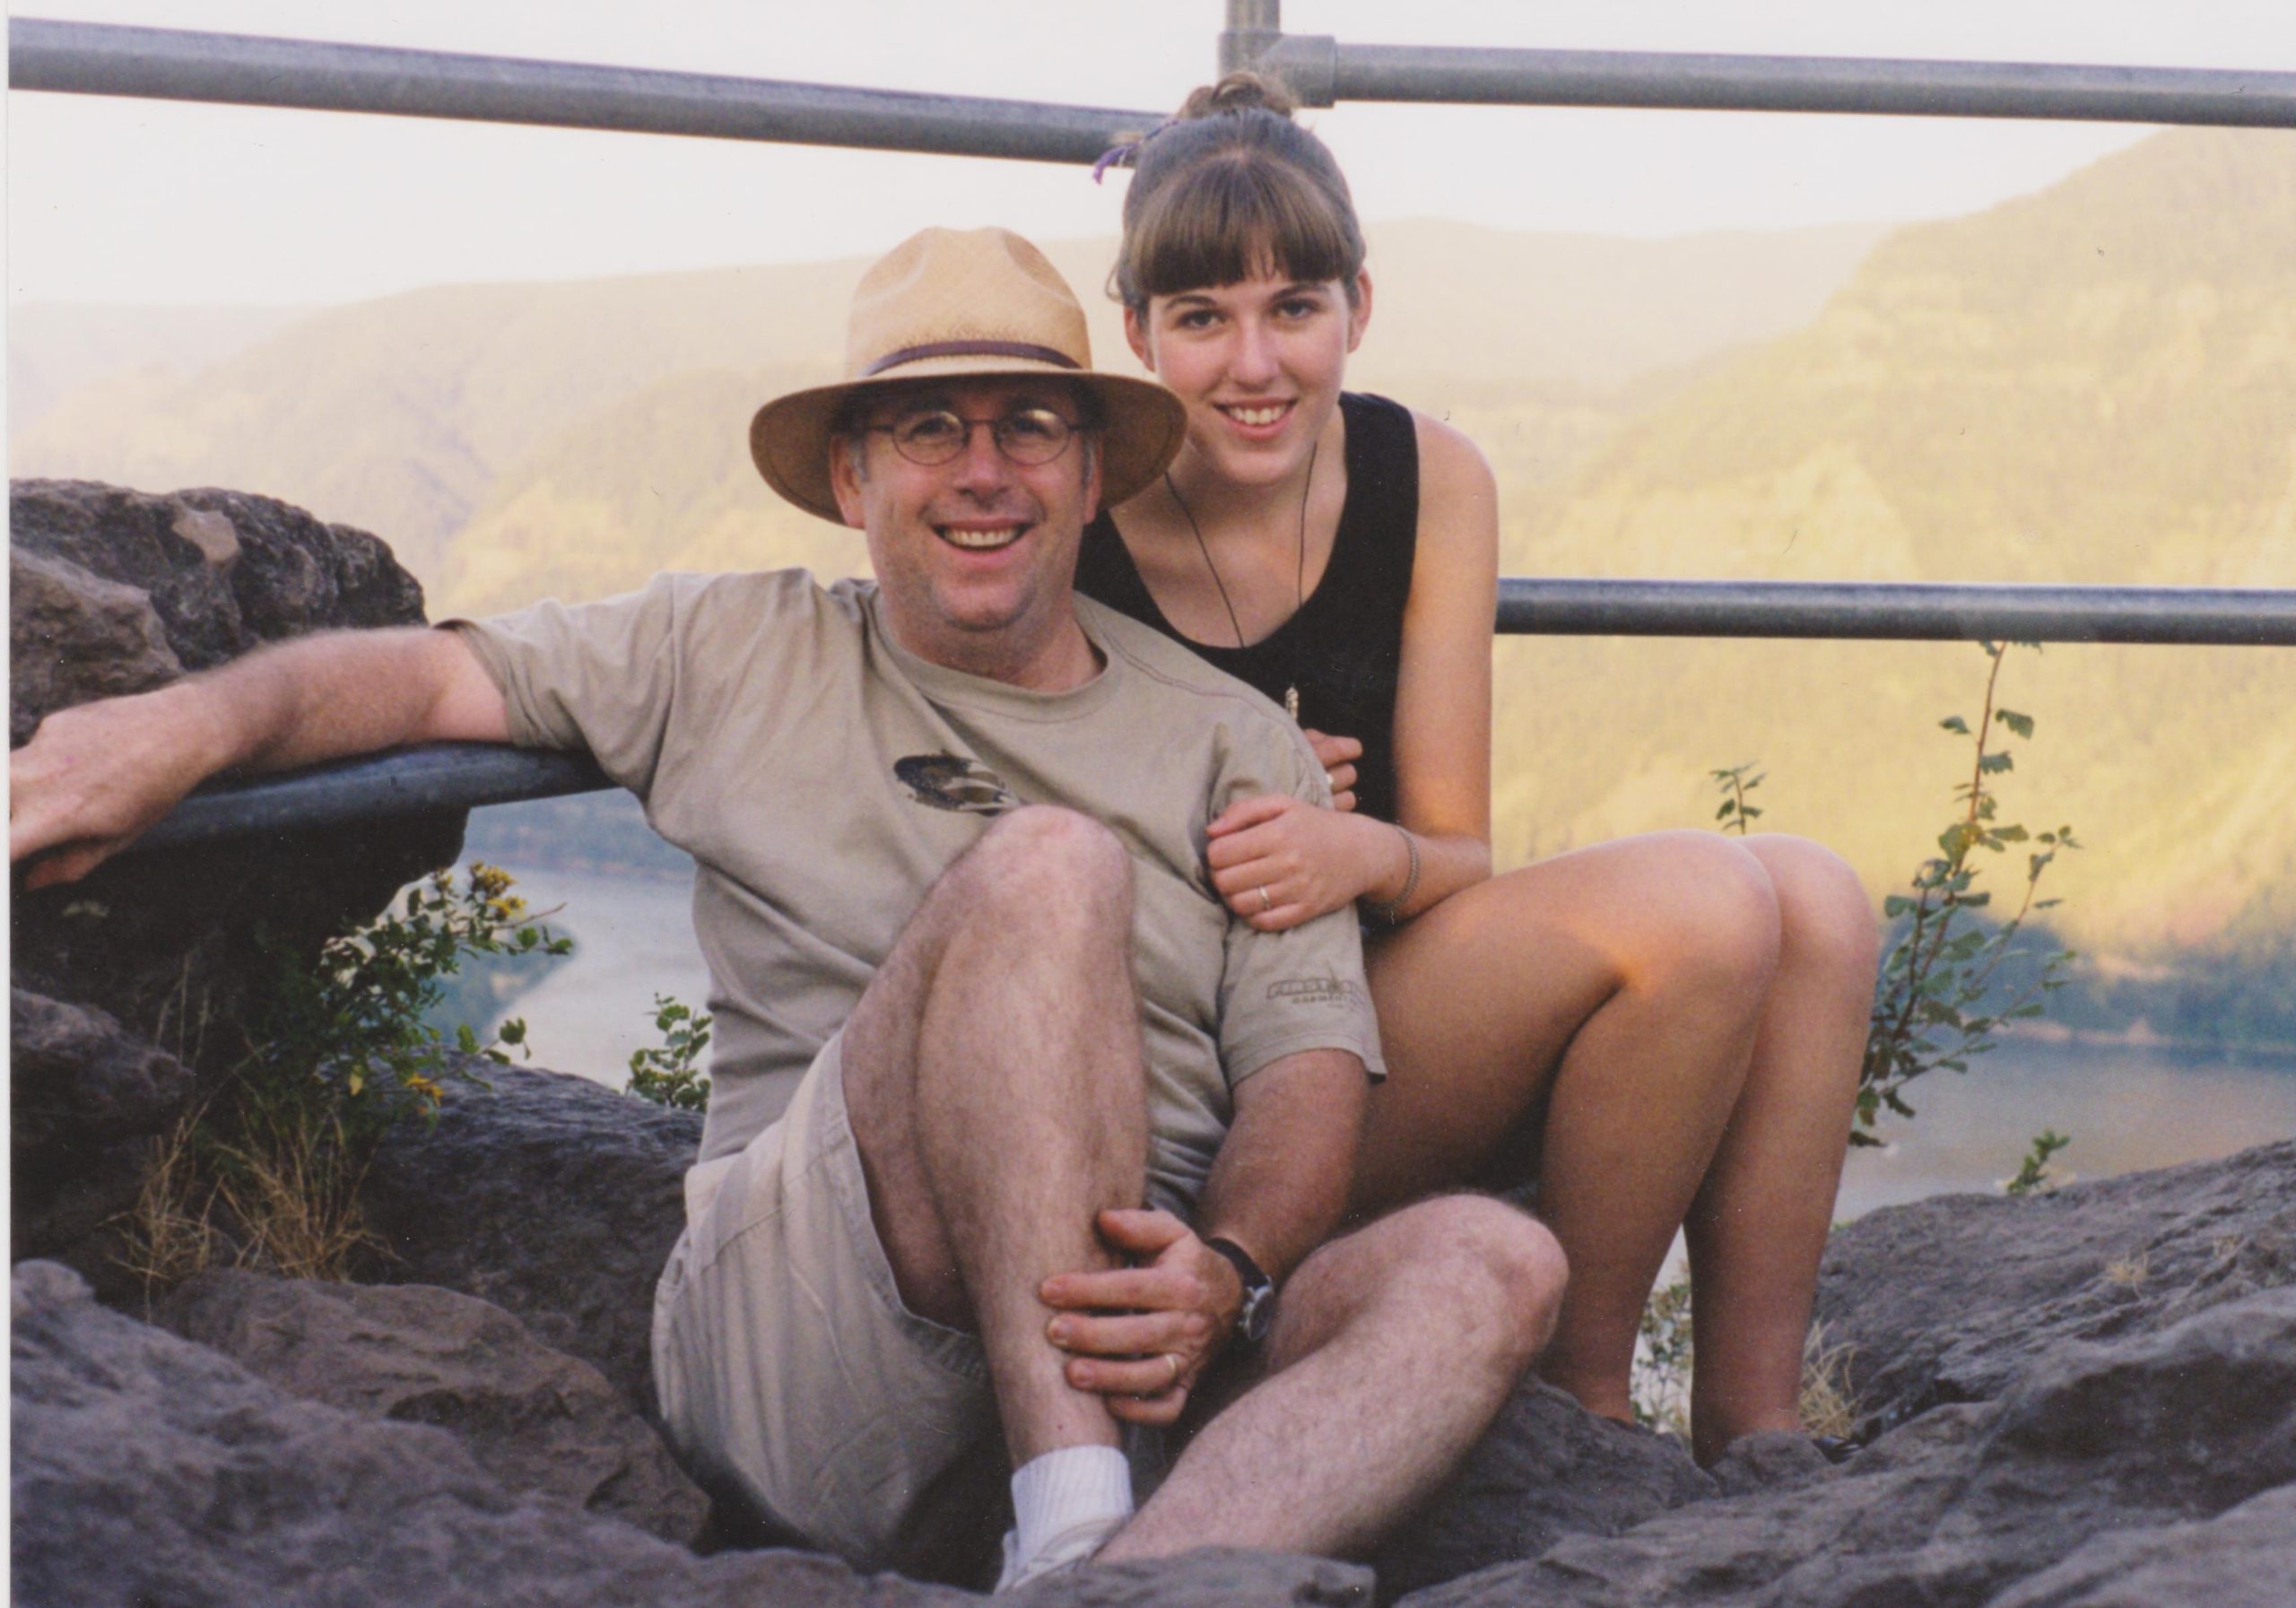
And let’s honor the memory of my Dad, Captain Neil, who never ever took a day of his life for granted. A person who cherished people and God above everything else and who left a legacy of love and hope for me to try and follow.

One of my favorite memories: Hike at Beacon Rock with Dad when I was 17

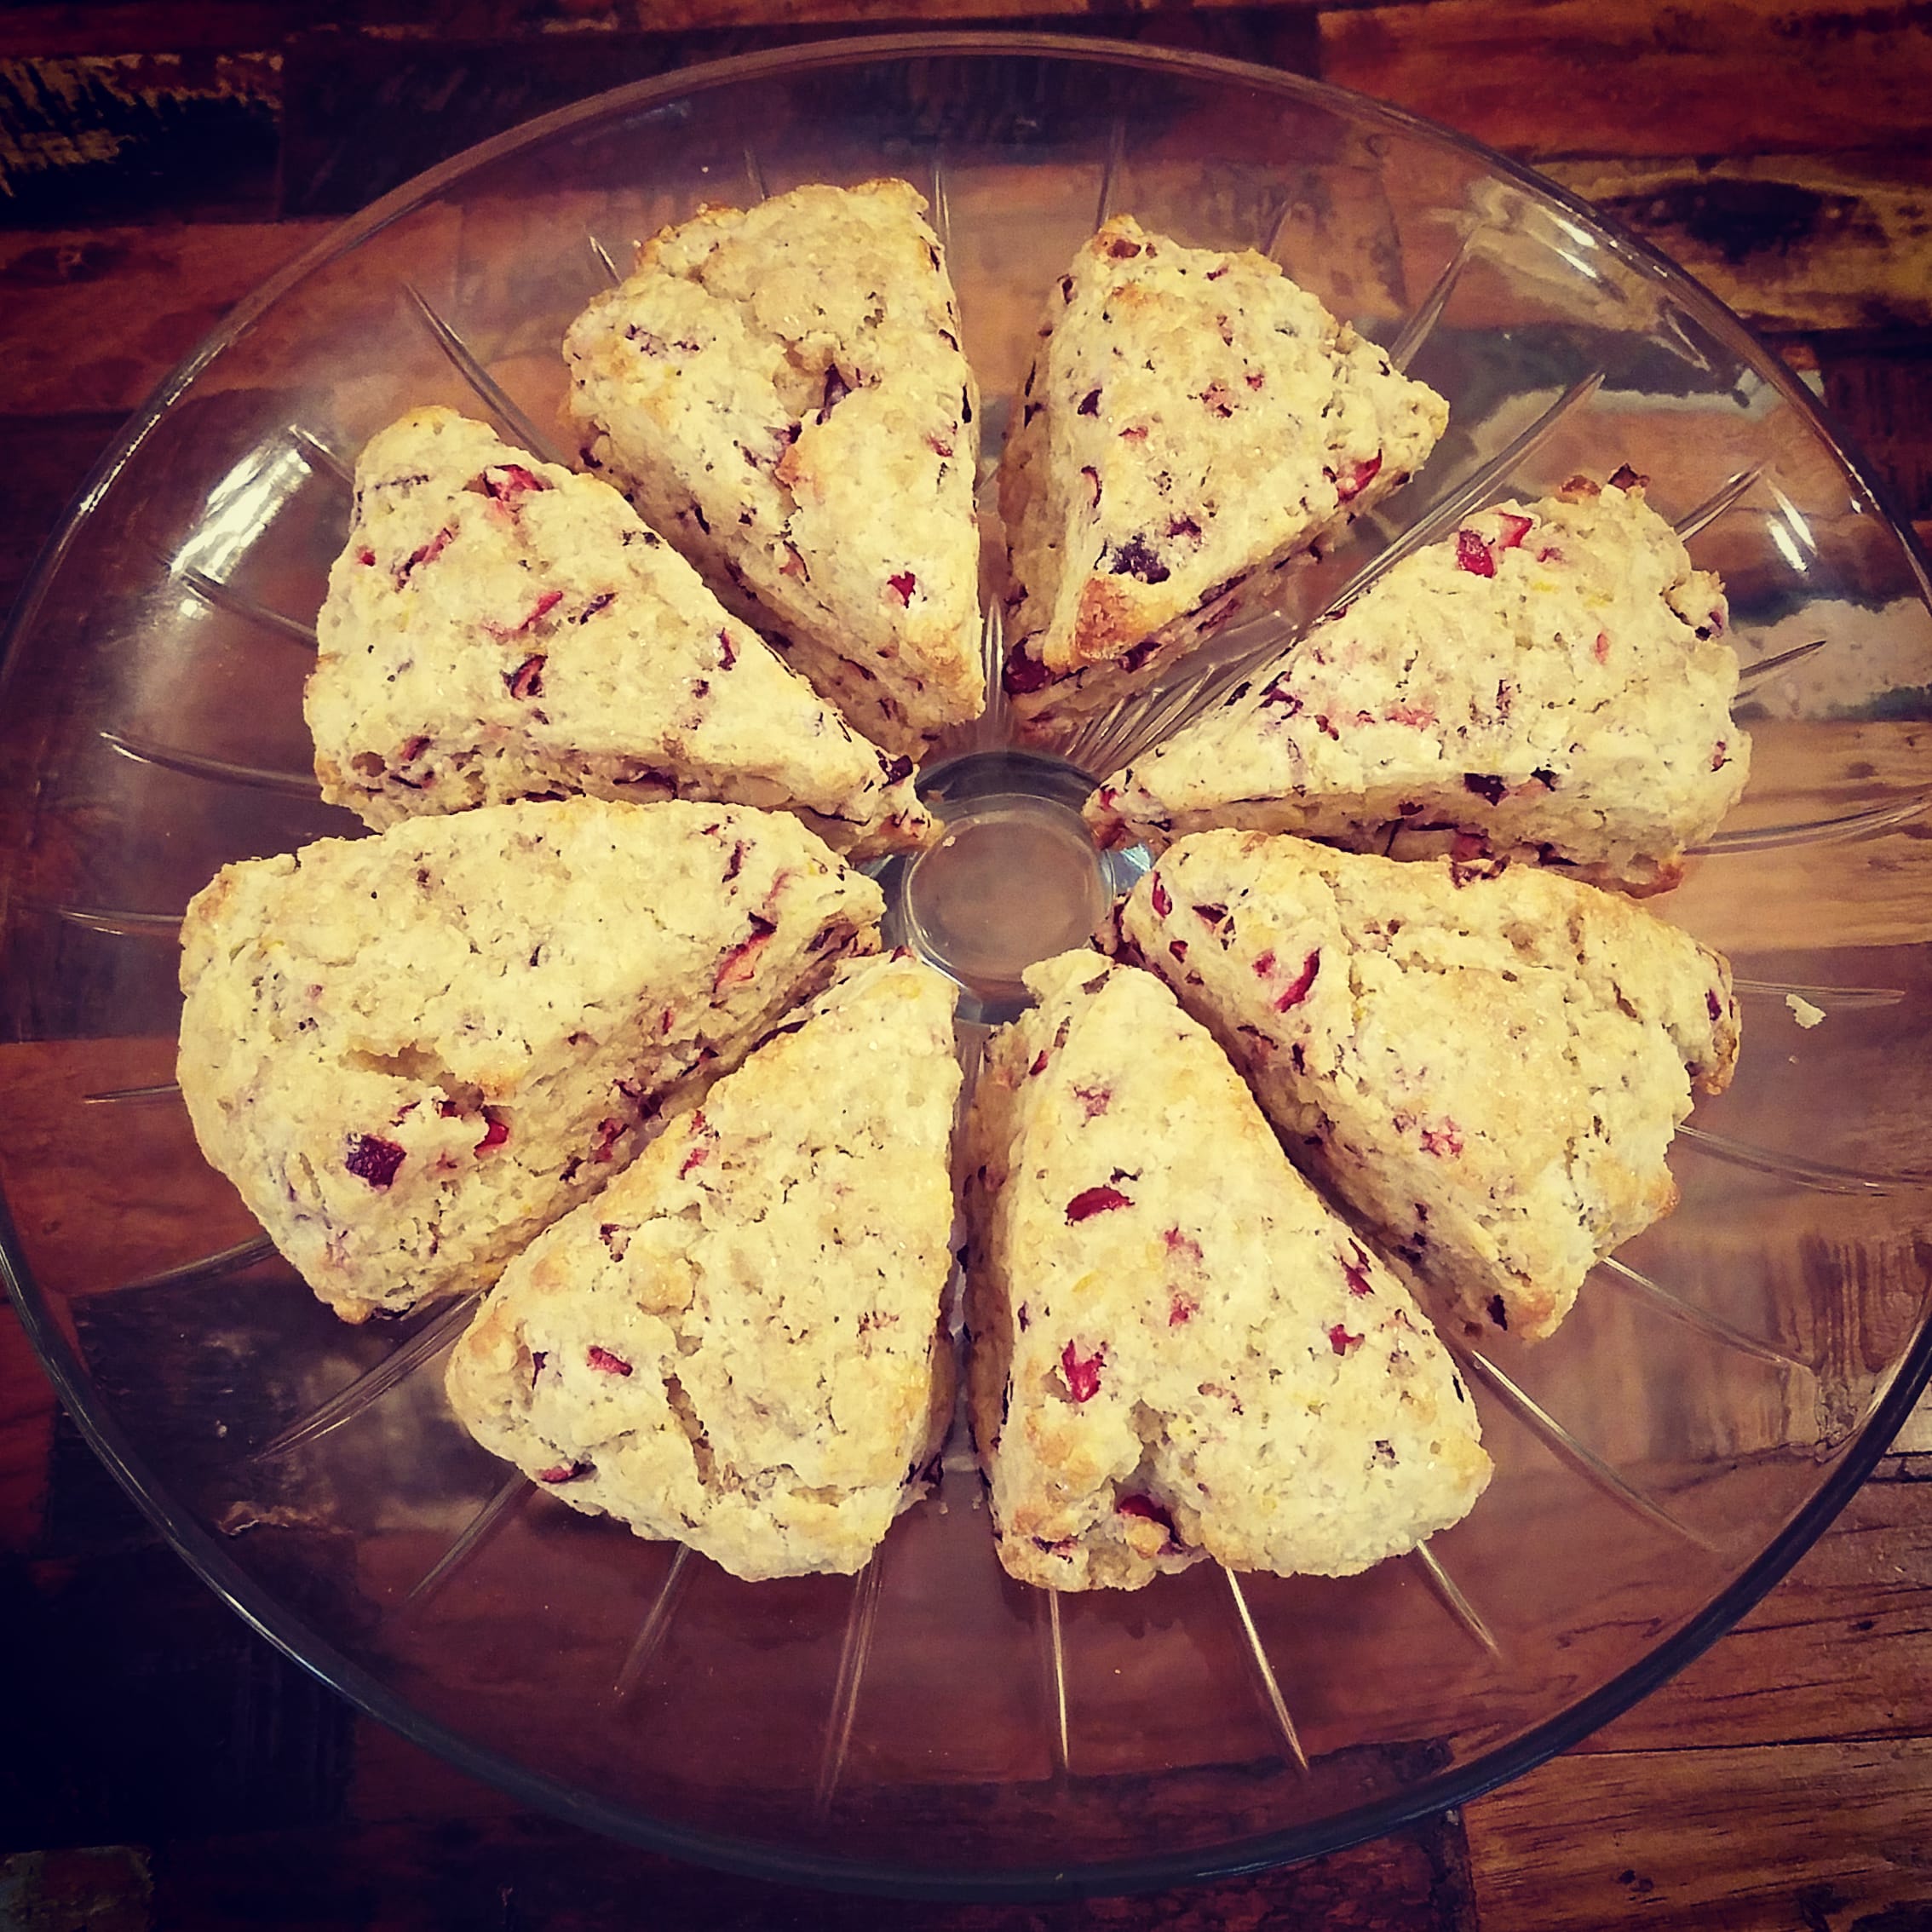
How the Bake Sale for Hope Works

Proceeds for my Bake Sale of Hope this month are going to Providence Medical Center, in gratitude for their care for my Dad and for those affected by COVID-19 or other life-threatening illnesses. I have set up a fundraiser on Providence’s website here: https://orppm.give.providence.org/fundraiser/3160153

Give a donation of any amount to the fundraiser and you get two choices:

  • You can connect with me and I will get you a baked good of your choice (if you live in the Gresham/East Portland area)

OR

  • You can choose to donate your baked good to an essential worker. This month I will be donating the treats to nurses and medical staff in our community in honor of their hard work!

Don’t forget:

If you want to connect for your baked good, please make sure to put your name on your donation so I can follow up with you. If I don’t know you personally, include how I can reach you in the comments or email me at heather.wiese@gmail.com

You can also pay through Venmo or cash at pick up- just leave a comment below on this post and we can connect!

Choices for March 12th-March 16th

  • Pound Cake with Raspberry Blueberry Sauce
  • Cocoa Almond Meringues (Gluten-free)
  • Snickery Bars (Caramel, peanut, chocolate and shortbread bars)
  • Egg rolls (shrimp, veggie, pork or chicken) fresh or frozen


I will have a new selection next weekend! If you’re curious about how the Bake Sale for Hope got started, check out my post here.

Thank you to everyone who has already given- my hope is that this inspires others to give generously and brings just a little bit of joy to dark places.

“And when great souls die, after a period peace blooms, slowly and always irregularly. Spaces fill with a kind of soothing electric vibration. Our senses, restored, never to be the same, whisper to us. They existed. They existed. We can be. Be and be better. For they existed.” – Maya Angelou

The Perpetual Bake Sale Experiment

So it’s 2021 and though I don’t usually do New Year’s resolutions, as we gleefully closed the year of H-E-[double hockey sticks], I felt it was time to set new goal for myself.

I’ve always loved the idea of baking every recipe in a cookbook, Julie and Julia style. That coupled with binging the Great British Baking show and an extreme increase in my time at home, I found myself with the motivation to finish all the recipes in one of my favorite books, Pie In the Sky, by Susan G. Purdy.

One my first recipes of 2021- Cranberry Walnut Scones

I would have 47 recipes to complete over the next year- nearly a recipe per week, which teeters between a little crazy but also doable for someone who legitimately uses baking as a mental health therapy.

But as I contemplated what I was going to do with piles of cake and dessert, my very smart and community-minded friend (thank you Bethany!) suggested finding a way to share my treats and raise money for charity along the way. The idea percolated in my brain for a few days and I just loved the idea having some purpose behind my 2021 goal while doing some good along the way. Thus the “Perpetual Bake Sale” idea was born.

Here’s How It’s Going to Work:

  • Once a month, I will be trying out 1-2 recipes in the Pie In the Sky book and offering portions for sale.
  • You can either come by and pick up the items at my house or I may be able to do limited number of deliveries if you live in the Gresham/East County area.
  • 100% of the proceeds will be going to the charity I select for the month. They will be organizations that I have a personal connection with and are doing great work. If you’re interested in some of the upcoming charities I will be supporting, you can find a short list here.
  • If you don’t want to actually eat the treats (I realize my New Year’s resolution may undo many others resolutions!), you can donate your portion and I will deliver it to hungry domestic violence advocates, nurses, or foster/adoptive parents in the Gresham/Portland area.
  • I will take payments through Venmo or cash/check at pickup or delivery (message me and I will get you the details). Most of the details are going to be communicated through Facebook and Instagram.
  • I would also gladly take any donations to go toward ingredients and expenses if anyone is so inclined!
  • Prices for items are not predetermined- you can choose how much you would like to contribute. Just keep in mind that whatever you choose to give is going to a great cause!

COVID-19 Precautions:

  • The baked goods will be made in my clean kitchen with very clean hands and only when my entire household is healthy.
  • Pick up/drop off will be done with no contact and wearing a mask.
  • I have been fully vaccinated against COVID-19 personally and we intend to get the rest of the adults in our family vaccinated as soon as it is readily available.

Disclaimers:

  • I do not cook in an allergy-free kitchen. I use dairy, nuts, gluten, sugar, etc. If you have allergies, I would suggest joining in by donating funds or gifting treats to others. I won’t be able to modify the recipes for dietary restrictions- sorry!
  • I often get asked to make decorated cakes/cupcakes but I will not be able to do any of these for the bake sale. They are fun but very time-consuming. I still have a full-time job and I would like to, you know, sleep sometimes.
  • If you want to make a tax-deductible donation, you will have to donate directly to the charity of the month since I don’t have my own non-profit. But please let me know if I inspired your donation so I can keep track of how much we have raised!
  • I do not have a business or a commercial kitchen- this is all just going to be sharing my homemade goods amongst friends.
  • If your values do not line up with the charity of the month that I chosen, please don’t take personal offense and tell me all about it. I hope that it will just inspire you to find an organization that you care about and give generously to. This project is all about inspiring generosity and making change- let’s keep it positive, shall we?

This is a just an experiment really, but I have a goal of raising at least $400 per month for charity- $4,800 for the whole year. I also reserve the right respectfully bow out if I’m getting too overwhelmed. I’ll keep you posted on how I’m managing it all. But hopefully my crazy baking schemes will lead to some positivity amongst all the pain and chaos in this season of life!

“I alone cannot change the world, but I can cast a stone across the water to create many ripples.”

Mother Teresa

Penny’s Cake

When I thought about having kids, one of the things I looked forward to the most was having them help me in the kitchen.  Some of my best childhood memories were cozying up with my mom at the kitchen counter while she rolled out a pie dough or made cookies.  I loved being covered in flour, the delicious smells of the warm oven, and (of course), tasting the batter at each stage.

With my crazy cake hobby that has developed in the past few years, my girls have had lots of opportunities to cozy up with me as well during my baking endeavors.  They have licked innumerable wooden spoons and I try to invite them to participate with my projects…if my patience allows it.  Unfortunately, when time is an issue (and it often is), I end up shooing them out into the backyard more often than having them step up to the mixing bowl.  Sometimes your parenting expectations do have to compromise with reality- let’s be honest.

7-year-old Penny has especially become interested in cooking and baking lately, and has offered more and more help out in the kitchen.  We have such an amazing experience as parents to watch our babies grow from being spoon-fed reliant creatures to full-blown little people who can make their own scrambled eggs for breakfast.  Penny made us dinner the other night: Butternut squash mac and cheese (from scratch), fruit salad, broccoli, and cresent rolls.  Not to be cliché, but it is absolutely true that children grow up so fast.  I am often left shaking my head in wonder at these little people in my house and how they got there.

With Penny’s independence growing in the kitchen, she has been eager to take on projects herself.  She is no longer satisfied just being “mommy’s helper”- she wants to be project manager and will invite me to help if needed. So when her daddy’s birthday approached, she wanted to take on the star baker role and give me a bit of a break.  I was happy to oblige.

She began by creating a plan, following what she must have observed me doing before a big cake project. She chose a theme (a Tetris cake as requested by Daddy), created a sketch and broke down the steps for the project on her calendar.  She counted down the days for “cake week,” asking me almost everyday, “Do I get to start Daddy’s cake yet?”

Finally the week arrived, and she could hardly wait to get started. I tied on her pink, ruffly apron and stepped back while she dived into the biggest project of her life so far.

She kept it simple and made a cake from a box- hey, it’s how I started and the directions are simple enough for her to read and follow almost completely by herself.

Making the Batter

Fixing Mistakes

Opps! Too much oil…we are still learning how to read the measuring cups and fractions.

Baking the Cake

Whisking Away

Whisking

Funfetti

Daddy requested funfetti at the last minute, so she added sprinkles to her vanilla cake batter

Baking

We encourage her to learn how to use the oven, stove and knives safely.  Trusting her with these items is so important in helping her gain confidence in herself.

The Official Taste Tester

Ramona is currently not very interested in helping in the kitchen (it comes and goes in phases)- but she designated herself at the “Official Taste Tester,” as usual.

Making Marshmallow FondantBehold the Marshmallow!

While the cake was baking, Penny got started on her marshmallow fondant.  A few marshmallows may have escaped into her mouth…and mine.

OLYMPUS DIGITAL CAMERA

Cake is done! The Easter Bunny brought her some adorable kid-sized oven mitts, just perfect for the job.

Poking the FondantPoking the Fondant

After combining the melted marshmallows and powdered sugar, it’s time to knead…ok, and maybe play a little bit…fondant is really so much fun to work with!

Kneading the Fondant

We say it’s done when you spank it and it feels like a baby’s bottom. Is that weird…?

Penny Saving the World

At this point, she had finished her cake goals for the day and went to work on another important project: saving the world.  Penny had recently been made aware at school that sharks are becoming endangered because of cruel fishing practices.  She immediately became very passionate about educating everyone, including the neighborhood, about this terrible injustice.  So she created a sign and stood on the sidewalk to include the world on her crusade to help the sharks.

The sign says (if you can’t read it: “Save sharks! It ufeks (effects) the earth! Do not kill sharks!  If we kill the food chane will be roiog (wrong)!  Help the sharks! Help the sharks!  Do not cut the fin off!  By Penny. To the nabrhood.”

Thanks Penny, I’m sure the sharks appreciate it. And also, I will bring this up for the rest of your life.

Onward to the next phase of the cake!

Crumb CoatFrosting the Cake

Frosted Cake

Micah’s birthday was on a Friday so Penny had to do all the work on her cake after school each day.  But as the reality of our weeknight schedule caught up to us (karate class, church groups, etc), I knew there was no way she was going to be able to finish it on time.  So after considering that she has had nearly perfect attendance this year, I was good with pulling her out of school for a day to make this thing happen.  She goes to a Montessori school, so they would practically consider this type of project as good as school anyway.

Penny WorkingOLYMPUS DIGITAL CAMERA

Covering Cake in Fondant

I was really impressed with how well Penny did with this tricky part- covering a cake with fondant can be a little overwhelming, but she was pretty confident because she had watched me do it countless times (a massively thick coating of cornstarch and powdered sugar helped too)

Trimming FondantCreating Details

Creating details- notice her little sketched design to the right?

Penny Detailing

Cookies and Cream Cupcakes

While Penny worked on her own project, I whipped my own little treat to drop off at Micah’s classroom for his students.  I have to say, these cookies and cream cupcakes turned out crazy good.

Let’s take an honesty pause: these pictures make the whole process look not only adorable, but as if it were the perfect mother/daughter bonding experience.  But children are complicated creatures and the days of “cake week” were also fraught with mixed emotions from Penny. She was dedicated to finishing, but she often mourned over her loss of playtime. She grew jealous at Ramona for having a playdate with a friend while she worked in the kitchen and dissolved into tears over her conflicted feelings. I nearly regretted my decision to give her the “treat” of skipping school and may have been less than empathetic at times.

But when I took a step back, I just realized she was simply going through the emotions that I always do when I take on a cake: excitement and inspiration balanced with some serious stress and a battle with the clock.  I tried to breathe and have some grace.

Penny freaking outPenny rolling

Here she is struggling through the last day- she was so worried she wouldn’t finish by the time Micah got home, but once she rolled up her sleeves and started working, she really got into her zone.  I think she always thought it looked so fun to make a cake when she watched in wonder from the sidelines. Now she really appreciates just how much work Mommy does to make a fancy cake.

Practice Piping

Practice piping- she is a born natural!

Penny Piping

The last step…

Ta Da!

All done!  Dressed up and ready to show off her masterpiece at our birthday dinner party with our friends, the Rydmarks.

Tetris Cake

We were celebrating Micah’s 34th birthday and she did the numbers in true Tetris style. I love how she made the little cue in the corner just like in the game.

Proud Mama

Penny and her Daddy

Penny revealed her cake with great anticipation from her Daddy, and he gave her the perfect thrilled response.  She grinned as he looked in draw-dropped amazement, assuring him that she did it “all by herself.”  I can honestly look at her cake and say that I barely had any part (other than pitching in to dye the large piece of blue fondant- it takes some serious elbow grease).  Even though she had bumps along the way, she walked away feeling accomplished with herself and her cake- which is way more important than all of the bursting pride we had for her on that day.

It really is incredible what children can do if you give them the opportunity.

I just can’t wait to see what else our little Penny Scout will do with this beautiful life ahead of her.  Will she become a world-renown pastry chef? A major shark-rights activist? Whatever she becomes, I’m counting myself lucky to have such a determined, creative, and inquisitive daughter.  Micah and I can only take a little bit of the credit- mostly I’m just thanking God for the gift of Penny and for the overwhelming and awesome responsibility to help shape the person she is to become.

Now remember everyone, if you see a shark: do not cut the fin off!

Cigar Box Cake and Who Needs Youtube Anyway?

I’ve always envied true artists- you know, the type who can just think up something completely original out of their brain and create an incredible work of art or piece of music. While I have dabbled in music, painting, writing, dancing, and other little creative hobbies (I may have gone through a wild decopaging phase), I’ve often feel like I’m on the outside of the cool artists club.

You see, even though I can get really good at an artistic technique, I have a fear I might be like Emmet from the Lego Movie…I lack original thoughts and I like to follow the instructions. The impulsive creativity I associate with natural artists just doesn’t seem to flow through my veins.  For instance, in my painting class in college, our teacher asked us to do a project by simply “painting from within.”  I was frozen with panic looking at that blank canvas.  No still life to copy, no artist’s style to try and emulate. Just whatever was in my floating around in my head- it was terrifying. I believe my final product on that day would be hard to decipher from some of my 4-year-old’s portraits currently taped up on our fridge.

So when people ask me where I come up with my cake designs, I have to be honest: they don’t just usually pop into my head. I do my fair share of Pinterest planning sessions and scour Youtube for gumpaste tutorials to help me along with a theme or technique.  However, it is a creative process because I rarely pick a cake that I’ve seen and just make an exact replica.  I usually mishmash a bunch of things I like together and come up with something fairly original.

Case in point: The Cigar Box Cake.

Ted with his Cake

I wanted to make an amazing cake for one of our dearest friends, Ted.  He usually doesn’t ask for much at his birthday, so when he said he wanted one of my cakes, I was all over it. His love for cigars combined with the imminent birth of his second child gave me the perfect opportunity to attempt to create an entirely edible cigar box.

I thought this would be a simple cake to find a tutorial for.  Surely there had to be scores of people who had paved the way to Cigar Box Cakeland before me.  And yet, after several lengthy search sessions, the Google machine was failing me.  All I had to go on was some pictures of completed cakes, which were helpful to inspire my design, but there was no “how-to” guide.

At first I started to panic- I was back at the terrifying blank canvas. But then after a few sketches and a kick in the pants by Micah (who always thinks I can do anything), I was like: no girl…you got this.

During those times when there are no instructions to follow, I get to experience the rush that true artists must be hooked on: the experience of translating an abstract idea into a concrete expression from my simple little brain.

That being said, I wouldn’t have turned down a little more guidance in how to make this particular type of cake. So, for anyone out there who likes instructions (like I do), I thought it was about time someone laid out how to make one of these suckers.

Cigar Box Cake Tutorial: The Wing-it Method

Though it might look initially simple, there are a lot of parts to this cake: wooden panels, a gravity-defying lid, cigars with labels, etc. It was going to involve some geometry, some guesswork, and a little prayer to pull off.  Since Youtube had failed me, I was just going to have to wing-it and hope that I didn’t end up with a full-on cake wreck.

As usual, I started the project by baking the cake and making fondant. I HATE making brown fondant, however. It’s terrible stuff because the amount of gel color you need to get a dark brown usually starts breaking down the integrity of the fondant.  As my fondant became stickier, I threw in some Hershey’s Special Dark Chocolate cocoa powder, and voila: I had chocolate fondant in the perfect shade of brown.

I set aside the darkest shade for my cigars, and then made a variety of colors to use later for my wood-grain panels:

OLYMPUS DIGITAL CAMERA

Next, cigars. I decided it would be easier to build the dimensions of the cake based around the size of the completed cigars. I saw plenty of images online of sloppy fondant cigars which might be easily confused with something you find in your *ahem* toilet.  It was quickly decided: No poop cigars for me!

I decided the Pirouette Chocolate Hazelnut rolled wafers would give the cigars the structure they needed and make them a tasty treat. Who wants to eat a huge roll of fondant anyway?

OLYMPUS DIGITAL CAMERA

I simply wrapped the cookies up in a thin layer of my chocolate fondant and used a small knife to score lines to resemble a cigar.  Here’s the final product:

OLYMPUS DIGITAL CAMERA

The labels were a surprising pain.  I must have spent hours trying to find Google images and re-size them to fit. I wasn’t worried about having edible labels…I mean, who really eats edible paper anyway? I just printed them on regular paper and attached them to the cigars with a little bit of melted chocolate candy melts (my new favorite way to attach details to fondant- way stronger than water or piping gel, and I don’t have to make royal icing).

Cigar Box base

I wasn’t quite sure what method would work best, but I knew the box should have a raised border to make it appear like the cigars were, indeed, lying inside a box.  I didn’t think carving the cake would stay very neat (and would be a trick to cover in fondant), so I covered the rectangle base in one layer of fondant and made the raised edges separately out of a gumpaste/fondant blend.  This gave it the sharpness I wanted.

Cigar Box Cake Base

I’m not really sure how it happened, but my measurements got screwy and my borders ended up being almost 2 inches shorter than I thought I needed (see the top edge on this photo). But I was tired and crabby at this point, so I decided to just go with it.  As luck would have it, I would actually recommend leaving this gap because it gives you more room to have your lid at an angle.

Now that I had my base ready to go, I could finally start on the wood panels.

Wood Grain Fondant

Wood Grain Fondant

There are several ways you can make fondant look like wood and thankfully, this was one technique I was able to find some help with (and you can find a fantastic tutorial for it right here).  I thought twisting the multi-colored fondant together was more realistic than painting it with food coloring and I was really happy with the result.

I don’t picture it here, but I carefully measured the dimensions of the cake base and cut out the marbled fondant to the appropriate size for each side of the box.  I then set them aside for 24 hours to dry on a parchment-lined cookie sheet.  I wanted sharp corners for the sides of my box and I thought having separate panels would help gain this effect.

Cigar Box Lid

The most nerve-wracking part of this project was figuring out how to make a lid that was structurally sound and yet realistic.  I was, again, a little hit-and-miss on this technique but I was able to figure out a method that turned out very solid.  First, I knew I was going to have to use foam board- sometimes it just isn’t necessary or practical to have everything 100% edible.  I cut two pieces of foam board and hot glued them together at a slight angle. I then covered it with a thin layer of cream fondant and attached the wood-grain panels to the back with piping gel, trying to keep the bulk down to keep it from getting too heavy.

Cigar Box Lid

I needed supports to keep the whole lid from tipping over, so horizontal dowels hot-glued onto the bottom part of the lid did the trick.  I did make a slight mistake in the placement of the dowels, so I did have tear them off and reattach them in a lower spot (they should be inserted directly in the middle of the cake).  It’s what happens when I get lazy and just try to eye-ball it, rather than pull out a ruler.  I was really nervous about the hot glue not cutting it and that the dowels would rip off the foam core once the whole thing was assembled, but thankfully, everyone behaved nicely.  In fact, I was pretty surprised how structurally sound it turned out to be- this thing was a solid beast and didn’t crack shift at all in transport.

Once I inserted the lid into the base of the cake and attached the rest of the sides of the box, it looked like I was going to be able to pull this crazy idea off.  Now it was time to bang out the little details to bring the whole project together.

I cut out fondant designs to use as brass accents on the corners of the box. It also served to cover up any little gaps and imperfections that were left over from my not-so-perfect measurements of the wood panels.

Cigar Box Details

Cigar Box Corner

After adding a keyhole and the birthday greeting, I was able to step back and say, this time with authority: Yes, girl, you definitely got this.

Cigar Box Cake

Cigar Box Cake

So there you have it: a tasty cigar box treat. By the way, this cake was crazy delicious: vanilla cake nestled between layers of lemon cream and raspberry jam and all covered in white chocolate buttercream.  Taste must not be waylaid for design…ever.

So as critical as I can be of my lack of originality, I am realizing that just because I can’t always come up with ideas on a whim doesn’t necessarily mean that I’m not an artist.  I was listening to a Ted Talk by Steven Johnson the other day (author of Where Good Ideas Come From), and he discussed how very few creative ideas are entirely original.  They are usually the result of a many inspirations and ideas coming together to create something new.  He argued that this meshing of ideas was nothing to be ashamed of, but an essential part of the creative process.

I’m good with that.  So maybe I’ll just go ahead and put myself in that artistic club after all. Who needs to compare themselves with other people anyway. I just made a delicious cake that looks like a freaking cigar box.  And that’s pretty cool, if I do say so myself.

Cigar Box Birthday Cake

This post is dedicated to my dear friends, Ted and Bethany. Ted: thanks for letting me make a fuss about your birthday for once.  And Bethany, thank you for your kind words and friendship, whether it be support during a crazy baking project or sharing the woes and joys of parenthood.  You guys are simply the best. 

Woodland Nature Party

We just recently endured what I like to call “birthday marathon week” in the Wiese household.  For reasons I still don’t fully understand, my children have their birthdays a mere 5 days apart.  And though it might be easier to just skip one of their birthdays (come on, you don’t really need a birthday every year…), I don’t think that’s really going to fly in reality.  And so the week of the girls’ birthdays becomes quite the extravaganza.  We’re tripping over steamers and balloons, the kitchen is covered in frosting and sprinkles, and cake and ice cream is literally just falling into our mouths for a solid 7 days straight.  It’s a rough life.

There are some benefits of having close birthdays, however.  Sibling jealousy stays pretty minimal because both receive gifts within days of each other; no one has a birthday close to Christmas; and to my delight, my girls still don’t mind sharing a birthday party.  We get the whole thing done in one big shebang.  It’s worth the birthday hangover, (which is what it feels like after eating that much cake and staying up until un-godly hours hot-gluing Pinterest projects).

The girls are required to come up with a mutually agreed upon theme and this year they had the brilliant idea to do a nature party.  Penny has been really enthusiastic about hiking and bug catching lately and Ramona loves little woodland animals so it was the perfect compromise.  We also recently moved to a new house with a rustic woodsy backyard, complete with towering cedars, a little creek, and trails connecting to a beautiful public green space that spans several acres.  We are in the suburbs, but we’ve got our own little piece of untamed land for the kids to explore.  Couldn’t ask for a better place for a woodland nature party.

Of course, as soon as the theme is decided, I’m thinking cake…

This year I was determined to NOT be totally stressed out making figurines the night before.  Also, I wanted a bunch of different little woodland friends on the cake, so I knew I would have to start early.    Here’s a little photo tutorial of how I made the owl:

Owl body

Shaping of the owl’s body (I used these cups to help the bottom stay round)

Owl Wings

Forming wings

OLYMPUS DIGITAL CAMERA

Attach the wings with a little gum glue or water

Owl Eyes

Using a ball tool to get the eyes prepped

Finished Owl

Add some little feet, a beak, and crazy big eyes and your done!

I spent about 3 separate nights working on these figurines, about a week before the party.  The great benefit of doing them ahead of time is they have adequate time to dry.  I’ve learned it’s best to let the body set up for a day or two before adding the head.  Otherwise you risk having a body that looks a bit more squashy or lopsided than desired.  Here’s my sweet little decapitated squirrel drying.

Beheaded Squirrel

He seems pretty cool with the situation.

For the cake, I just loved the look of stump cakes I had seen, so I did my own version.  I actually think frosting makes a better bark effect than fondant (and is way less time consuming!) and so I made a dark chocolate buttercream for the sides.  I was really excited because I made up my own recipe and it turned out sooo yummy (see the recipe below).  I made a tan fondant circle for the top of the cake.  The bottom tier was vanilla for Penny and the top was chocolate for Ramona, the chocolate purist.  Both were filled with homemade marshmallow cream. Now you know why we ate cake for a week straight. It was CRAZY good.

Stump Cake

The top layer completed- the bottom layer awaiting a second layer of buttercream and texturing

Stump Cake Top

Fondant was perfect for creating a natural looking ring-effect. I just simply took a pointy tool and made rustic looking circles.  Easy. 

As usual, I got really wrapped up in the project so I forgot to take more step-by-step photos, so here is the final product:

Woodland Nature Cake

Ta da!  I used left over cupcakes cut in half to make the roots


Racoon

Happy raccoon with cutie pie toadstools

Fox and Squirrel

Fox and Squirrel waiting for some birthday fun

Butterfly and Owl

Owl perched for the big event

OLYMPUS DIGITAL CAMERA

The butterflies are made out of candy melts- a new technique for me but really fun to make!

So, right, there was a point to this post beyond cake.  Something about children and a party…

Let’s be honest, if you have a cake that cool, do you really need a party too?  Not really, but I did it anyway.

Penny and Abi

Party games

Party Games

OLYMPUS DIGITAL CAMERA

Lady Bugs

Fruit Kabobs

Friends!

Rozy and Ramona

Party in the Woods

Bird Feeder Craft

Bird Feeder Craft

Old school bird feeders made with pinecones, peanut butter and birdseed. Classic.

OLYMPUS DIGITAL CAMERA

Simple nature scavenger hunt: searching for rocks, leaves, and secret treasure

Ramona's Song

Ramona Blowing Out the Candles

My children may be forced to share a birthday party, but they don’t ever have to share their candles

Penny's Song


Penny's Candles

Dress Up

Birthday Girls

Birthday Girls

Of course, these pictures don’t show me in near freak-out-mode about an hour before the party because it was pouring rain.  I was not thrilled of the prospect of having to entertain 9 children in my small living room for several hours.  Thankfully, the big downpour let up during the afternoon and it was quite pleasant and cool. And after the crazy heat wave of death we have been having, I’m very relieved I didn’t have to deal with the cake melting into something resembling Jabba the Hut instead of a tree stump.  Honestly, of all the parties I have thrown for the girls, I think this may have been our favorite yet, even with the drizzle.

And so now I have a spunky 4-year-old, on the brink of preschool and leaving behind all trace of toddlerhood.  And my darling Penny, 7 years old and jumping headfirst into all the fun, wonder, and angst of what 2nd grade can bring.  I’m a lucky mama.  And I promise I’m not tearing up and thinking about how they were just babies and how can they go and get all growed up on me…

Sniff.

Well, there’s always frosting to help ease the pain…

Not only was this frosting deliciously chocolaty, the dark cocoa made the perfect shade for bark without needing any food coloring.  When the frosting is cold (if you refrigerate your cake), I swear it has the exact consistency of fudge.

Dark Chocolate Fudge Frosting

2 cups unsalted butter (4 sticks), at room temp

1/2 cup Hershey’s Special Dark Chocolate Cocoa Powder, sifted

4 cups powdered sugar

1 TB pure vanilla extract

Pinch salt

1 jar (10 oz) store-bought fudge sauce (I use Trader Joe’s)

Cream butter with a mixer until smooth (about 2 min).  Sift in cocoa powder and beat on medium speed until fully incorporated.  Add powdered sugar, 1 cup at a time, waiting to add until each cup is fully absorbed into the butter mixture and beat until smooth.  Add vanilla, salt, and fudge sauce and beat on medium speed until light and fluffy, scraping down the bowl as needed.  You may add milk, cream or water by the tablespoon if a lighter texture is needed.

*This recipe is fully endorsed by Ramona, who truly believes: If it’s not chocolate, why bother?

Cake Therapy…and Slightly Overdoing It

I’ve been working through a lot of cake therapy lately.  And even though I have been known from time to time to eat my feelings, this does not mean that I am eating cake as a way to work through emotional problems.

My life is generally pleasant and I work very hard to count my many, many blessings. However, when life starts getting me down, my default is to bake a cake.  But as the laundry piles up in small mountains, the bills cry out to be paid, and my kids beg for what’s left of my energy, hobbies can seem a bit frivolous to indulge in.

I tried to work in a side job at Bella Cupcake, in the hopes to have some scheduled time to get out my creative baking energy.  Unfortunately, juggling the two positions was challenging and Bella needed a cake decorator who had more availability than I could offer.

So that little dream was shot down.

As I was a little disappointed the position at Bella hadn’t worked out, I began to scheme up excuses to bake away those negative feelings.  I suppose I needed to prove to myself that I can still do the thing I love, while keeping my day job.

First, I sought out my friend Simona who has five children (yes, five!  Lord, bless her heart)- surely one of them would have a birthday coming up. And as if the stars had aligned, her son’s birthday was just the following week.  So I jumped on board for a monkey/banana themed cake with the added challenge of making it dairy-free

At this point, it had been almost 3 months since I had done a big project.  I swear, I smiled the whole time I worked on this cake, even though I had to squeeze making the entire thing into one day.

Silly Monkeys Banana Cake

Silly Monkey Laying Around

My favorite monkey of the two figurines, getting into mischief 

Monkey FigurinesThe banana crate is made out of rice crispy treats and covered in gumpaste/fondant

Kids birthday cakes will probably always be my favorite projects, so the monkey cake felt like a good beginning for what would turn into a whirlwind of baking for the next few weeks.

Next was Micah’s birthday, where he often challenges me to go really fancy on flavors and less on decorating.  His only request was that I incorporated something “crunchy.”  So Snickers cupcakes became the end result:

IMG_20150414_234714

They were absolutely delicious- a dark chocolate cupcake filled with peanut-caramel filling, and topped with peanut butter marshmallow buttercream, chocolate ganache, and Snickers bars.  Although I couldn’t take credit for creating the recipe (you can find it here– thanks again Sugarhero!), baking something so fantastically delicious and fancy really was a boost to my confidence as well.

Next level to the baking therapy: make something pretty. My brother had given me a set of Wilton Gumpaste Flower cutters at Christmas which had been mocking me every time I went to the pantry for flour, taunting me for having never broken them in.  Mom’s birthday and Aunt Jacki’s retirement/birthday party gave me the perfect excuse to silence the gumpaste cutters cries for usefulness. What, your cooking tools don’t have personalities and talk to you? Weird.

For this occasion, I tried my hand at Gerbera daisies:

OLYMPUS DIGITAL CAMERA

The piping handwriting is not my best, but otherwise, the cake turned out nicely (also, see that chocolate cake in the back? It’s my flourless chocolate cake for the gluten-free folks)

OLYMPUS DIGITAL CAMERA

And for mom, the dogwood cutters had a go:

IMG_20150502_194242

Another miss on the piping handwriting, but the dogwoods looked very realistic!

On a mission to prove to myself that I could do it all, I ended up somehow making the previous three cakes in ONE DAY.  And though I held it together and completed the projects, the three-cakes-in-one-day craziness made me begin to wonder if my therapeutic activity was beginning to have the opposite effect on me…

And then the big cake order came in.

It really was the first time that I have agreed to do a cake for a perfect stranger. All of my cake projects have been for friends, family or at least acquaintances.  But someone contacted me who had seen my work on Facebook and wanted to order a large two-tier cake for an upcoming birthday party for her boyfriend.  And because I was being the “yes” woman for cake projects (even if I had a small sense I might be over-extending myself), I took on the request.

Unfortunately, after I had already bought the ingredients and had starting baking a cake that would feed 60 people, the person backed out on their order at the last minute.  Lesson learned: charge a deposit.

Feeling frustrated that I had wasted time and energy (and that I wasn’t going to get to create something cool on my day off), I put a shout-out on Facebook to see if I could get any takers for a possible Mother’s Day cake.  And that’s how I ended up popping out these two cakes on Mother’s Day weekend:

IMG_20150509_183101

IMG_20150510_091612

Finally, some decent letter piping!  Practice makes perfect…

Purple Calla Lilly Cake

Purple Calla Lillies  and Orange Dogwood. My friend, Emily, loved it

By the end of this baking frenzy, to be honest, I was completely exhausted.  Almost every free moment I had outside of work had been consumed for the past 6 weeks by my side cake projects. My family had been understanding, trying to stay out of my way as I covered the entire kitchen in a layer of buttercream and powdered sugar dust.  But I realized my little hobby to help cope with life’s disappointments can sometimes become it’s own little monster.  After the sugary dust settled, I noticed I had a husband who might like some attention from time to time, and reassured my children that I did indeed love them more than baked goods.  I think they mostly believed me.

I don’t feel guilty about doing something I enjoy, necessarily.  But I did realize that using anything to avoid the pain in life can be destructive- instead of pressing into my vulnerable places and facing the stuff I am going through head on, it’s easier to skip off to the kitchen. It’s my way of sticking my fingers in my ears and saying, “la-la-la, I can’t hear you world!” And avoiding real life works for a while…that is, until I finish the project.  The cake is done, but the pain is still clinging there.  So what I really need to seek is a delicate place many search for and never find…I believe it’s called balance.

I have felt God reaching out to me lately, calling me to step into some true vulnerability and to go deeper in my relationship with Him.  It’s exciting, and scary, and to be honest, I’ve been running away.   But I know that the only way I will ever be able to find true balance in life is through engaging in His truth.  Sometimes it means setting down the rolling pin, and sitting on the porch to absorb the beauty of the day, counting every blessing I can think of.  Other times, it’s dusting off the “Good Book” and being blown away by His word.

And if I’m able to find my value through Christ and not in what I have accomplished, my hobby doesn’t have to be an escape, but rather an act of worship. This means sometimes an encounter with God can be attained by baking a coconut layer cake for a good friend.

10423836_10152785534112212_6077459370185095868_n

It’s all about your perspective, really.

For now, I think I would rather give up the cake therapy and live a life full of truth.  Cake will just happen to be a by-product of a life well-lived.


Elsa Barbie Cake Tutorial

One of the first birthday cakes that I remember receiving as a child was a Snow White barbie doll cake. It was positively magical- I’m not sure what makes a plastic figurine surrounded by a bell-shaped gown made of pastry and frosting so irresistible, but 3-year-old Heather was completely smitten.  This was the pre-fondant era of cake decorating, so it was still a terrific novelty to make a cake that didn’t necessarily look like a cake (umm, am I making myself sound really old now…?)

And yet, even with the homebaker’s access to more novelty cake methods than can practically be imagined, little girls still can’t resist the allure of the doll cake.  Along with the fact that if you have a daughter under the age of 11, it is quite likely you have been asked to throw a Frozen-themed birthday party.  So even though I haven’t posted very many tutorials on my blog, I think this one might be pretty timely.

Princess Tiana Cake

Elsa is my second doll cake- I did this Princess Tiana cake a few years ago. The layers on Tiana’s dress had caused me a bit of a headache, so I was hopeful that Elsa’s gown would be a bit simpler.

The first step is to layer and stack your cakes.  I had used four 6-inch cakes for the Tiana cake, which caused her dress to be very symmetrical and bell shaped.  This wasn’t necessarily a bad thing for Tiana, but Elsa’s dress and cape are more flowing, so I used two 8-inch cakes and two 6-inch cakes to create this effect.  If I made this again, I would actually use four 8-inch cakes instead, because the different sizes made a stair-step effect in the back which I had to remedy with lots of cake bits and frosting to fill it in.

OLYMPUS DIGITAL CAMERA

First, I filled my 8-inch vanilla cakes with chocolate ganache (see recipes below) and measured and cut three supports. These are plastic, but I usually use wooden dowels or straws.  It’s possible that this step may be unnecessary, but I feared four layers of cake left to their own devices might slump and crumble without support.

OLYMPUS DIGITAL CAMERA

I then covered a cardboard cake circle with foil and cut a hole large enough to fit Elsa’s thighs through. I also carved out a small hole in the cake layers. Her toes are pointy and thin so you don’t have to make a huge hole, especially in the bottom layers.

OLYMPUS DIGITAL CAMERA

Then I filled and stacked the 6-inch cakes on top- this picture shows the ganache filling between my 6-inch cakes.  I used a medium circle cookie cutter for the hole, lining it up with the hole in the cake board.  I did not center the smaller layers because I wanted the back to have more volume than the front. Admittedly, it’s not looking very pretty at this point. This is the part when you might start thinking, “what the heck have I gotten myself into?”  Hang in there tiger, it’s going to get better.

OLYMPUS DIGITAL CAMERA

I undressed Elsa from her real clothes and wrapped her lower half in plastic wrap, to avoid having to scrape buttercream out of her joints later on.  If the cake doesn’t quite come up to the appropriate height, never fear- frosting will cover a multitude of sins…and cake errors.

OLYMPUS DIGITAL CAMERA

I would suggest using a sturdier cake recipe or working with frozen cakes anytime your are carving a shape.  At this point in the process, I started getting a wee bit frustrated because her gown was not the shape I had envisioned it to be- it’s much better to have more cake than you need and throw away lots of scraps than not have enough to work with.  You can see in the back how I had to fill in with a cake scrap.  My perfectionist side was starting to get the better of me, but Elsa seemed to be just encouraging me to let it go, so I did.  *collective groan*

OLYMPUS DIGITAL CAMERA

OLYMPUS DIGITAL CAMERA

Once you are happy with your shape, go ahead and slather on that wonderful buttercream and take a long sigh of relief.  It’s finally starting to look like a dress and not a hot mess!

OLYMPUS DIGITAL CAMERA

Next, I transferred Elsa over to the cake board I had made out of foam board and marbled fondant.  I rolled out my teal fondant into a circle, cut a slit to the center of the circle and then wrapped the fondant around her waist, with the seam meeting in the back.   I wish I had more pictures to show you, but my fingers were sticky and once you start the process with fondant, you have to work fast so it won’t dry out on you.

The key to creating the folds is to have a very wide circle so you have enough fondant to work with to make it look like her dress is rippling.  Some princess dresses look great without any ruffles, so you could make it smooth, but I felt like Elsa’s dress needed some movement to it.  I used a small knife to cut off the excess at the hem of her dress.  It’s tricky to work with chocolate buttercream because it always seems to sneak it’s way out of under the fondant.  Try working with vanilla if you are a beginner- it’s much more forgiving if you make any mistakes.

Sugar gun

The hem of the dress was looking a little raw, so then I busted out my new Christmas present: a craft (or sugar) gun.  I’ve seen these being used in lots of video tutorials, and I was thrilled when mine worked like a dream to create a long flat ribbon to finish off the bottom of the skirt.  If you are a cake geek, I definitely recommend getting your paws on a sugar gun- you can use it to make hair, vines, ropes, etc.  Then you can also pretend you are a vigilante against those who don’t eat dessert and use the gun to force them into sugary submission.  But I digress…

If you don’t have access to this nifty gadget, you can clean up the bottom of her skirt by either piping it with frosting or hand-rolling a rope of fondant and attaching it with a little water and a paint brush.

OLYMPUS DIGITAL CAMERA

For her bodice, I simply cut a piece of fondant that was roughly the size/shape of her torso, dabbed her body with wet paintbrush and wrapped it around her with the seam in the back. Then I used a thin cutting tool (you could use a small knife) to shape it around her bust.  I cleaned up her waistline with a rope of fondant with the help of my sugar gun.

OLYMPUS DIGITAL CAMERA

Elsa’s dress in the movie is very shimmery, but doesn’t have very many details.  Once I was happy with the basic dress, I took some artistic license in order to make it more visually interesting.  I have these wonderful snowflake plungers and they worked nicely to give the dress texture and detail.  If you are going to do Elsa, don’t even think about skimping on the luster dust- she absolutely needs the shimmer.

OLYMPUS DIGITAL CAMERA

OLYMPUS DIGITAL CAMERA

And finally, there’s her cape.  First, I cut a tapered piece of lighter teal gumpaste/fondant blend and attached it under her arms and along the back of her bodice with a little water. I used the blend (which is about 50/50) because it is easier to roll out very thin and dries more quickly. Fortunately, her cape will also cover up the seams on the bodice and on the skirt if this was looking messy at all.  I wanted the cape to flow behind her, so I tucked a little crumpled paper towel between her bodice and the back of her dress and let the fondant blend dry for a few hours before removing it.

OLYMPUS DIGITAL CAMERA

Elsa’s cape is translucent in the movie and literally looks like ice, which is nearly impossible to recreate with fondant. However, cake sparkles did the trick, especially when used generously- just moisten the cake a bit with water, and the sparkles will stick nicely.

 OLYMPUS DIGITAL CAMERA

OLYMPUS DIGITAL CAMERA

And there you have it: Elsa in all her icy and misunderstood glory.  Maria, an old friend from high school, ordered this from me and had created the most adorable tablescape- it was a little girl’s dream Frozen party.  She also ordered a few dozen mini cupcakes from Bella Cupcake (the bakery I work at occasionally) and I made some sweet little snowflake toppers to finish off the whole scene.

One thing to note: doll cakes can be an awful mess to cut, especially if you have put in the extra supports and cardboard between the layers.  But most people don’t mind, as long as it gets in their mouths! 🙂

Some helpful links:

Want to know how to make a cake board?  Check out this post!

Want to know how to make your own marshmallow fondant? Check out this post!

And now for some recipe sharing!

Vanilla Cake

This cake is nice and moist and has a medium crumb- great for cakes that need a little structure to them. It makes wonderful cupcakes as well!  If you are high elevation, I can also share my adjustments for your baking success- just comment below!

2 1/2 cups all-purpose flour

1 tsp Baking powder

1/2 tsp Baking soda

1/2 tsp salt

3 eggs

2 cups granulated sugar

1 cup canola oil

2 tsp pure vanilla extract

1 cup sour cream

Optional: 2 TB sprinkles for funfetti style

1.) Preheat oven to 350 degrees F.  Butter and flour two 8-inch cake pans and line with parchment.  (Or line cupcake pans with paper liners)

2.) Sift flour, baking powder, soda and salt into a medium bowl.

3.) In a separate mixing bowl on low speed, beat the eggs and sugar until thick; scrape the sides and bottom of the bowl when done. Add in oil and vanilla until well blended.  Mix in sour cream.  Add dry ingredient mixture and blend until smooth.  Fold in sprinkles (if using).

4.) Divide batter evenly between pans and bake for 30-35 minutes for cakes or 15 minutes for cupcakes.

-Adapted from Heather Saffer

Dark Chocolate Ganache 

8 oz bittersweet or dark chocolate, finely chopped (I usually use Trader Joe’s Dark Chocolate Pound Plus Bar)

1 cup plus 2 TBs heavy cream

½ stick (4 TB) unsalted butter, cut into pieces, at room temp (really make sure it’s unsalted- salted butter makes this taste really salty)

1.)    Put the chopped chocolate in a heatproof bowl.

2.)    Bring the cream to a boil, then pour half of the cream over the chocolate and let it sit for 30 seconds.  Working with a whisk or rubber spatula, gently stir the chocolate and cream together in small circles, starting at the center of the bowl and working your way out in increasingly larger concentric circles.  Pour in the remainder of the cream and blend it into the chocolate, using the same circular motions.  When the ganache is smooth and shiny, stir in the butter piece by piece.  Don’t stir the ganache any more than you must to blend the ingredients—the less you work it , the darker, smoother and shinier it will be.

3.)    If you are using the ganache as a glaze or as a filling for a pie or tart, us it immediately.  If you are using it a as filling or a frosting for a cake, let it sit on the counter until it thickens to the desired consistency you want, but in that case, keep checking on it—refrigerate it for too long, and it will thicken enough to be rolled into truffles.

-Adapted from Dori Greenspan

When I Want To Run Away, I Think Cake

I love my day job, I really do. By working at My Father’s House, I get the amazing opportunity to directly impact the lives of homeless families by loving and encouraging them on a daily basis.  I hear their heartbreaking stories of sleeping in cars or horrible domestic violence and get to see the relief and gratitude in their eyes when they walk into their beautiful room at our shelter for the first time.  I get to celebrate each small step in personal growth, successful job interview, or approved apartment application with these well-worn strangers who quickly become like family.  I see families who were once crushed, move out into their own homes with new found confidence and strength, and most importantly, hope.

But as lovely as those stories of success are, working with people can be really messy. Lately, it’s been just down-right ugly at times.  No matter how much we try to love people, we are going to get those who lash out because of their previous life experience.  They have their fists up because that’s what they have always had to do to survive.  They live through their hurt so they lie; they call us names; they run back to bad choices and darkness and addiction.

It’s enough to crush you at times.

So I’m sitting there looking at yet another dirty UA, and I can feel my heart start to harden.  I’m frustrated. I’m sad.  I’m worried that I’m not cut out for this work of pressing into the souls of people and digging for that sliver of hope.  Lately, those dark moments have been happening so much…is helping people really worth all this pain?

And so I start thinking about cake.

I think about how much easier it is to not do soul digging, but slather on some frosting and make people smile.  To pull something chocolatey out of the oven and know it’s going to become something creative and lovely.  To have your biggest worry be that your gumpaste flowers aren’t done, not that a child is going to be homeless again because of their parent’s addiction.  The choice seems so easy sometimes…to just slip out of the ministry and into the kitchen.

But in reality, the choice isn’t really easy and I’m not really going to walk away from the hard work I’ve been given just because we are in a difficult season.  I’m confident God has me there with a purpose and I’m committed to seeing this through until He tells me otherwise.

But it doesn’t mean that I can’t do a little caking on the side too….

OLYMPUS DIGITAL CAMERA

So in an effort to do both things I love, I was just hired at Bella Cupcake, a little local bakery, for a very part-time job as a cupcake/cake decorator.  I’ll work every other Saturday morning and get to help out with some basic cupcakes and display cakes. I’m hoping it will be a good little distraction for me, without pulling me away from home and the kids too often.  It will be my first experience working in a professional bakery, and though I do have the skills I’ve developed at home, I’m so excited to learn, learn, learn.

 OLYMPUS DIGITAL CAMERA

OLYMPUS DIGITAL CAMERA

I’ve known the owner, Debbie, for years, starting when she became a volunteer at MFH. I’ll never forget when I went out to lunch with her and she slipped me the most incredible cupcake, casually mentioning that she was trying to start her own little business. Now she has a wonderful location on the corner of Main Street in downtown Gresham and I’m thrilled to be a part of her team.

But going to work at a bakery isn’t truly an escape from ministry.  Hurting people will always be everywhere, whether I’m in homeless shelter or baking cupcakes.  My calling to be in ministry is fluid- it makes no difference where or how I’m serving.  It’s simply that: I’m called to serve. I was really inspired by Ann Voskamp’s blog this week as I struggled through my guilt of wanting to run away from the hard stuff:

“The thing is, our juggling becomes a form of God-art, when we live a One-piece Life. You know — a one-piece life, like a one-piece quilt — no piecing together, no seams, no tearing, no fragmenting, no guilt. Just one cloth. It’s all ministry. It’s all calling. It’s all holy.  Mothering a mess of kids is a ministry as much as preaching to a stadium for a month of Sundays.  The size of your ministry isn’t proof of the success of your ministry. The very Son of God had a ministry to 12. And even one of them abandoned Him. Forget the numbers in your work. Focus on the net value of your work.When you let all the fabric of your life weave fluid together — the kids, the serving, the going, the giving — your life becomes this seamless tapestry.  Live into the kind of ministry that lets you bring your life with you. Live into the kind of vocation that lets you live a full life.”

This week I had the opportunity to wrap my arms around my oldest daughter when she was discouraged, give birthday presents to a homeless child, help a friend who was moving, do my husband’s laundry, and bake lemon bars. As Ann says, “It’s all ministry.  It’s all calling.  It’s all holy.”

I’d call that a full life.  Now it just might be a little sweeter.


Magical Pony Party

If you know me at all, you know I’ve spent countless hours over the past few years planning kids birthday parties. My closet is overflowing with themed decorations, prizes, and colorful paper products that I scoop up on clearance from various stores.  I’ve lost hours of sleep crafting party favors, scouring Pinterest for age-appropriate games, and of course, making crazy elaborate cakes.  Admittedly, it’s a hobby gone a little bit wild, but there are worse ways I could be spending my spare time (i.e. starting a drug habit or building pretend farms on Facebook).

I have been throwing all of my party-animal-energy into celebrations for homeless kids, but when my own girls’ birthdays rolled around, my party-planning stepped up to the next level.  I started planning out the theme months in advance so I could start gathering ideas and cheap supplies. I’m just a little bit nutty about themes- honestly, a kid’s party without a theme is like a sundae without sprinkles…fun, but a waste of potential.  Since Penny was born we’ve done trains, ladybugs, mermaids, fairies, and now My Little Pony.

For those of you who are not immersed in the trends of 3-7 year-old little girls, it’s time to bring you up to speed.  Many of my 80’s-born friends remember My Little Pony like this:

my_little_pony_and_friends-show_5257

80s Pony

Ok, I’ll admit I don’t really remember any of my ponies rocking such a rad workout outfit.  But most girls who grew up in the 80’s will probably remember the magical power and allure of these toys.  I actually loved my ponies so much, I never got rid of them and passed them down to Penny as a Christmas present (uh, yeah…call me cheap, but I promise 3-year-olds don’t notice the difference between new and used).  But as with many iconic toys/cartoons from the 80’s, My Little Pony has had several reboots over the years so the current rendition looks like this:

My-Little-Pony-Friendship-Is-Magic-Episode-2

The updated My Little Pony has just a thread of familiarity of the original toys: They are ponies and they have little symbols on their hind-quarters and that’s about it. If you’re like me, you get a little pouty when you feel like your magical childhood treasures/memories are violated and changed into complete imposters.  Some of the reboots of my childhood favorites have been just awful.  For instance, I’ve considered if a slow, painful death would be better than enduring another episode of the new Strawberry Shortcake series.

That said, I don’t really want to be a totally lame “old person” and not jump on board with at least a few of the things my kids like.  I consider myself lucky to have by-passed any Barney stages, The Wiggles, and for the most part, Dora the Explorer (why is she constantly yelling?). So when My Little Pony became a thing in our house, I sighed, let go of my childhood ideals and embraced the change.

I allowed the girls to pick the theme for their party as long as they could come up with an idea they both liked, so ponies it was.  I don’t know if I’m blessed or cursed, but my girls were born exactly 3 years and 5 days apart. I never thought they would have such close birthdays, but Ramona was a stinker and was born almost 2 weeks late.  For now, it’s working in my favor because it means I can combine their parties into one big celebration.  I fully expect they won’t like this when they are moody pre-teens, but at 3 and 6 years, they don’t really seem to mind.  Anyway, my kids will never be moody pre-teens….la-la-la *fingers-in-ears-I-can’t-hear-you-telling-me-it-goes-way-too-fast.*

When I took on birthday parties as a hobby, I was only working about 4 hours per week.  So when I moved back to Portland and started working full-time, I knew that I was going to have to rally some help to pull off a party and a fancy cake during a normal work week.  Thankfully, my dear friend Jessica was in town on leave from the Peace Corps and I roped her into my crazy cake escapades. We’ve made several cakes before together (see our epic Stars Wars cake in my gallery), so I couldn’t believe my luck that she was going to be in town to help out.  Here she is working on the rainbow for the girls’ cake:

OLYMPUS DIGITAL CAMERA

Nothing says friendship like slaving over gumpaste modeling on a hot summer night.  I’ve got some awesome friends who put up with my silliness.

As far as flavors went, Penny wanted vanilla cake with strawberry frosting and Ramona wanted chocolate.  I made my classic vanilla cake and threw in some sprinkles to make my own funfetti batter (cuz, why not?). I used a FABULOUS recipe for Strawberry Swiss Meringue Buttercream which you can find here (if you like baking and fancy desserts, you must check out Sugarhero!).  Silky smooth, not too sweet, and great strawberry flavor.  The top tier was “Ramona’s cake” which was chocolate with dark chocolate ganache.  Both tiers were crammed full with ripe fresh strawberries.  Nothing could capture summer and little girls much better, in my opinion.

OLYMPUS DIGITAL CAMERA

After a few late nights, Jessica and I were able to come up with this, in all it’s magical pony glory:

OLYMPUS DIGITAL CAMERA

1405881647763

Pinky Pie (Ramona’s favorite pony)

OLYMPUS DIGITAL CAMERA

Twilight Sparkle (Penny’s favorite pony)

Though the cake is the most time-consuming part of the pre-party craziness, it’s just a small part of what I had planned. Considering our budget, we couldn’t afford a special destination for the party, so we decided to throw the party in the good-ol’ backyard.  And really, I don’t ever want my kids to come to expect an expensive party at fancy locations.  But I do like putting thought into our activities and making it special, no matter how small our budget might be.  I though it would be fun to make little themed stations based around some of the main pony characters.

For the food, we served Apple Jack’s Ginger Apple Cider, Apple Jack snacks (cinnamon apple chex mix), and a fruity rainbow:

OLYMPUS DIGITAL CAMERA

OLYMPUS DIGITAL CAMERAThe kids decorated party hats with some simple stickers and colored paper bracelets at Pinky Pie’s Party Craft station. Pinky Pie may be my spirit pony: she loves to bake cupcakes and throw parties.

OLYMPUS DIGITAL CAMERA

We did Fluttershy’s Animal Hunt, which was a very quick (half the kids saw where I hid them since I forgot to do this before guests arrived) scavenger hunt for some paper frog cut-outs:

OLYMPUS DIGITAL CAMERA

Then we did Rainbow Dash’s relay, which was basically Red Light/Green Light with a galloping pony twist:

OLYMPUS DIGITAL CAMERA

And I just had to have the classic pin-the-tail game too. I swear, there is a reason this game has been a party standard for years- kids just adore it.  I like to draw, especially if I have an image to look at, so I sketched Pinky Pie on some foam board and the kids pinned the “cutie mark” on her bottom.  I found cut-out cutie marks online and printed them out on cardstock. Most of the kids wanted to do this game over and over. It makes me feel like a party genius.

OLYMPUS DIGITAL CAMERA

So now about gifts: It’s not that I’m totally against presents, but I don’t like gifts as a major focus at my own girl’s parties.  Having been invited to at least 15 birthday parties last year just from Penny’s school friends, I know what a financial burden this becomes on parents.  Plus, my kids simply just don’t need more toys (and I know they are going to get birthday gifts from family members).  So I stole an idea from a mom-friend in Denver- instead of having people feel obligated to give a gift, we do an exchange for all the kids at the party.

This is how it works: we ask each child guest to bring a wrapped new or like-new book. Then we put all the gifts in a circle, play some music (I sang the birthday song) and have the children stop in front of a different package.  Then they all open their new books together. Everyone leaves with something new, no one broke the bank to attend the party, and I don’t end up with a closet of toys we have no room for.  Win-win-win!  (You could also do this with other toys- we did stuffed animals last year).

OLYMPUS DIGITAL CAMERA

The only problem with double birthday parties?  I required all the guests to sing happy birthday twice. I just don’t think they should have to share their candle-blowing moment.

OLYMPUS DIGITAL CAMERA

OLYMPUS DIGITAL CAMERA

And then the best part: cake-eating time!

OLYMPUS DIGITAL CAMERA

As I collapsed into my bed that night, wondering if it was worth the effort, money, and messy clean-up, I remembered all the other parties I had thrown for other kids over the past year. Whether it’s my own kids, or other children who have difficult living situations, having a celebration is just a way I try to show them they are loved and valued- everyone one of them was worth the time and effort.  But I don’t actually think kids need an elaborate party to feel loved-  If you make a boxed cake with canned frosting and make your child feel extra special in some other way, you are doing basically the same thing.  They are going to know you treasure them, and that is the whole point.

OLYMPUS DIGITAL CAMERA

I wonder if Rainbow Brite will ever come back into style…

Back to Sea Level and the Life We Knew

I can hardly believe it’s already been over a month since we rolled out of Denver, cars stuffed to the brim with our belongings, two kids, two cats and an adventurous gerbil.  I’d love to say moving was a breeze, but honestly, we all know moving a few miles away can be a harrowing experience, and moving across the country is no less of a nightmare.  The only way I made it through those last two grueling days of packing and cleaning was with the pure love, patience and help of some incredible friends.  Mark, Amy and Josh played a nightmarish life-size version of Tetris in our much-too-small moving truck, in the middle of an epic Colorado thunderstorm.  My darling friend Mikah Neff cleaned out my pantry, helped me scrub every inch of my house, all with a thrown-out back until close to midnight.  And Mark and Cheryl babysat our kids for two days and helped us deal with all of our stuff that didn’t make it onto said much-too-small moving truck.  It’s these types of friends that make me realize how wealthy we truly are, even when we may feel poor in spirit.  They also made it that much more difficult to say goodbye.

But whether or not we were ready to leave, the time had come and so we set out across 4 states to head for home.  Due to some serious over-planning from Pinterest, the girls never lacked for entertainment in the car.  We did road trip scavenger hunts, simple crafts, prizes at 100 mile marks, and of course lots of movies.  The girls were shockingly well-behaved and flexible, which was a relief considering my nerves were about as raw as a meat market. Seriously, if I had heard a single, “Are we there yet?”, I think they may have met the She-Hulk in person.  But our move was an adventure for them, and I had them believing we were on some sort of crazy exciting vacation.  On our first day, when we realized we would not be reaching our hotel until about 1am, we pulled over in a truck stop and I told the girls we were going to have a super fun sleepover in the car.  They were like: “YAY!”  We brushed their teeth in the truck stop bathroom, changed them into their PJ’s and gave them a couple of glow sticks for nightlights.  Yet again, they were like: “YAY!”  After being back on the road for about 10 minutes, they were asleep, never the wiser to the fact that I was experiencing one of the most stressful days of my life.  Fake it till you make it, moms20140616_12180120140616_121747
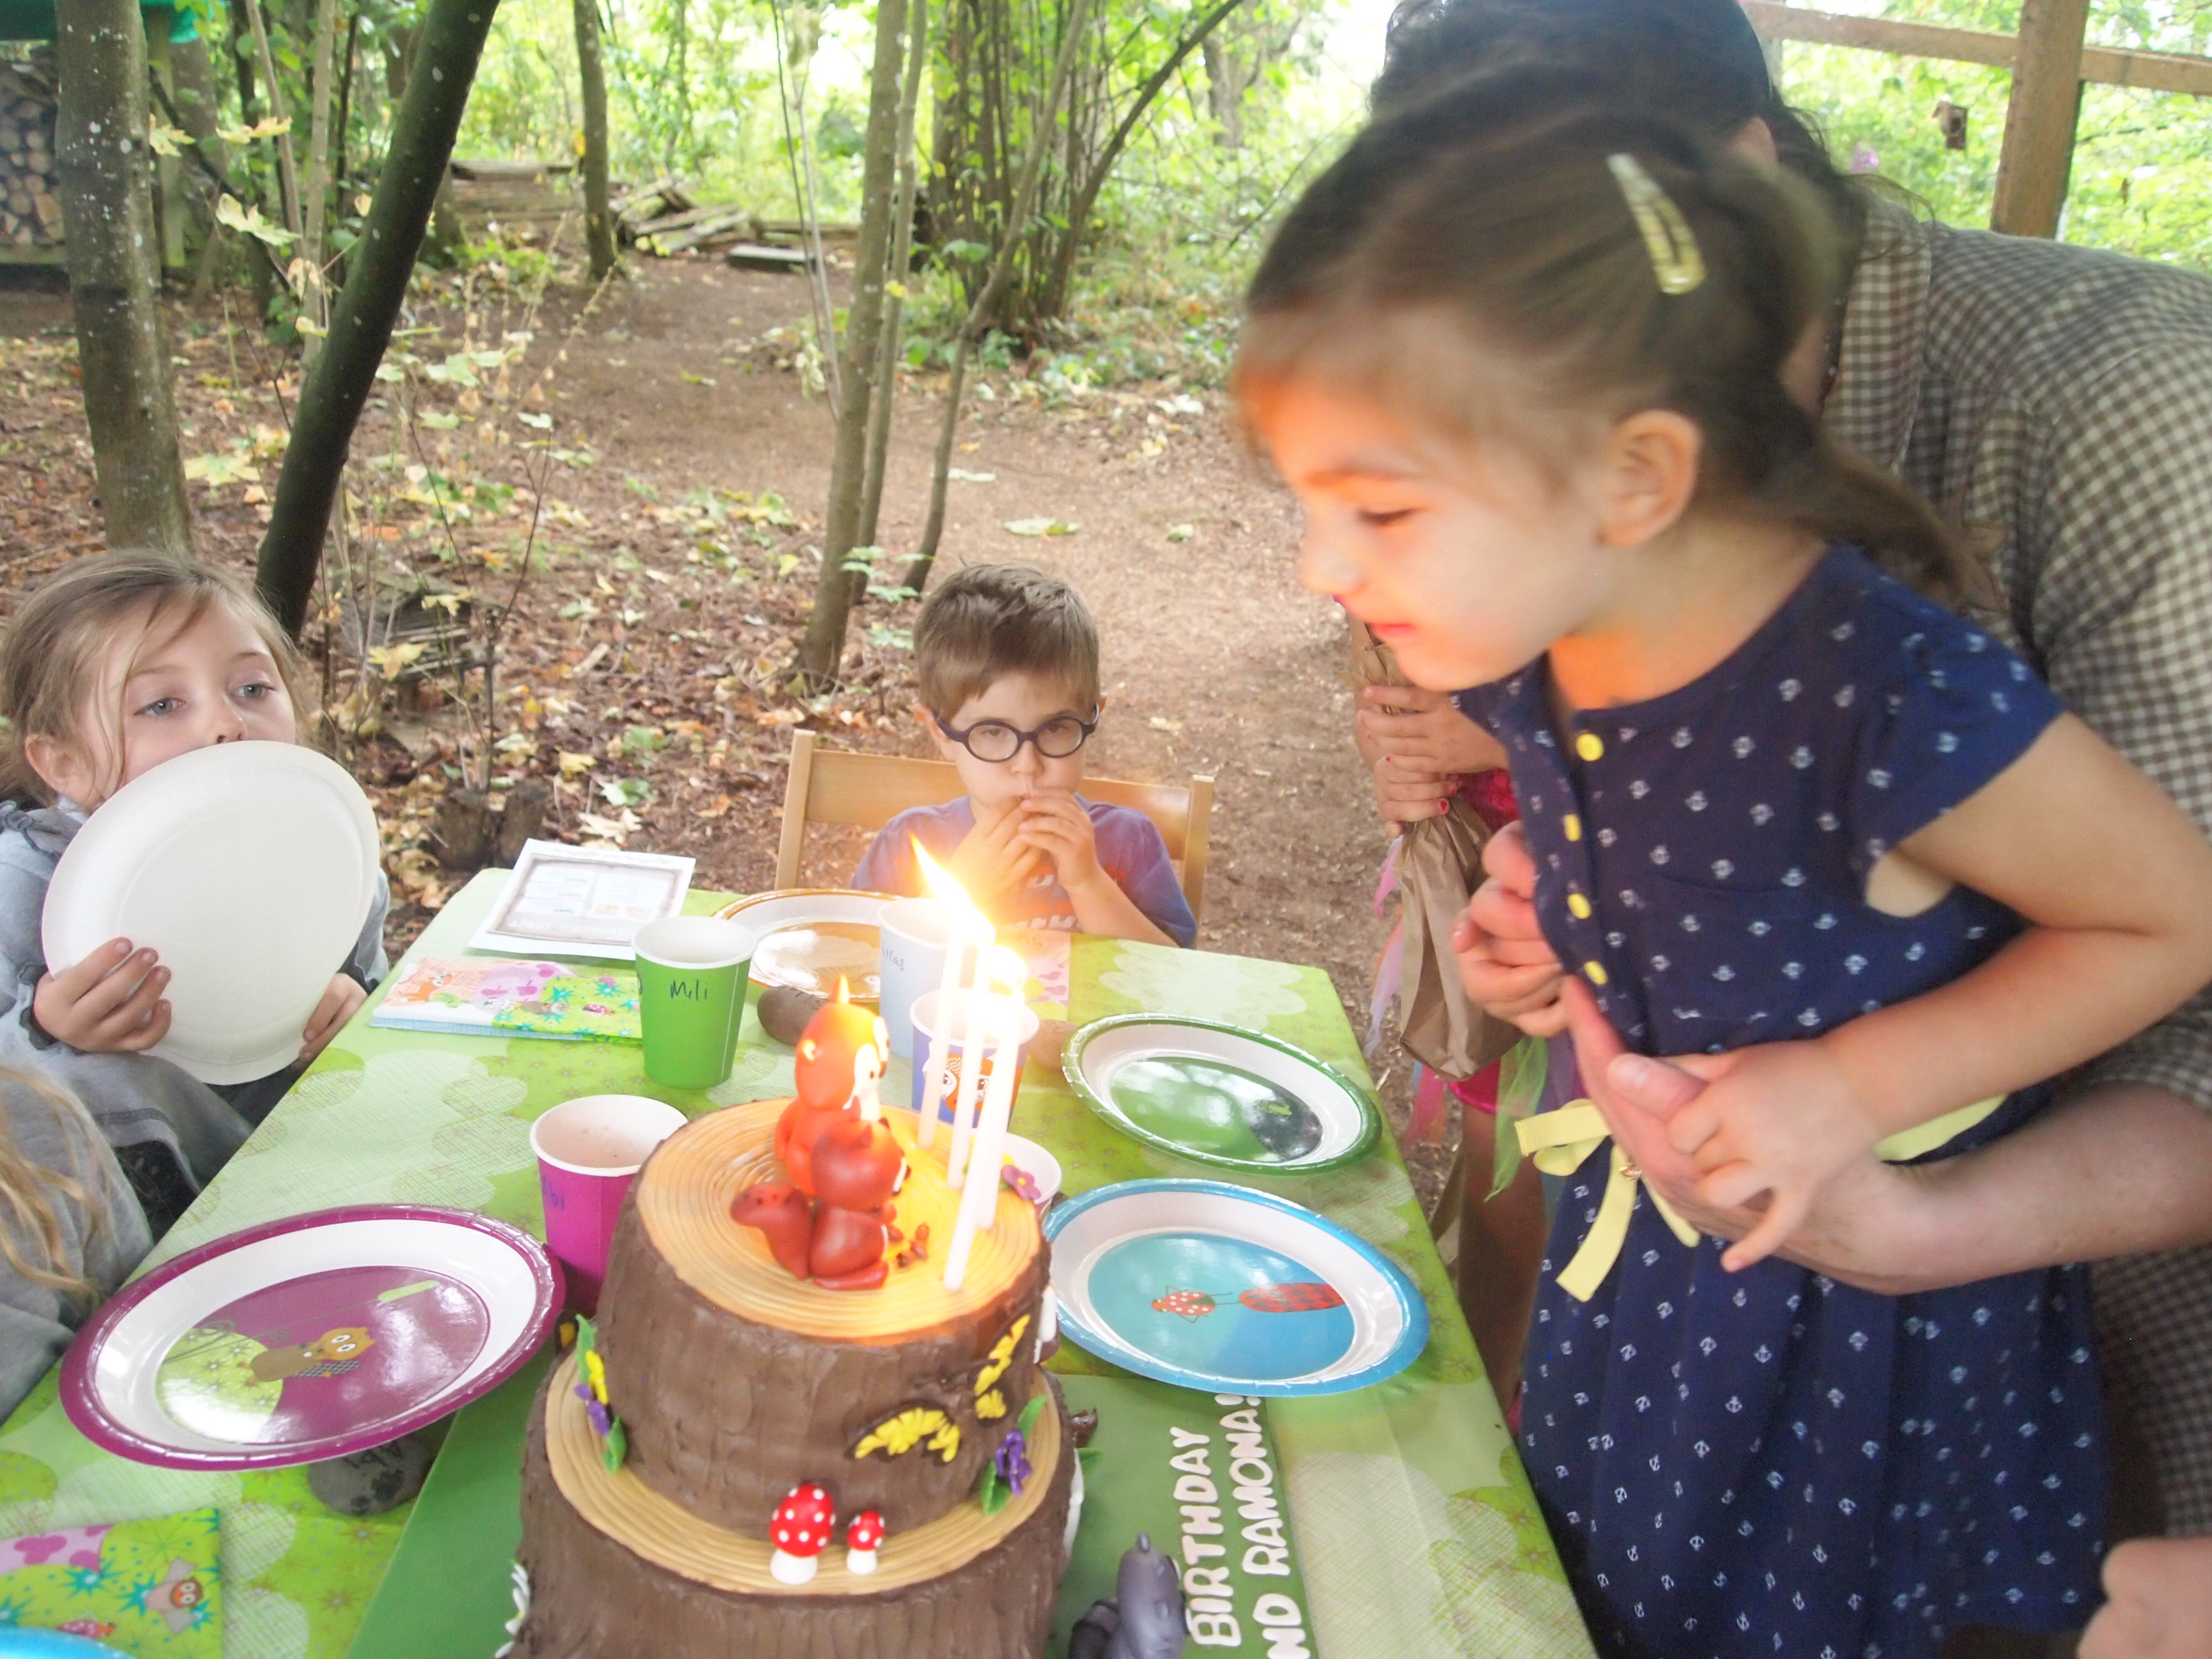
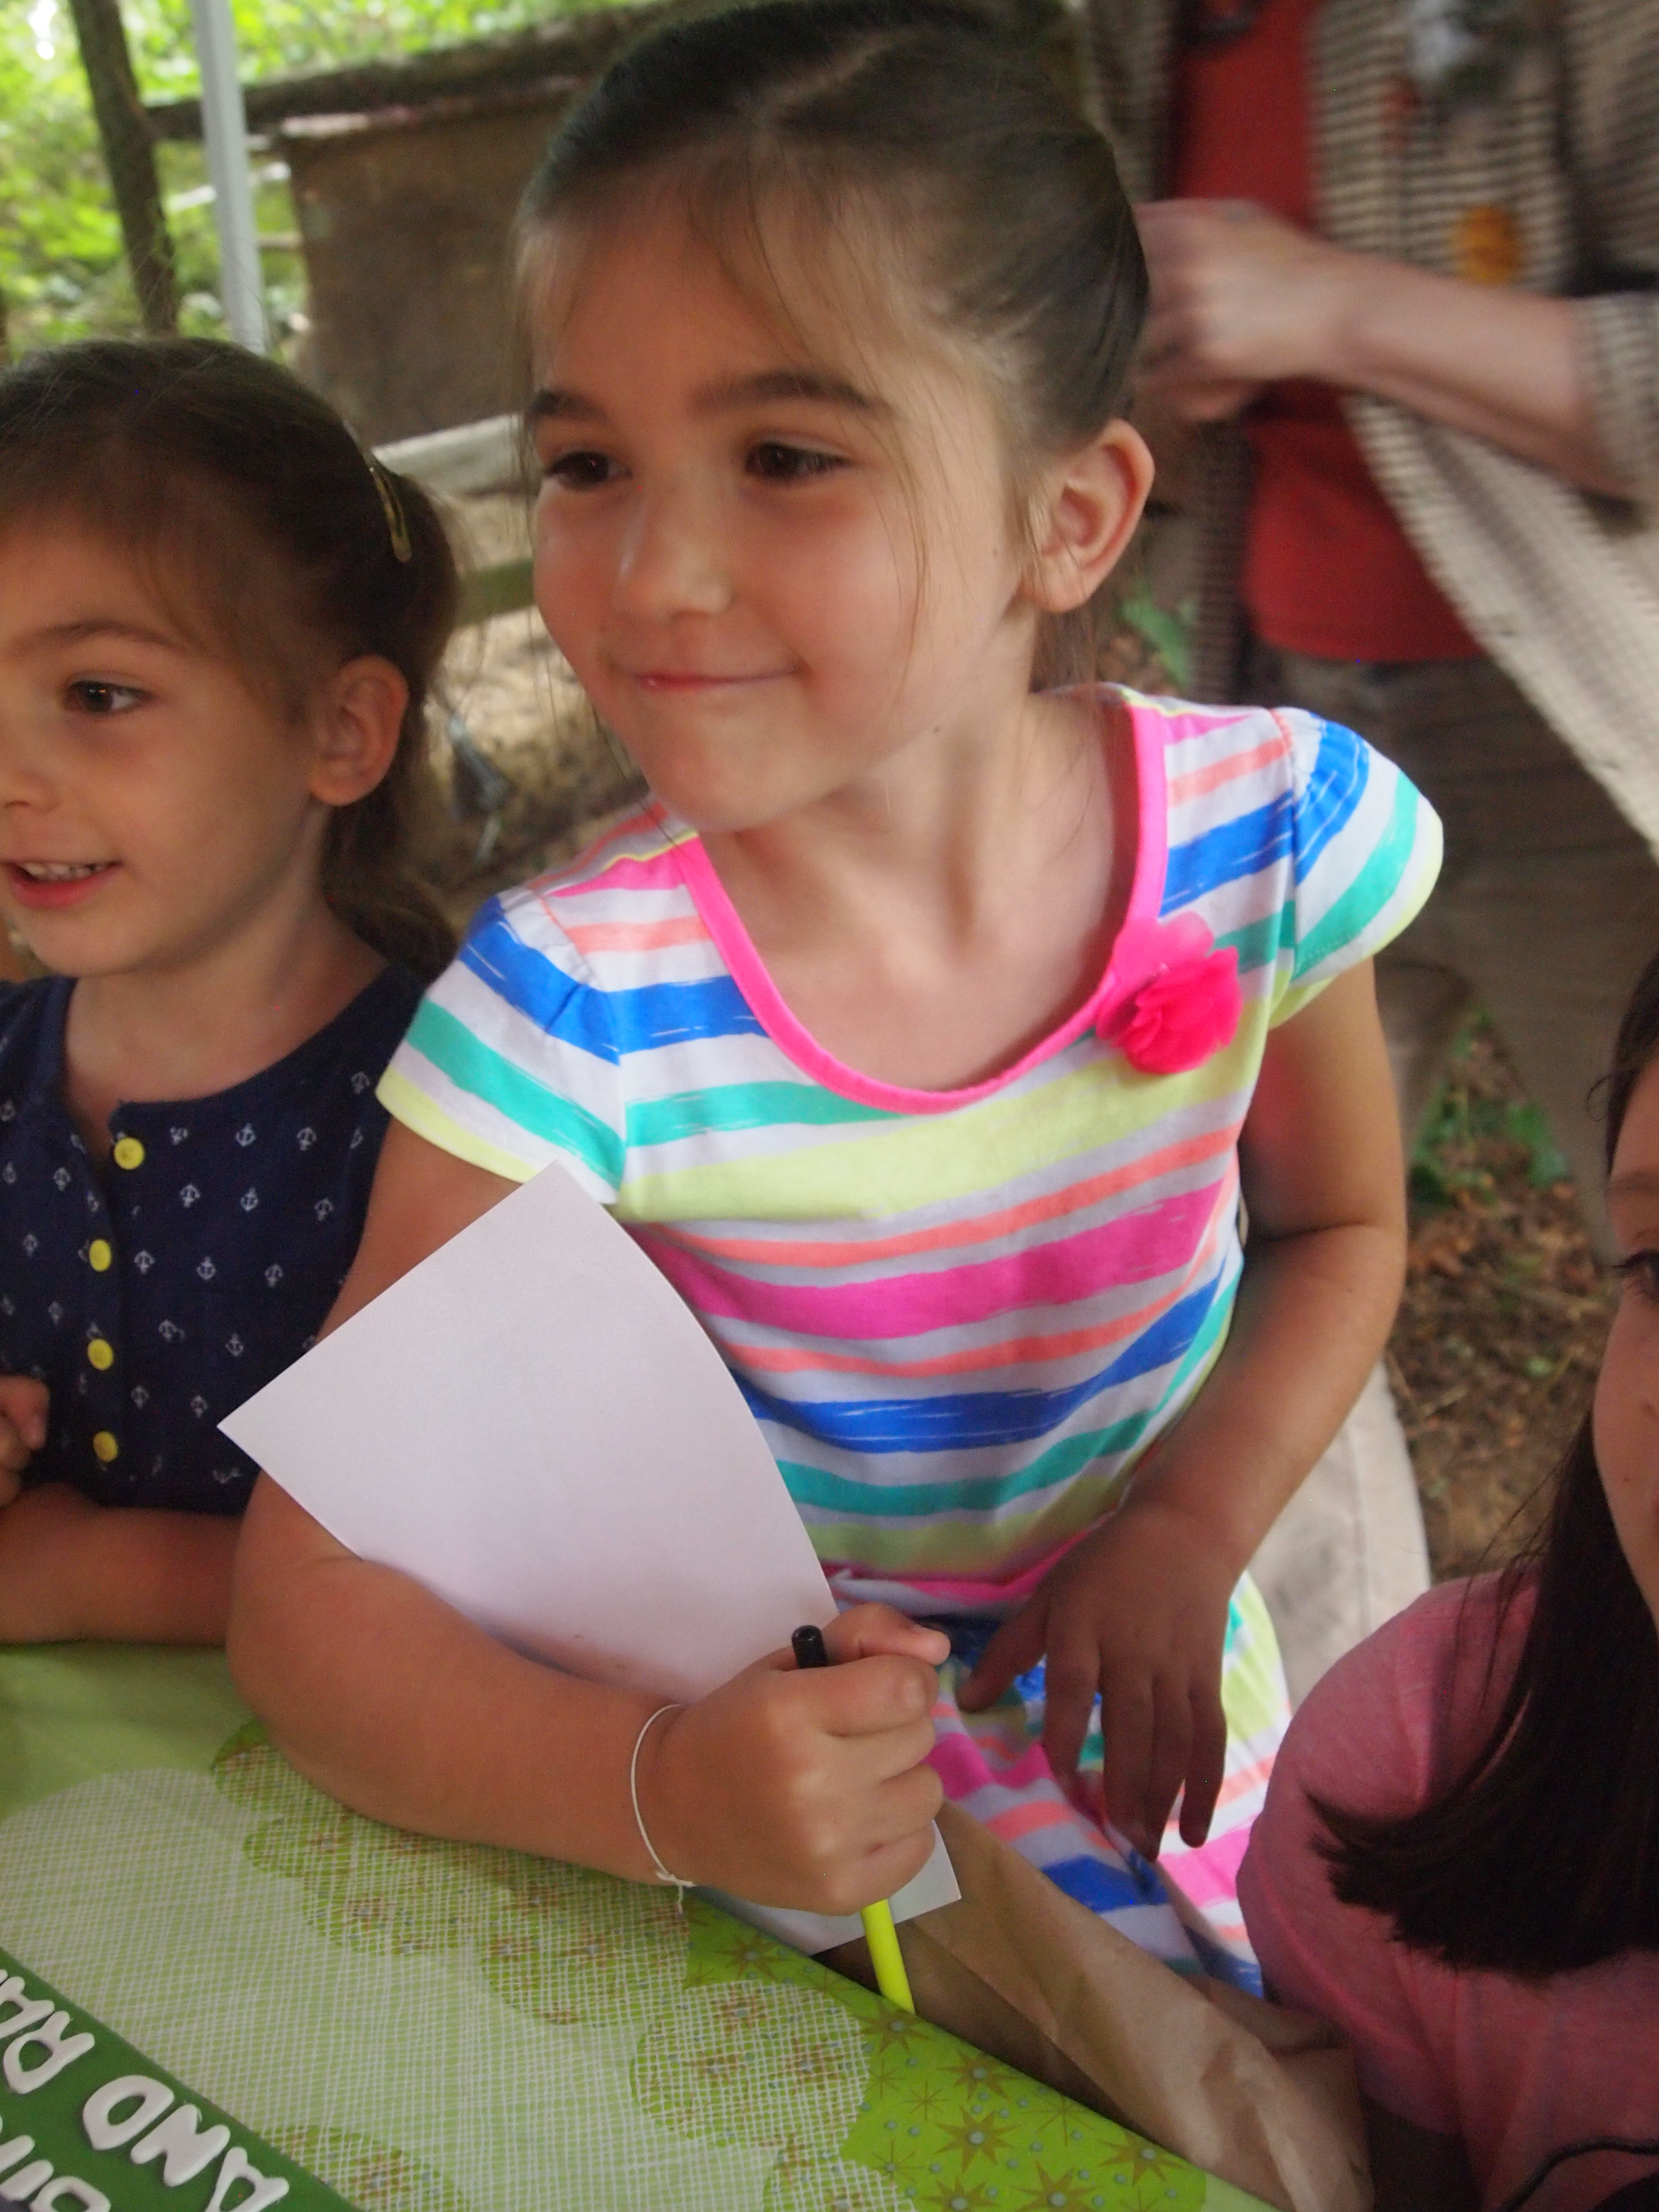
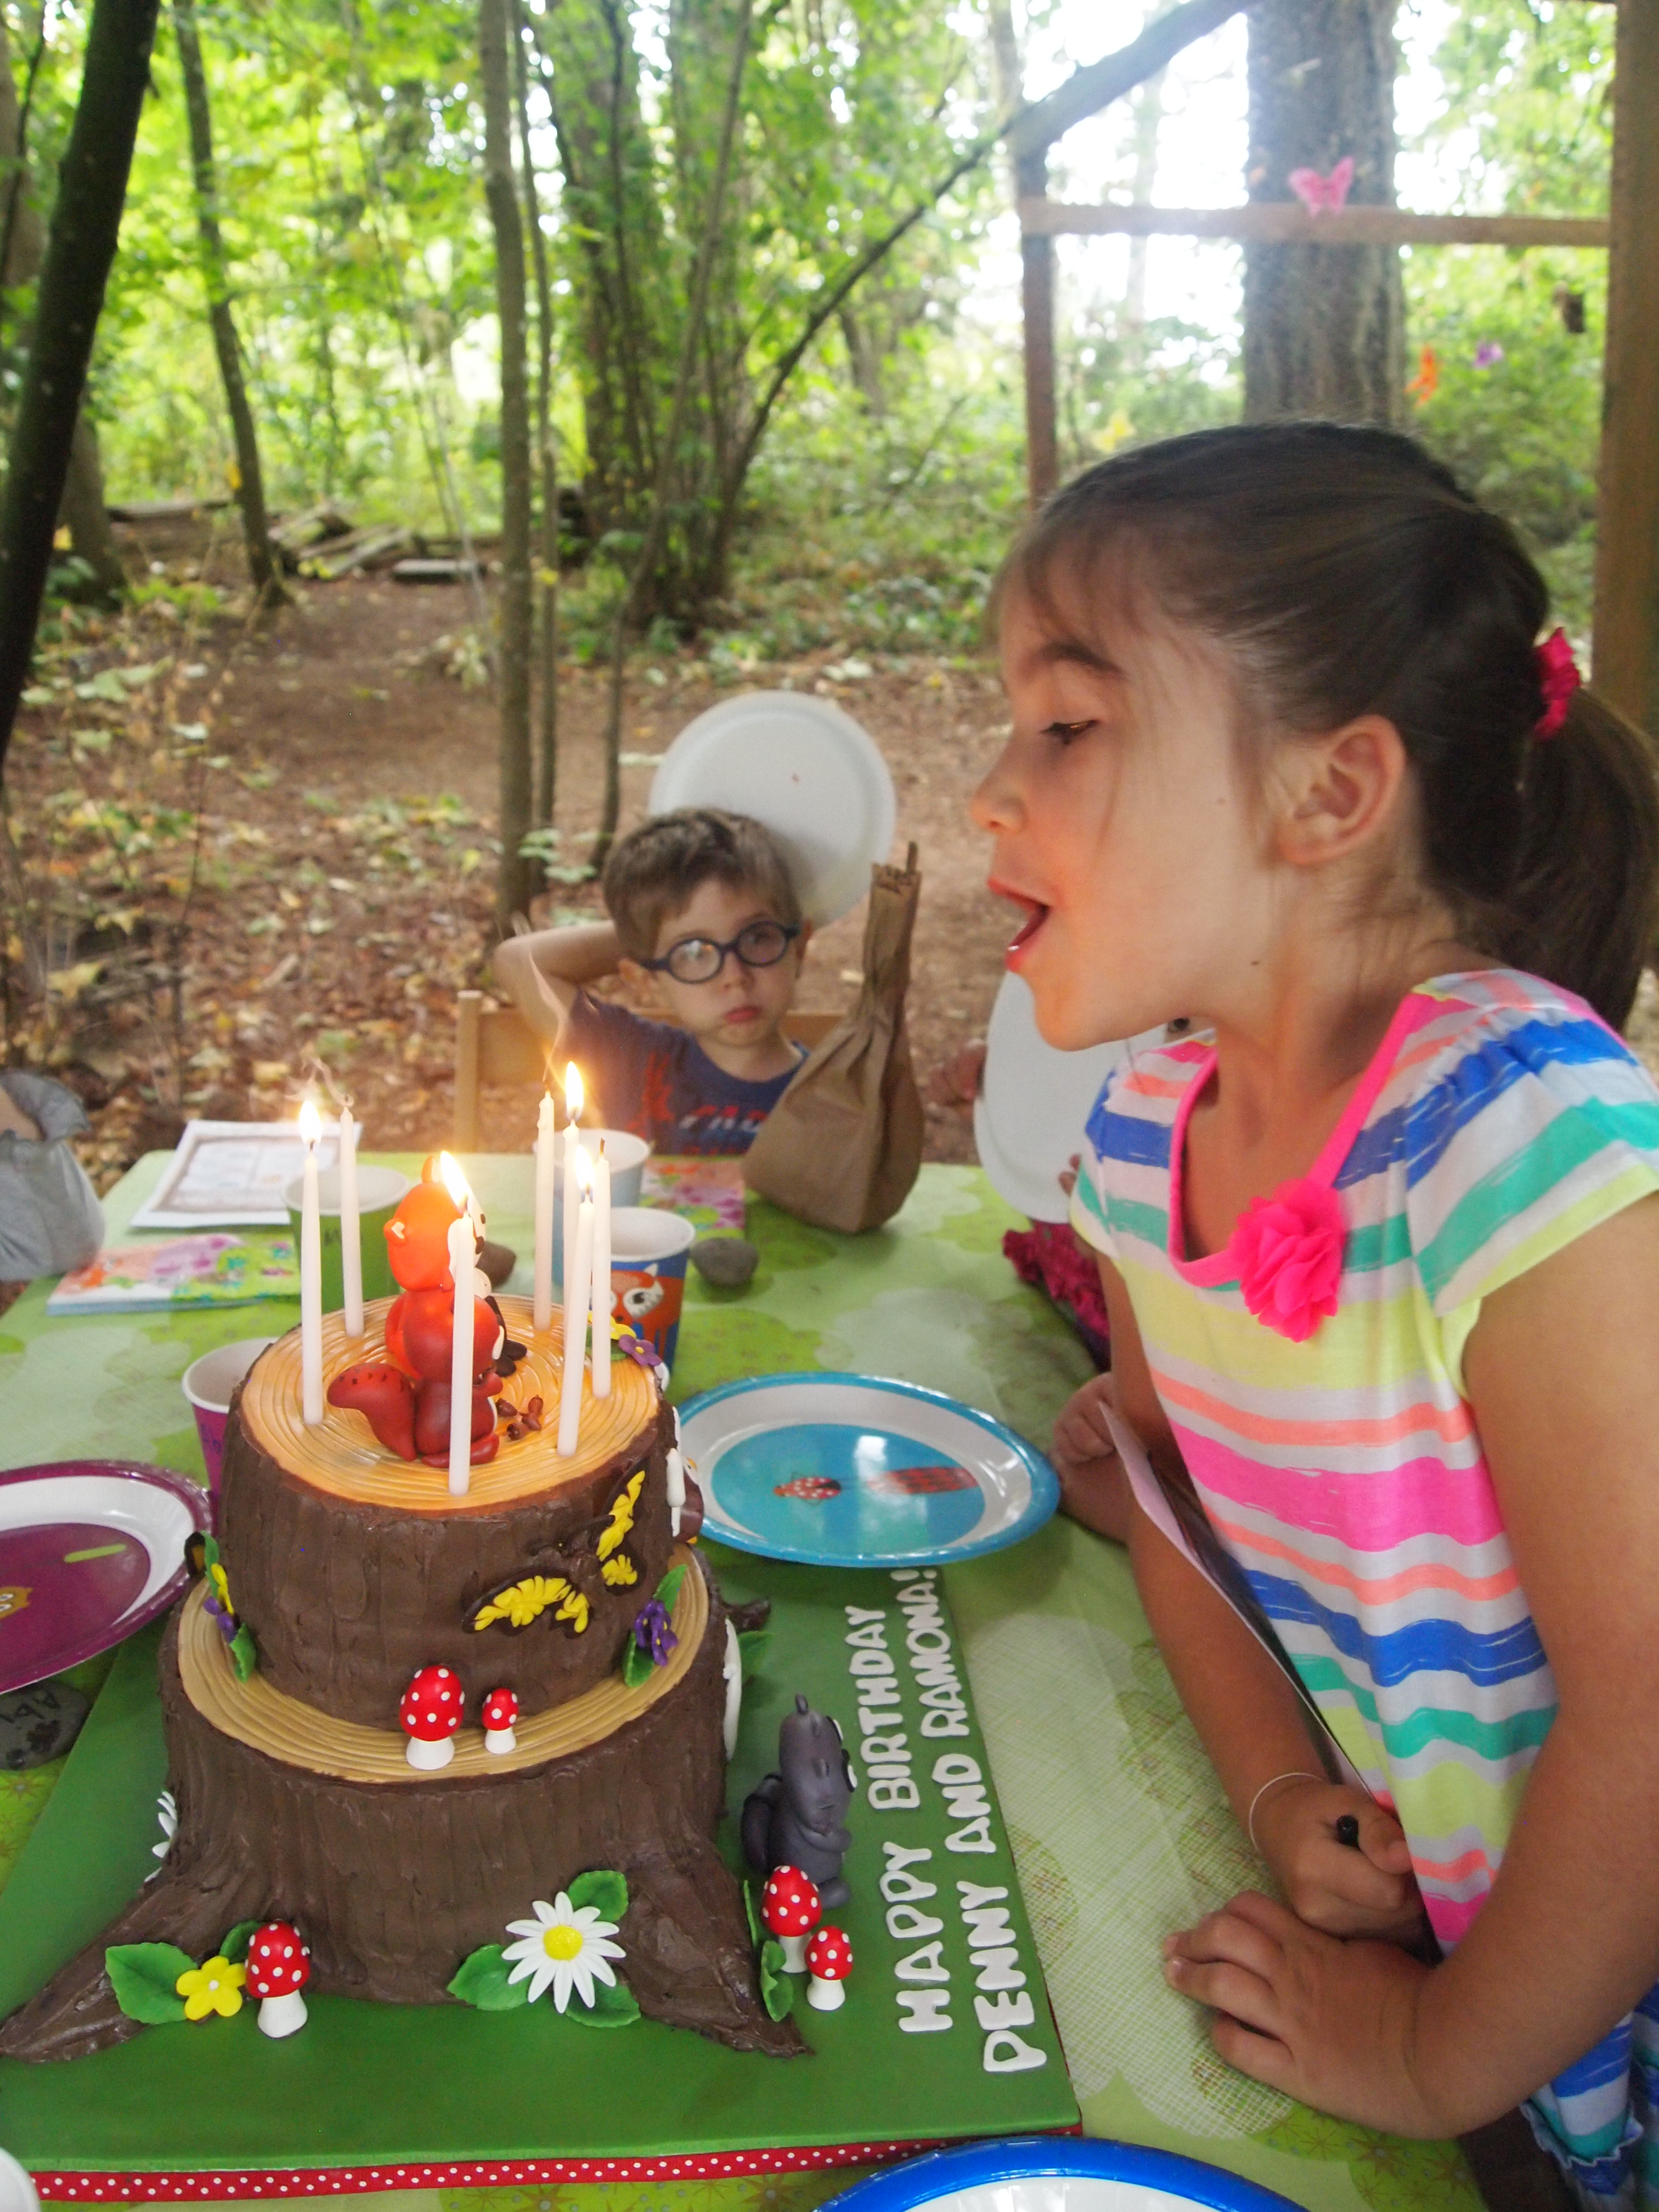
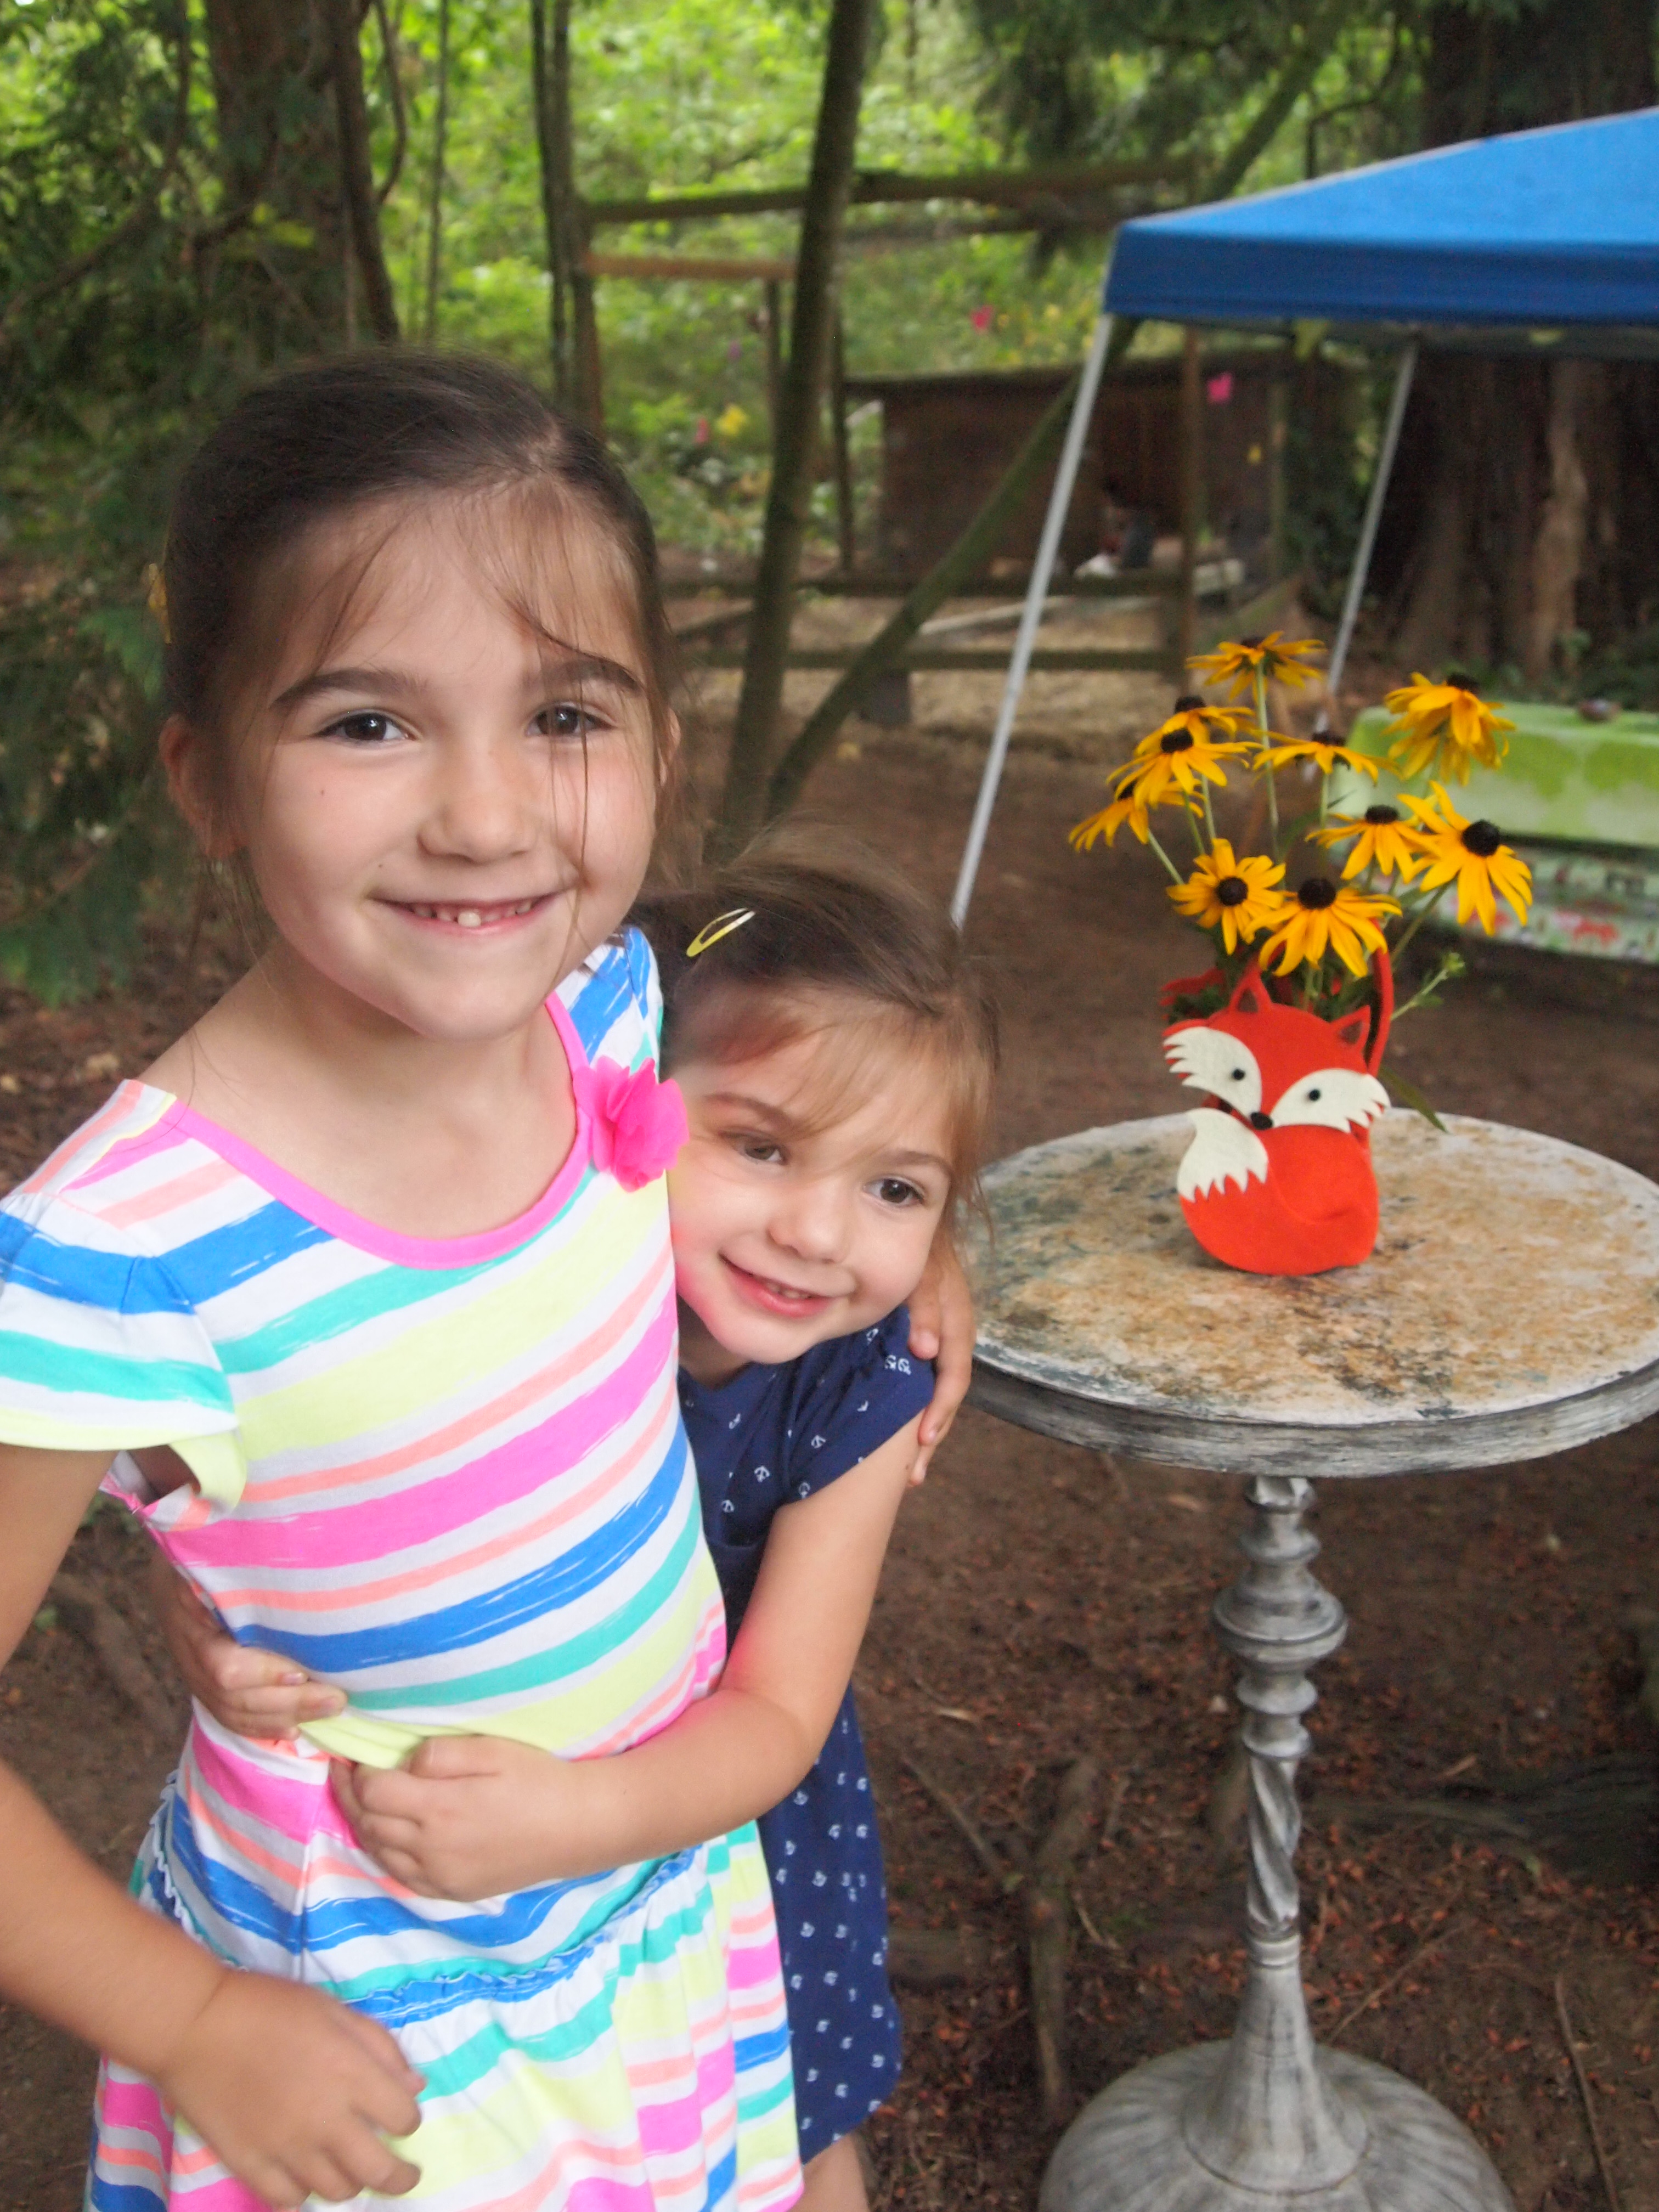
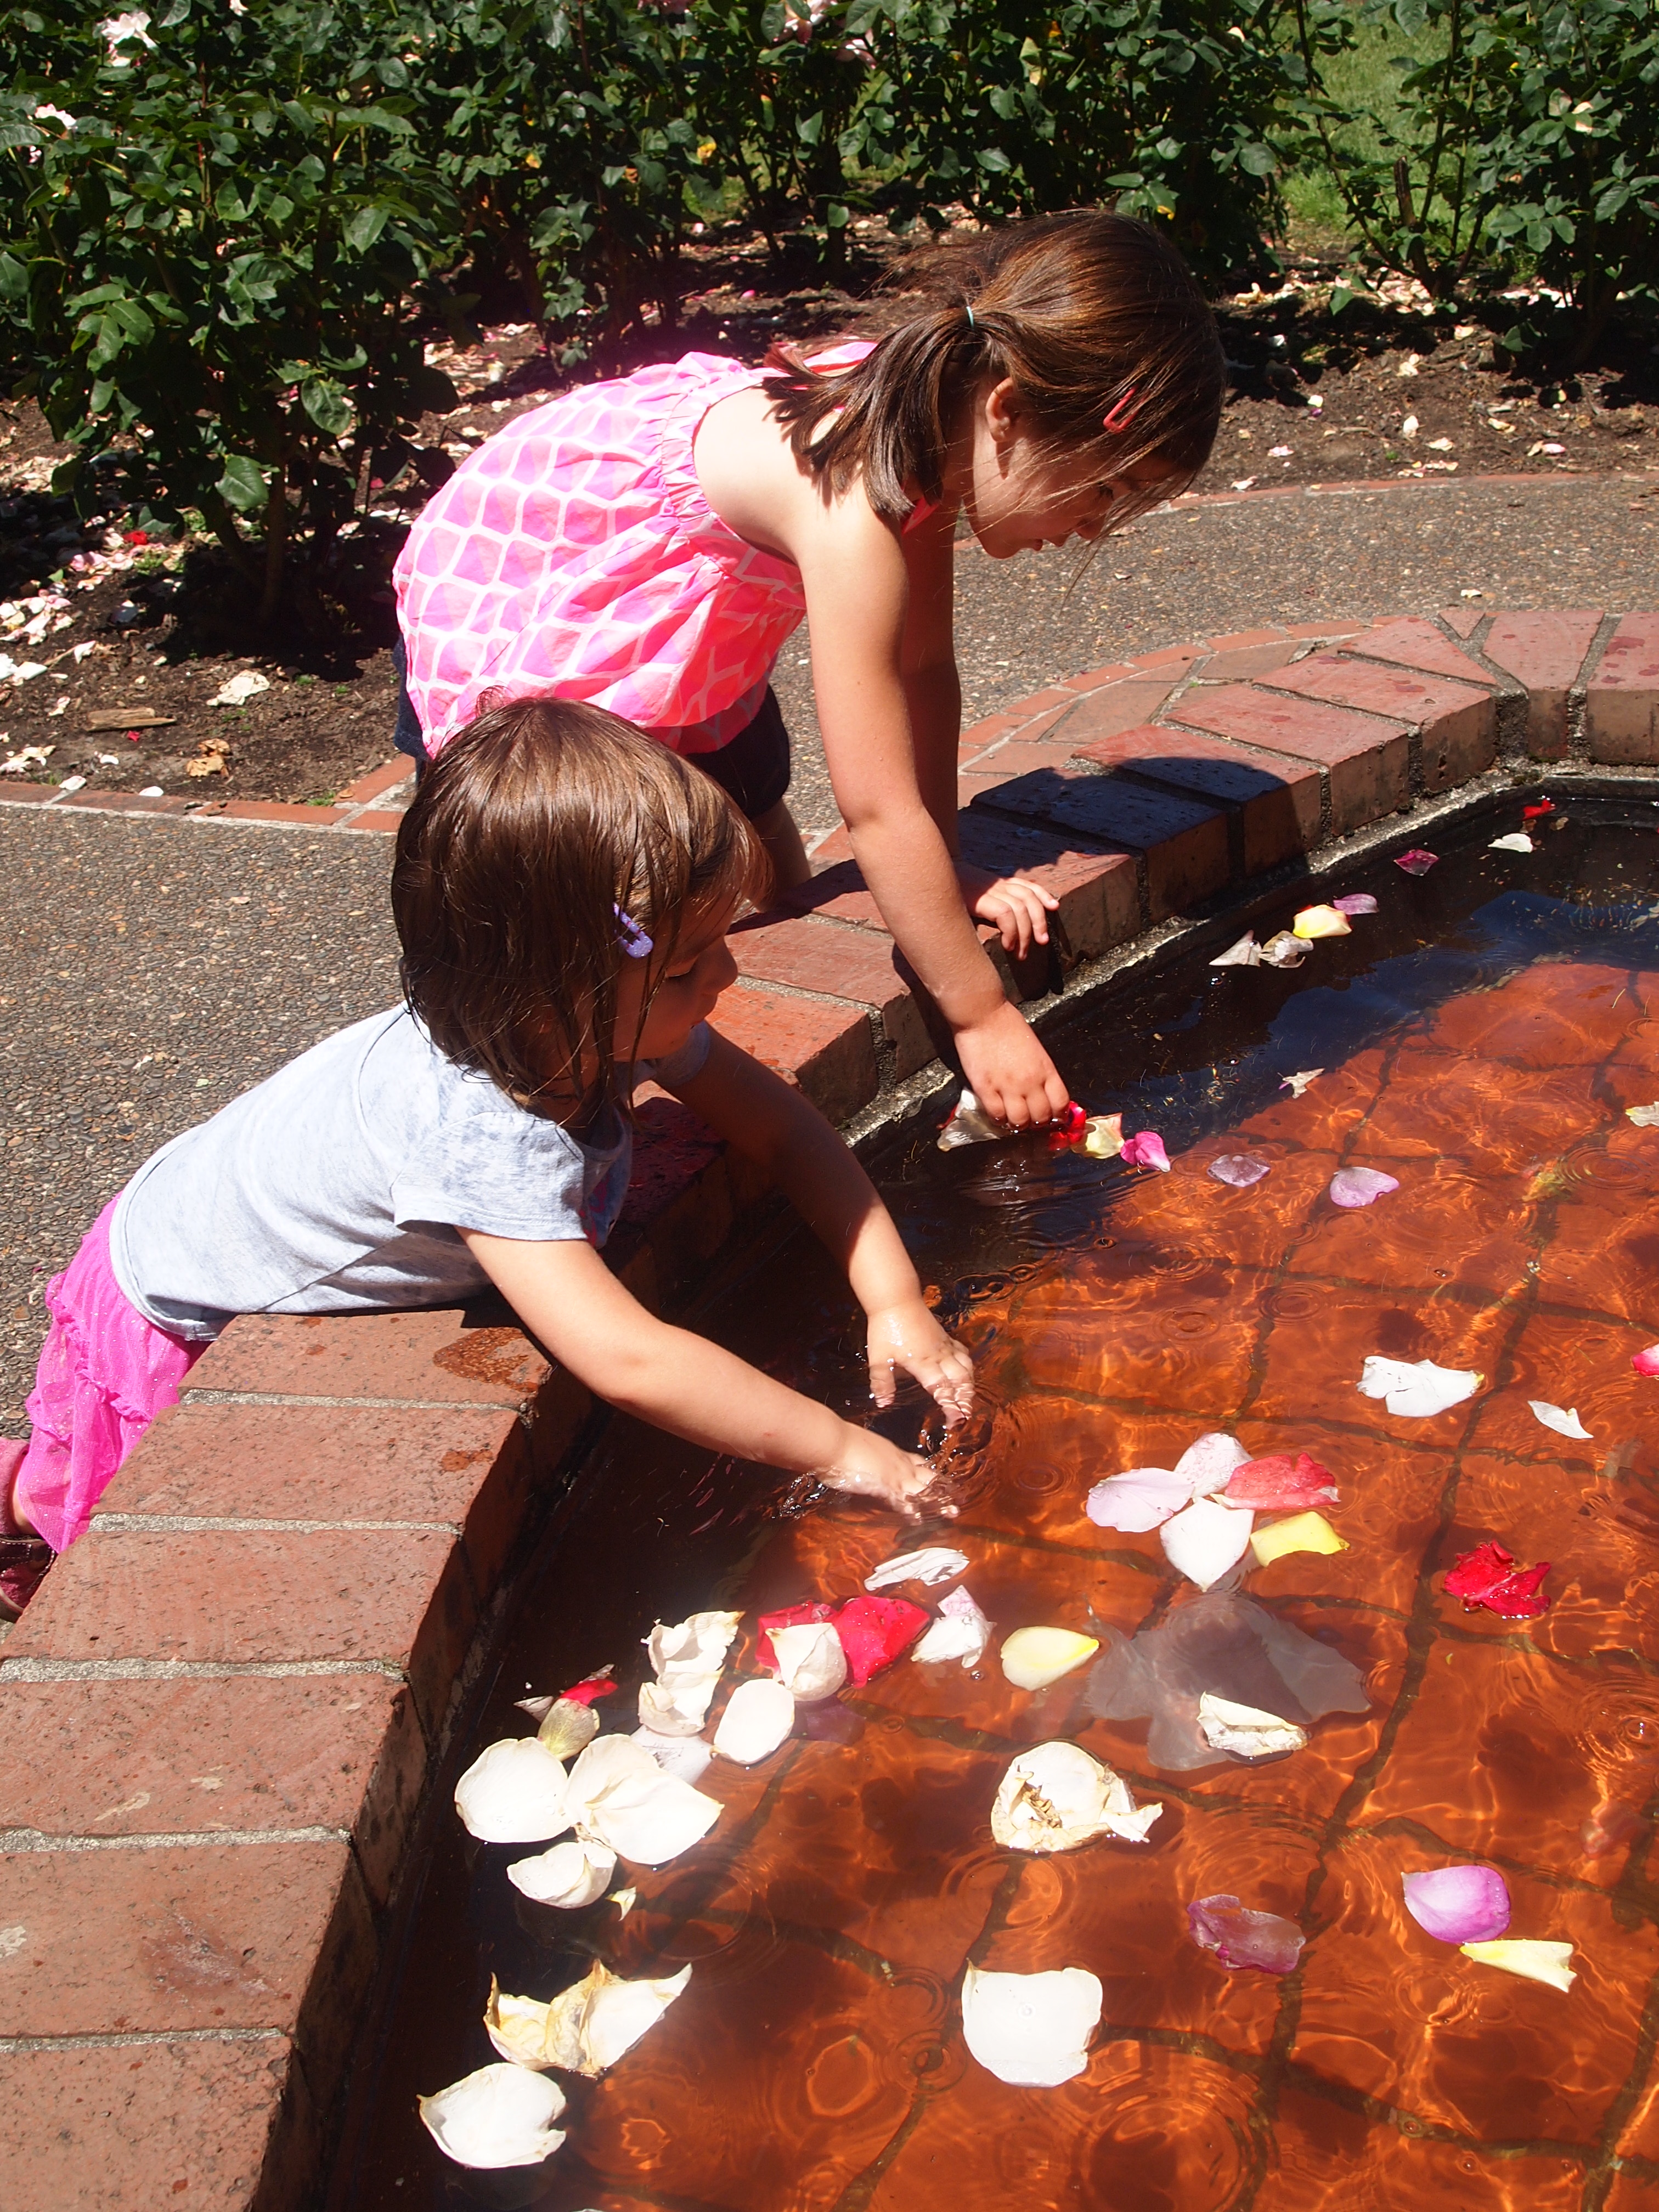
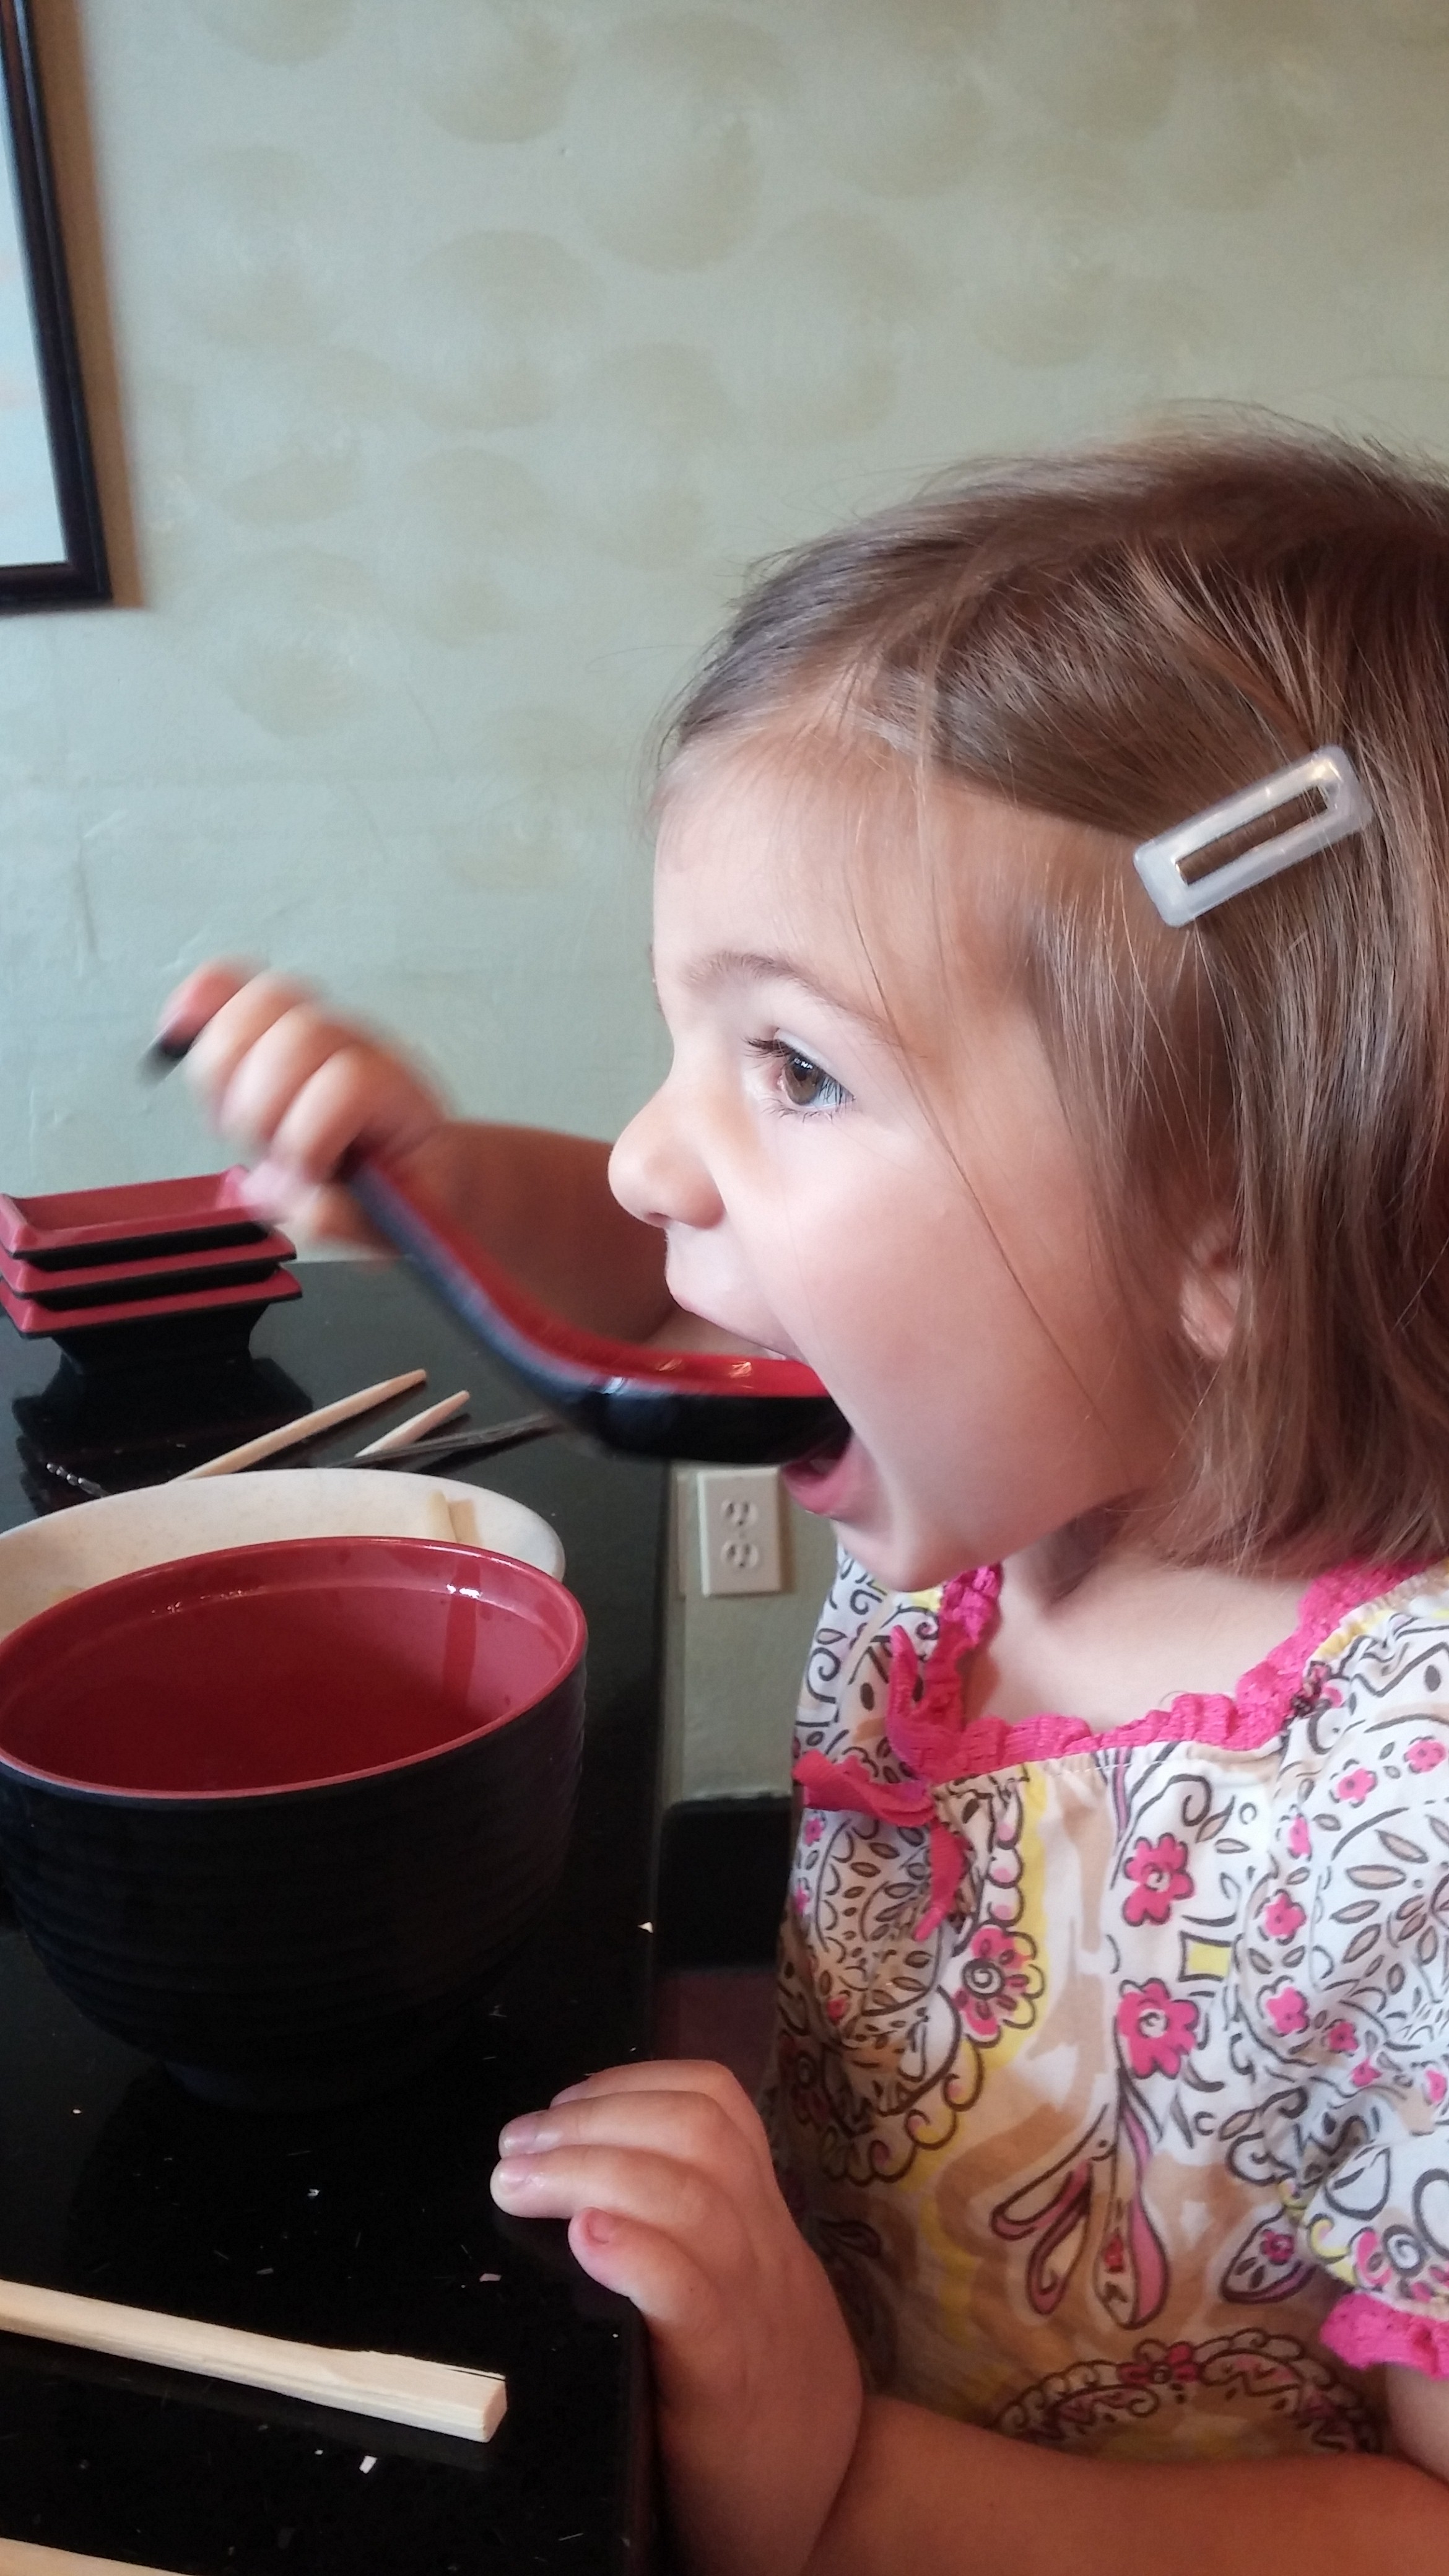
.                                   Ramona and Penny on the “most fun” trip ever!  

We drove through some beautiful scenery: there were the rolling hills in Wyoming and striking rock formations and mountains in Utah.  And then there was Idaho.  Now, don’t get me wrong, all you hard-core Idaho fans.  I’ve been told there are beautiful places to see there.  But as we were getting closer to Oregon on the last half our trip, I was sick of the brown, dull landscape, the crappy truck stops, and the cars with gun racks. I just needed to get-the-heck-outta Idaho.

And then, just when I thought I couldn’t stand the lack of pretty any longer, lo and behold, the Columbia River comes into view.  And the rock walls start to raise up on either side, the trees start looking bigger, and after a few hours, we know we have come back to the Columbia River Gorge.  I couldn’t stop drinking in the views as the green swelled up all around us. I found myself thinking, “do trees really grow that big?”  It was striking after living in a near-desert environment for so long. The girls noses were practically stuck to the windows as they ooh and ahhed over the gorgeous trees and flowers.  Sometimes it takes going away to realize the splendor we grew up with.

And so we are back in Oregon. The places look much the same (except the trees are bigger), the people are familiar, and even my job is very similar to when I left. In fact, there have been times when I have had to pinch myself to be sure that whole Colorado thing wasn’t just a very long, vivid dream. But we’ve changed and grown so much from our Denver adventure, and I’m glad to be home with a fresh perspective, even if it feels a little strange to be back at times.

The best part of being back is introducing our girls to their beautiful new home.  They were both born in Portland, but now they will be raised here, and I’m on a mission to have them love it just as much as we do.  So almost as soon as we got back, we started exploring.  Penny was fascinated with the term “City of Roses” before we moved back, so I had to take them to the Portland Rose Garden right away. They were completely enchanted.

OLYMPUS DIGITAL CAMERA

OLYMPUS DIGITAL CAMERA

 OLYMPUS DIGITAL CAMERA

OLYMPUS DIGITAL CAMERA

We also reconnected with old friends…

OLYMPUS DIGITAL CAMERA

OLYMPUS DIGITAL CAMERA

Got friendly with Mt. Hood at Lost Lake…

OLYMPUS DIGITAL CAMERA

OLYMPUS DIGITAL CAMERA

OLYMPUS DIGITAL CAMERA

OLYMPUS DIGITAL CAMERA

Picked our own fruit right off the tree or bush

IMG_20140707_230711

Finally had some decent cheap sushi…

20140628_184154

20140628_185920

And saw a REAL waterfall. Sorry Colorado, you hold nothing to the water splendor around here…

OLYMPUS DIGITAL CAMERA

OLYMPUS DIGITAL CAMERA

And perhaps one of my favorite parts of being back: sea level baking. No guess work on reducing leavening, adding flour, or decreasing sugar.  I follow a recipe and there’s a very good chance the cake won’t fall or the cookies won’t look like flattened mistakes.  Honestly, it’s almost too easy to bake at sea level- it’s taken the challenge out of it a bit.  But that doesn’t mean I haven’t been creating my fair share of bready goodness.

 I’m working full time right now, so I’m definitely holding off on a making a ton of cakes, but I’m more than ready to spend my free time on smaller projects. My first baking attempt was these yummy yeast cinnamon rolls, which turned out nicely, even though I forgot to add the melted butter.

IMG_20140622_093225

Then there was the blueberry pie for 4th of July (with local berries from the berry stand, of course!)

1404627623472

And yet more blueberry baked goods with these muffins. I gasped when these came out of the oven. I haven’t seen such a perfect rise on my muffins in years.

IMG_20140630_222903

It’s not all been berry-picking and roses since we moved back, however.  There’s been some real challenges with adjusting to our new house, working full-time at a fairly stressful (yet rewarding) job, and Micah’s struggle with his job search.  But we take each day one at a time, continuing to feel the love and prayers of our friends in both Denver and Portland.  We won’t be in transition for our whole lives, so I’m comforted to think of this rough patch as just a chapter in our bigger story.

We’ll get to where we are going someday.  But for today, we are meant to be here.

OLYMPUS DIGITAL CAMERA

Thanks again to everyone who helped with childcare, moving, cleaning, unloading, and gave me a shoulder to cry on during the past few months.  You know who you are!

Also, stayed tuned for my next post on the girls’ magical My Little Pony party 🙂