Month: April 2014

Disney Frozen Cake: Party Day!

Cake Day 8: Sunday, April 6th

8:00am:  The day had finally arrived.  I woke up with a feeling of slight anxiety, realizing I had about a million things to accomplish before noon. However, I was also excited to finally be close to the goal- to bless a little girl who had experienced a great deal of turmoil in her short five years of life so far.

Due to confidentiality, I can’t share too many details or even include any pictures of her in this post.  But the whole reason I was going through all this effort was to show this little girl she was valued, special, and loved.  Our birthday girl was born to a teen mother and their family had been separated off and on through some difficult circumstances.  But the program at First Step was providing an opportunity for them to get back on their feet, pursue their dreams, and move toward a life of self-sufficiency. As I saw it, her birthday was really just an excuse to celebrate a new chapter of their life together.

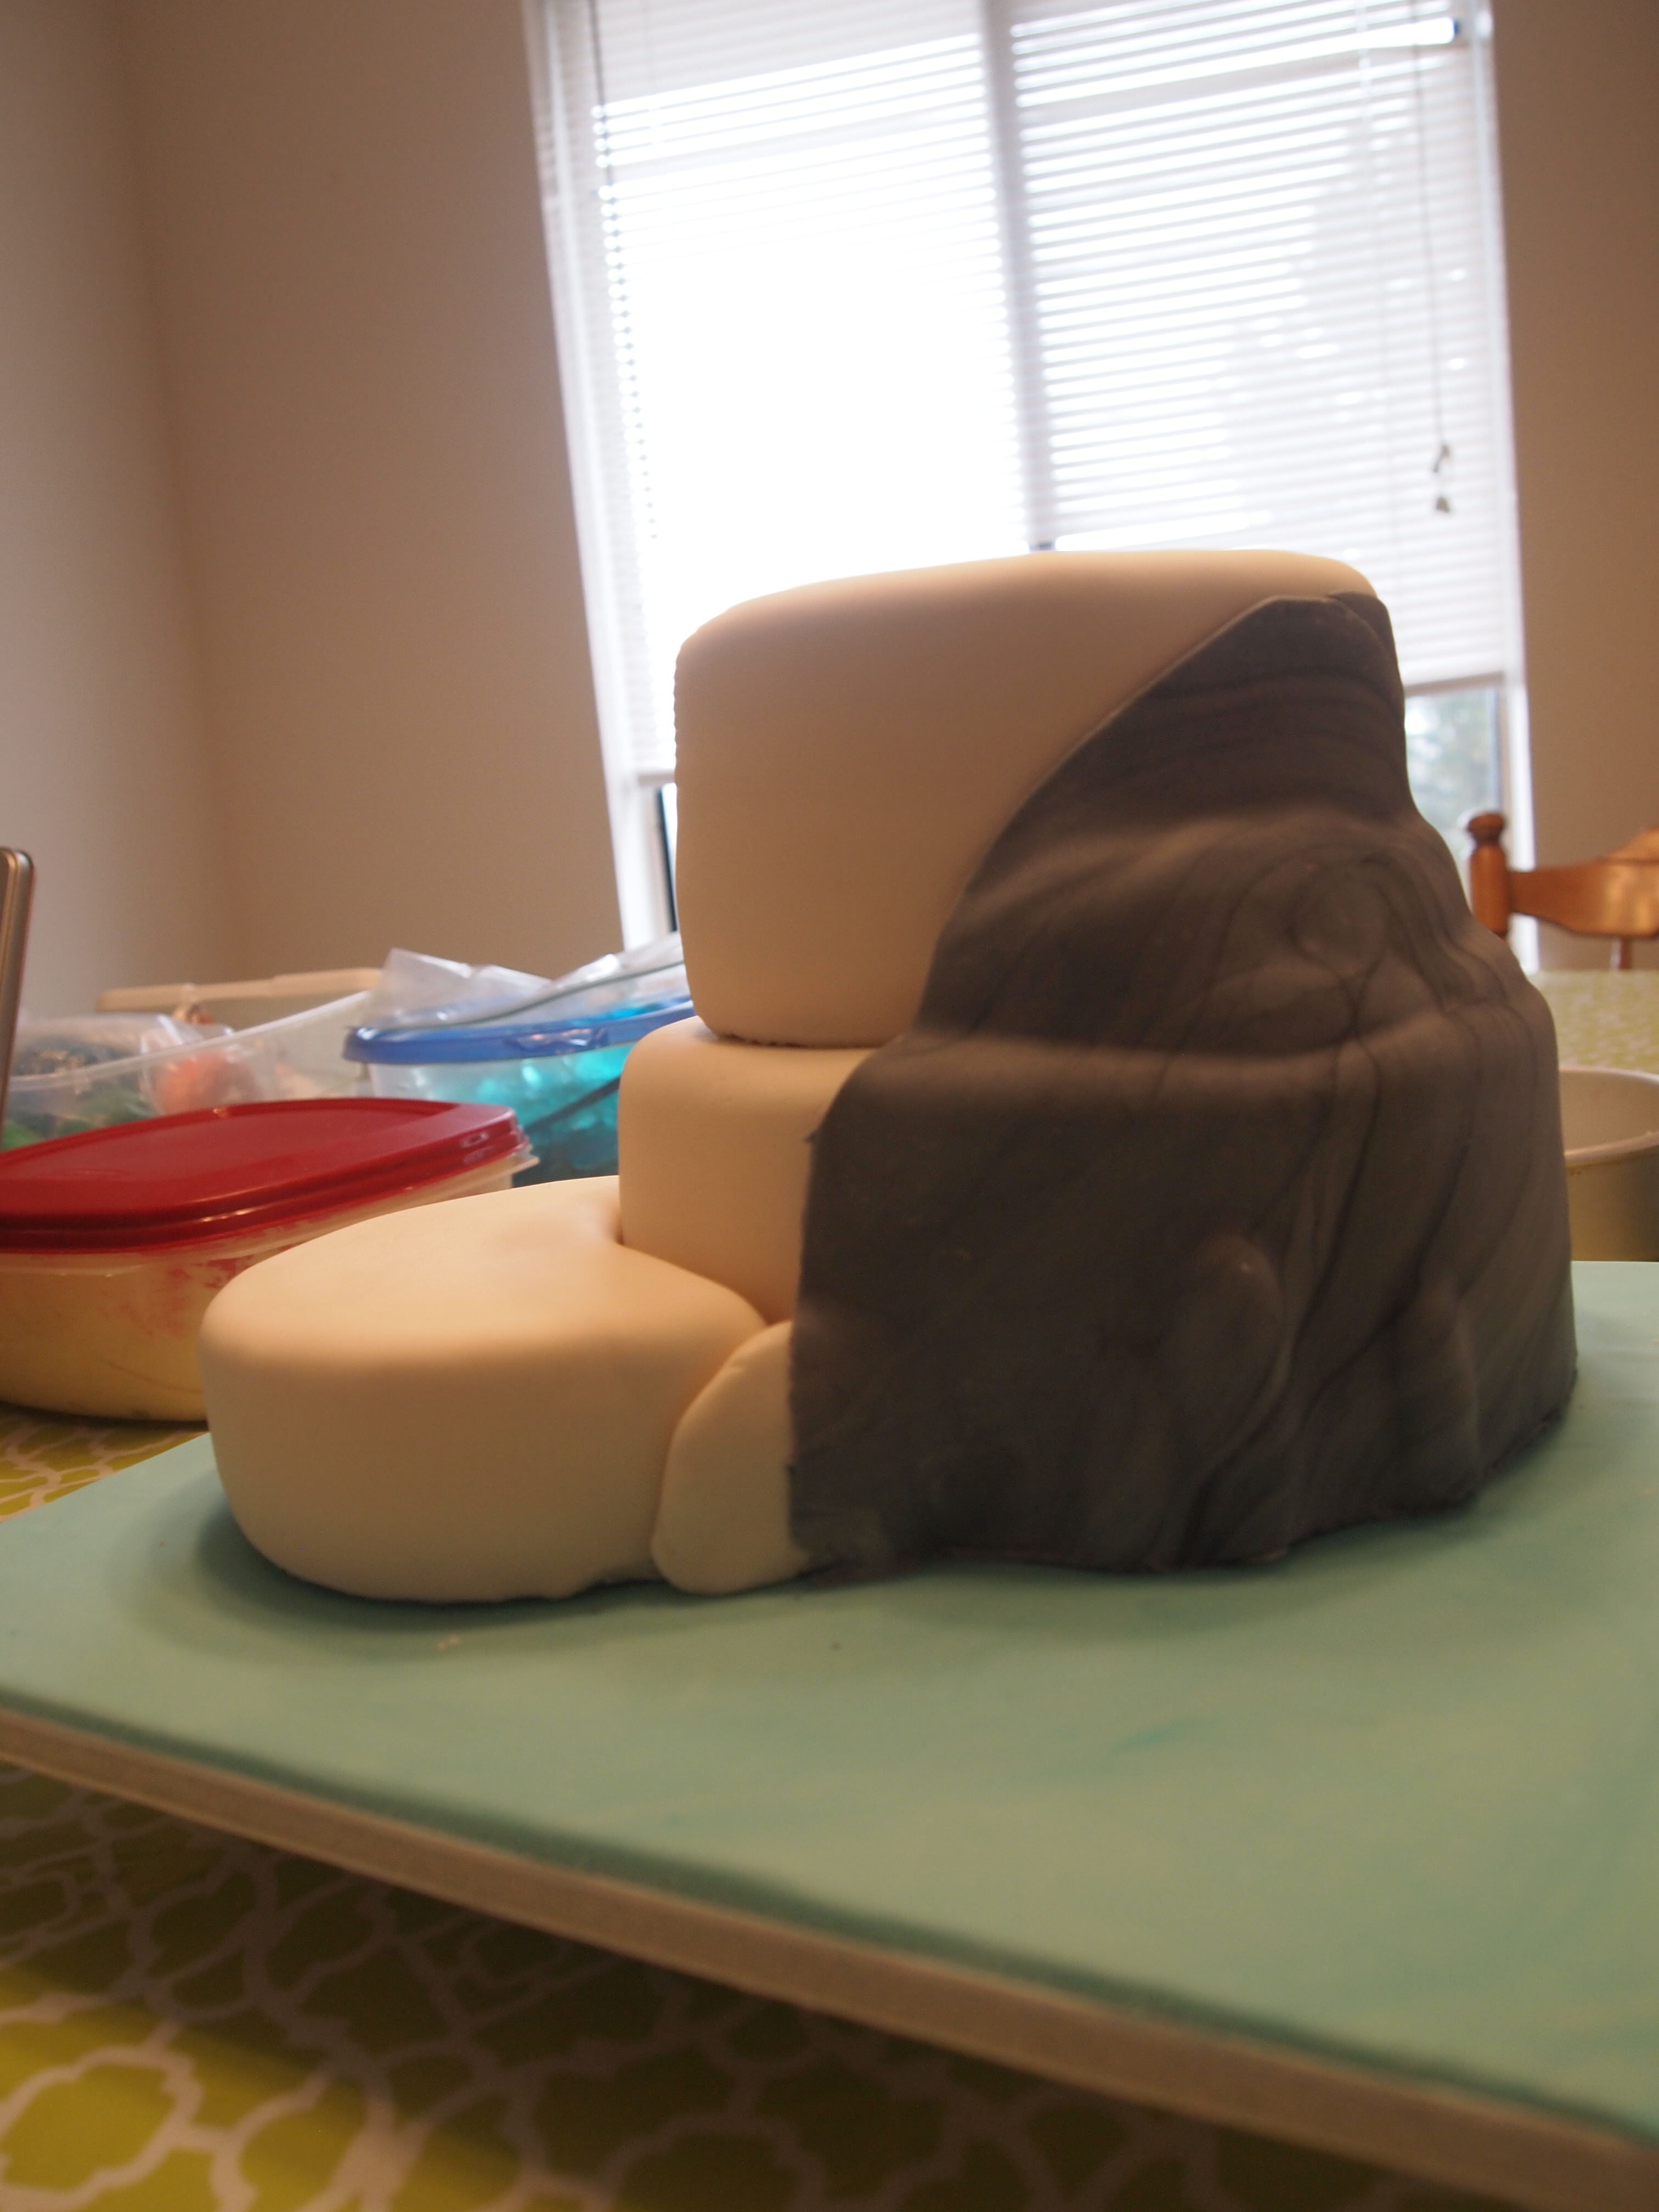
But first, there was a cake to finish…

OLYMPUS DIGITAL CAMERA

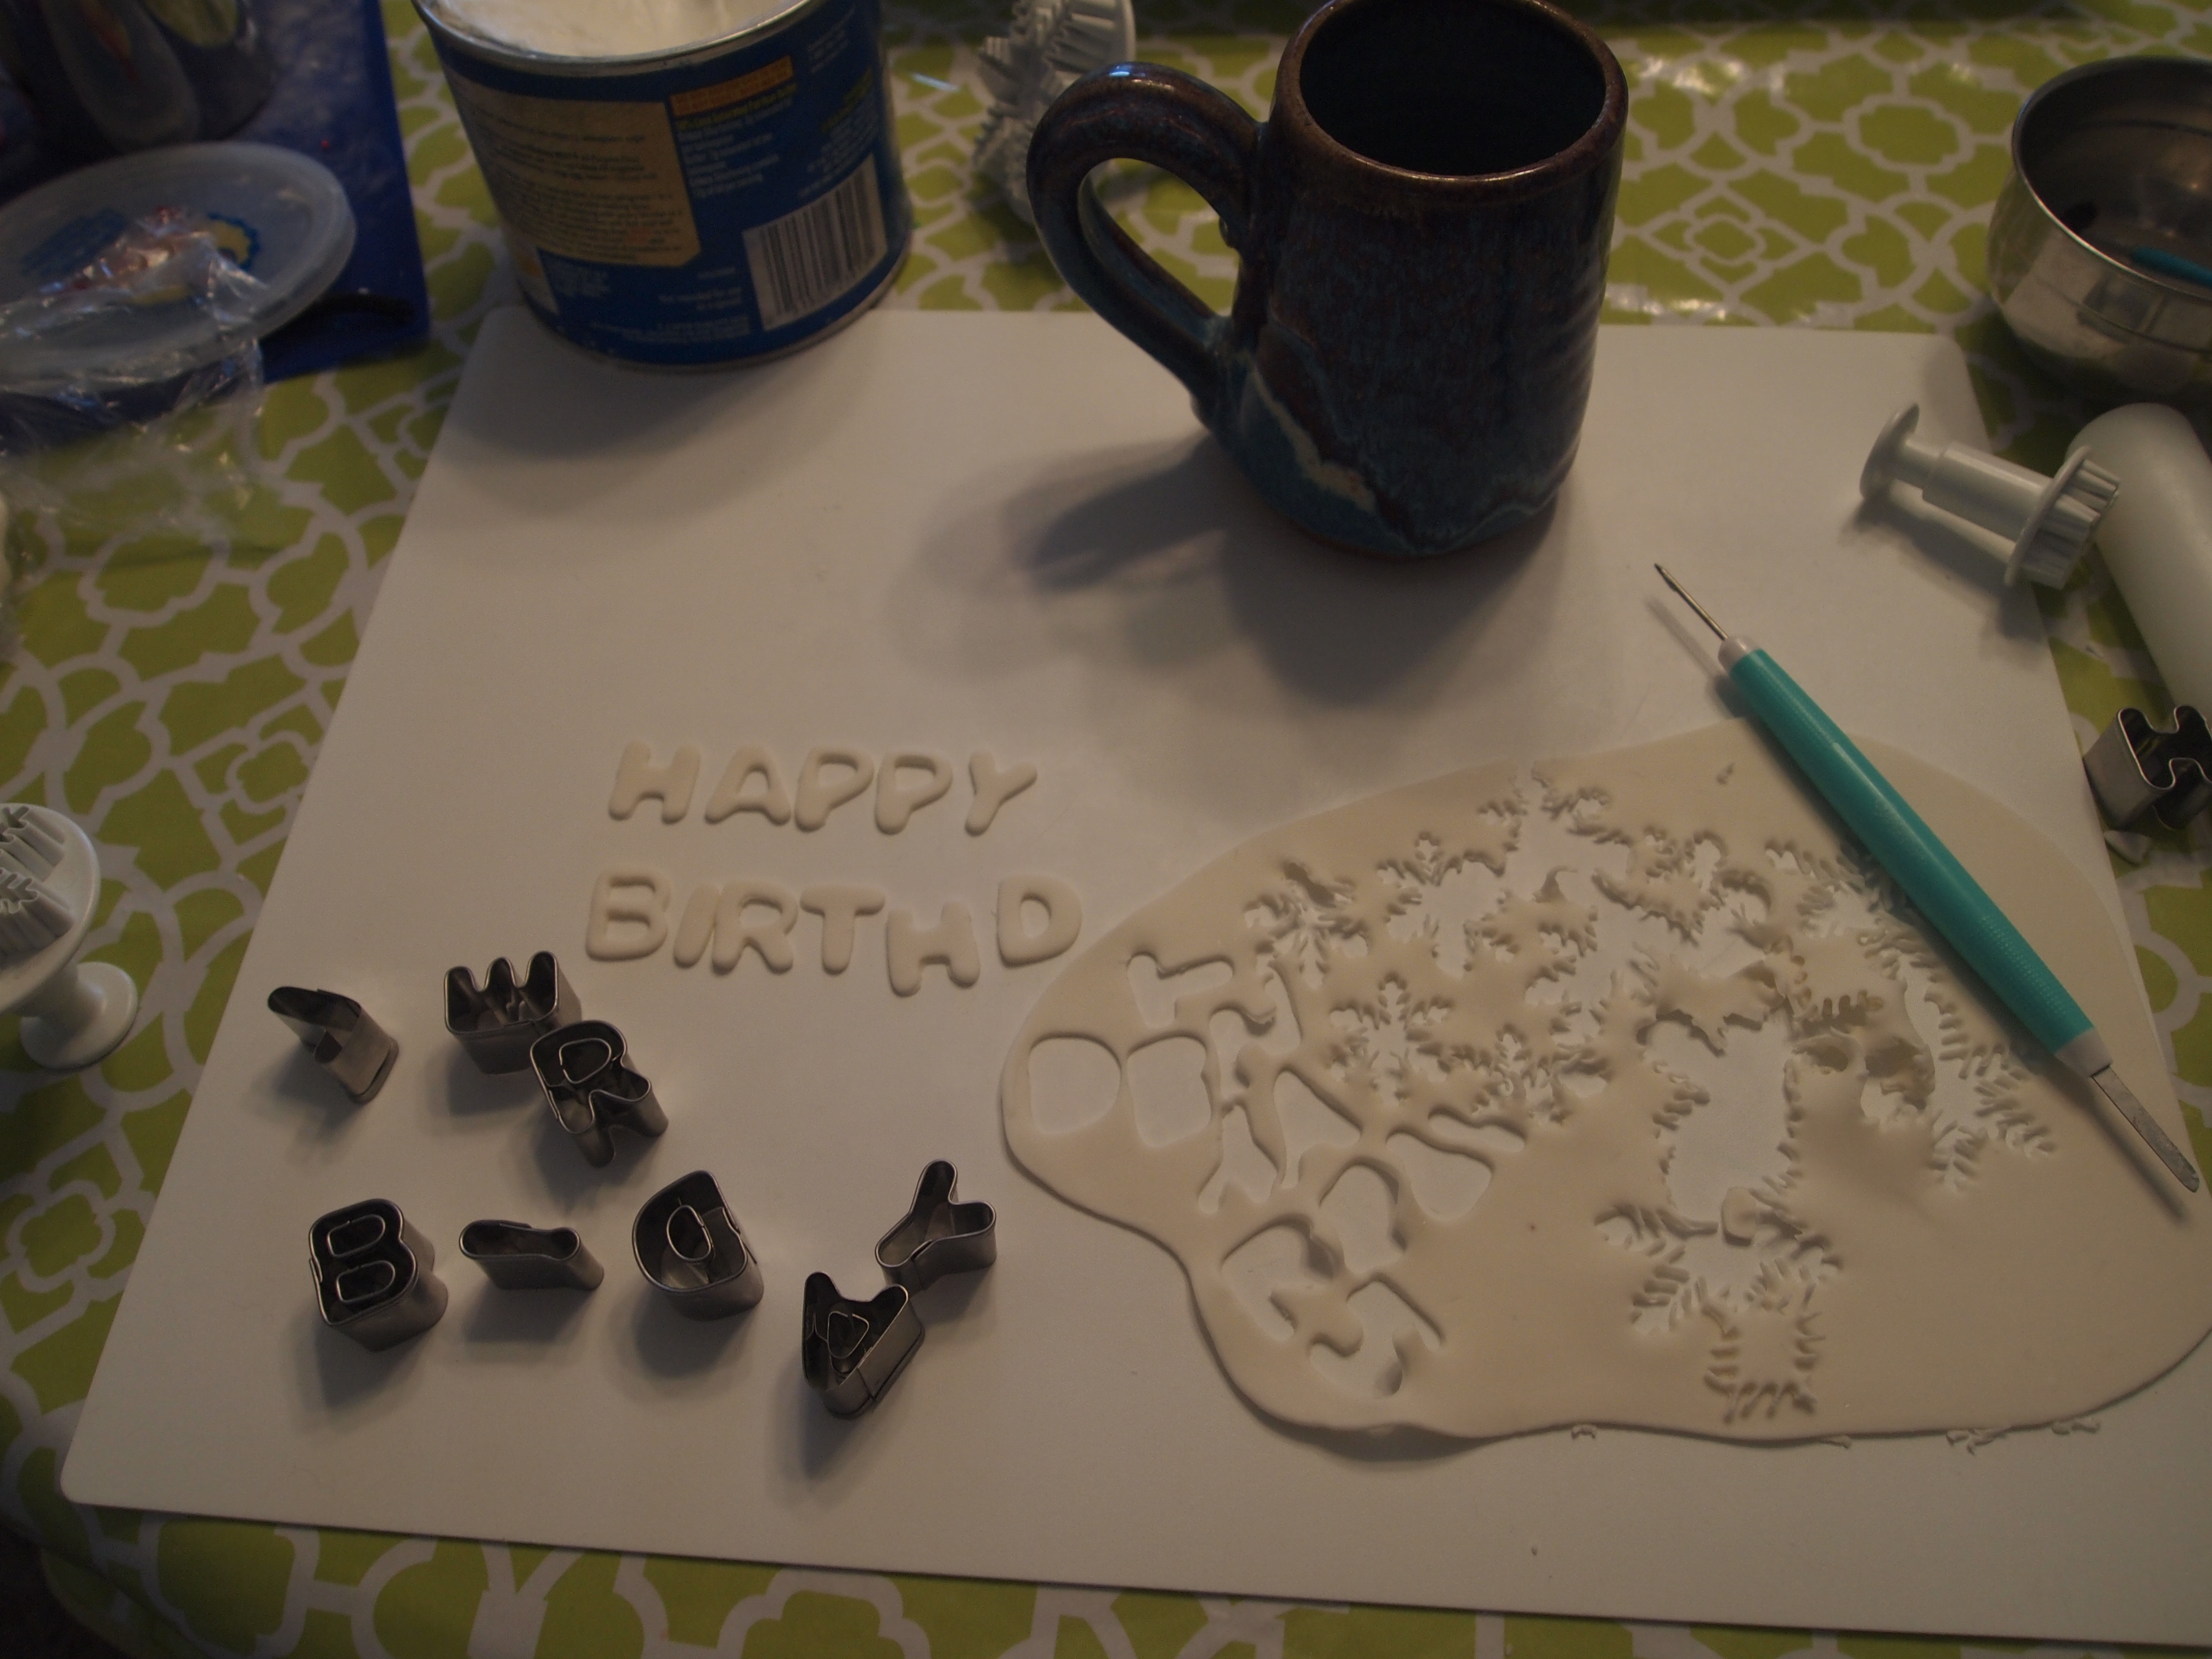
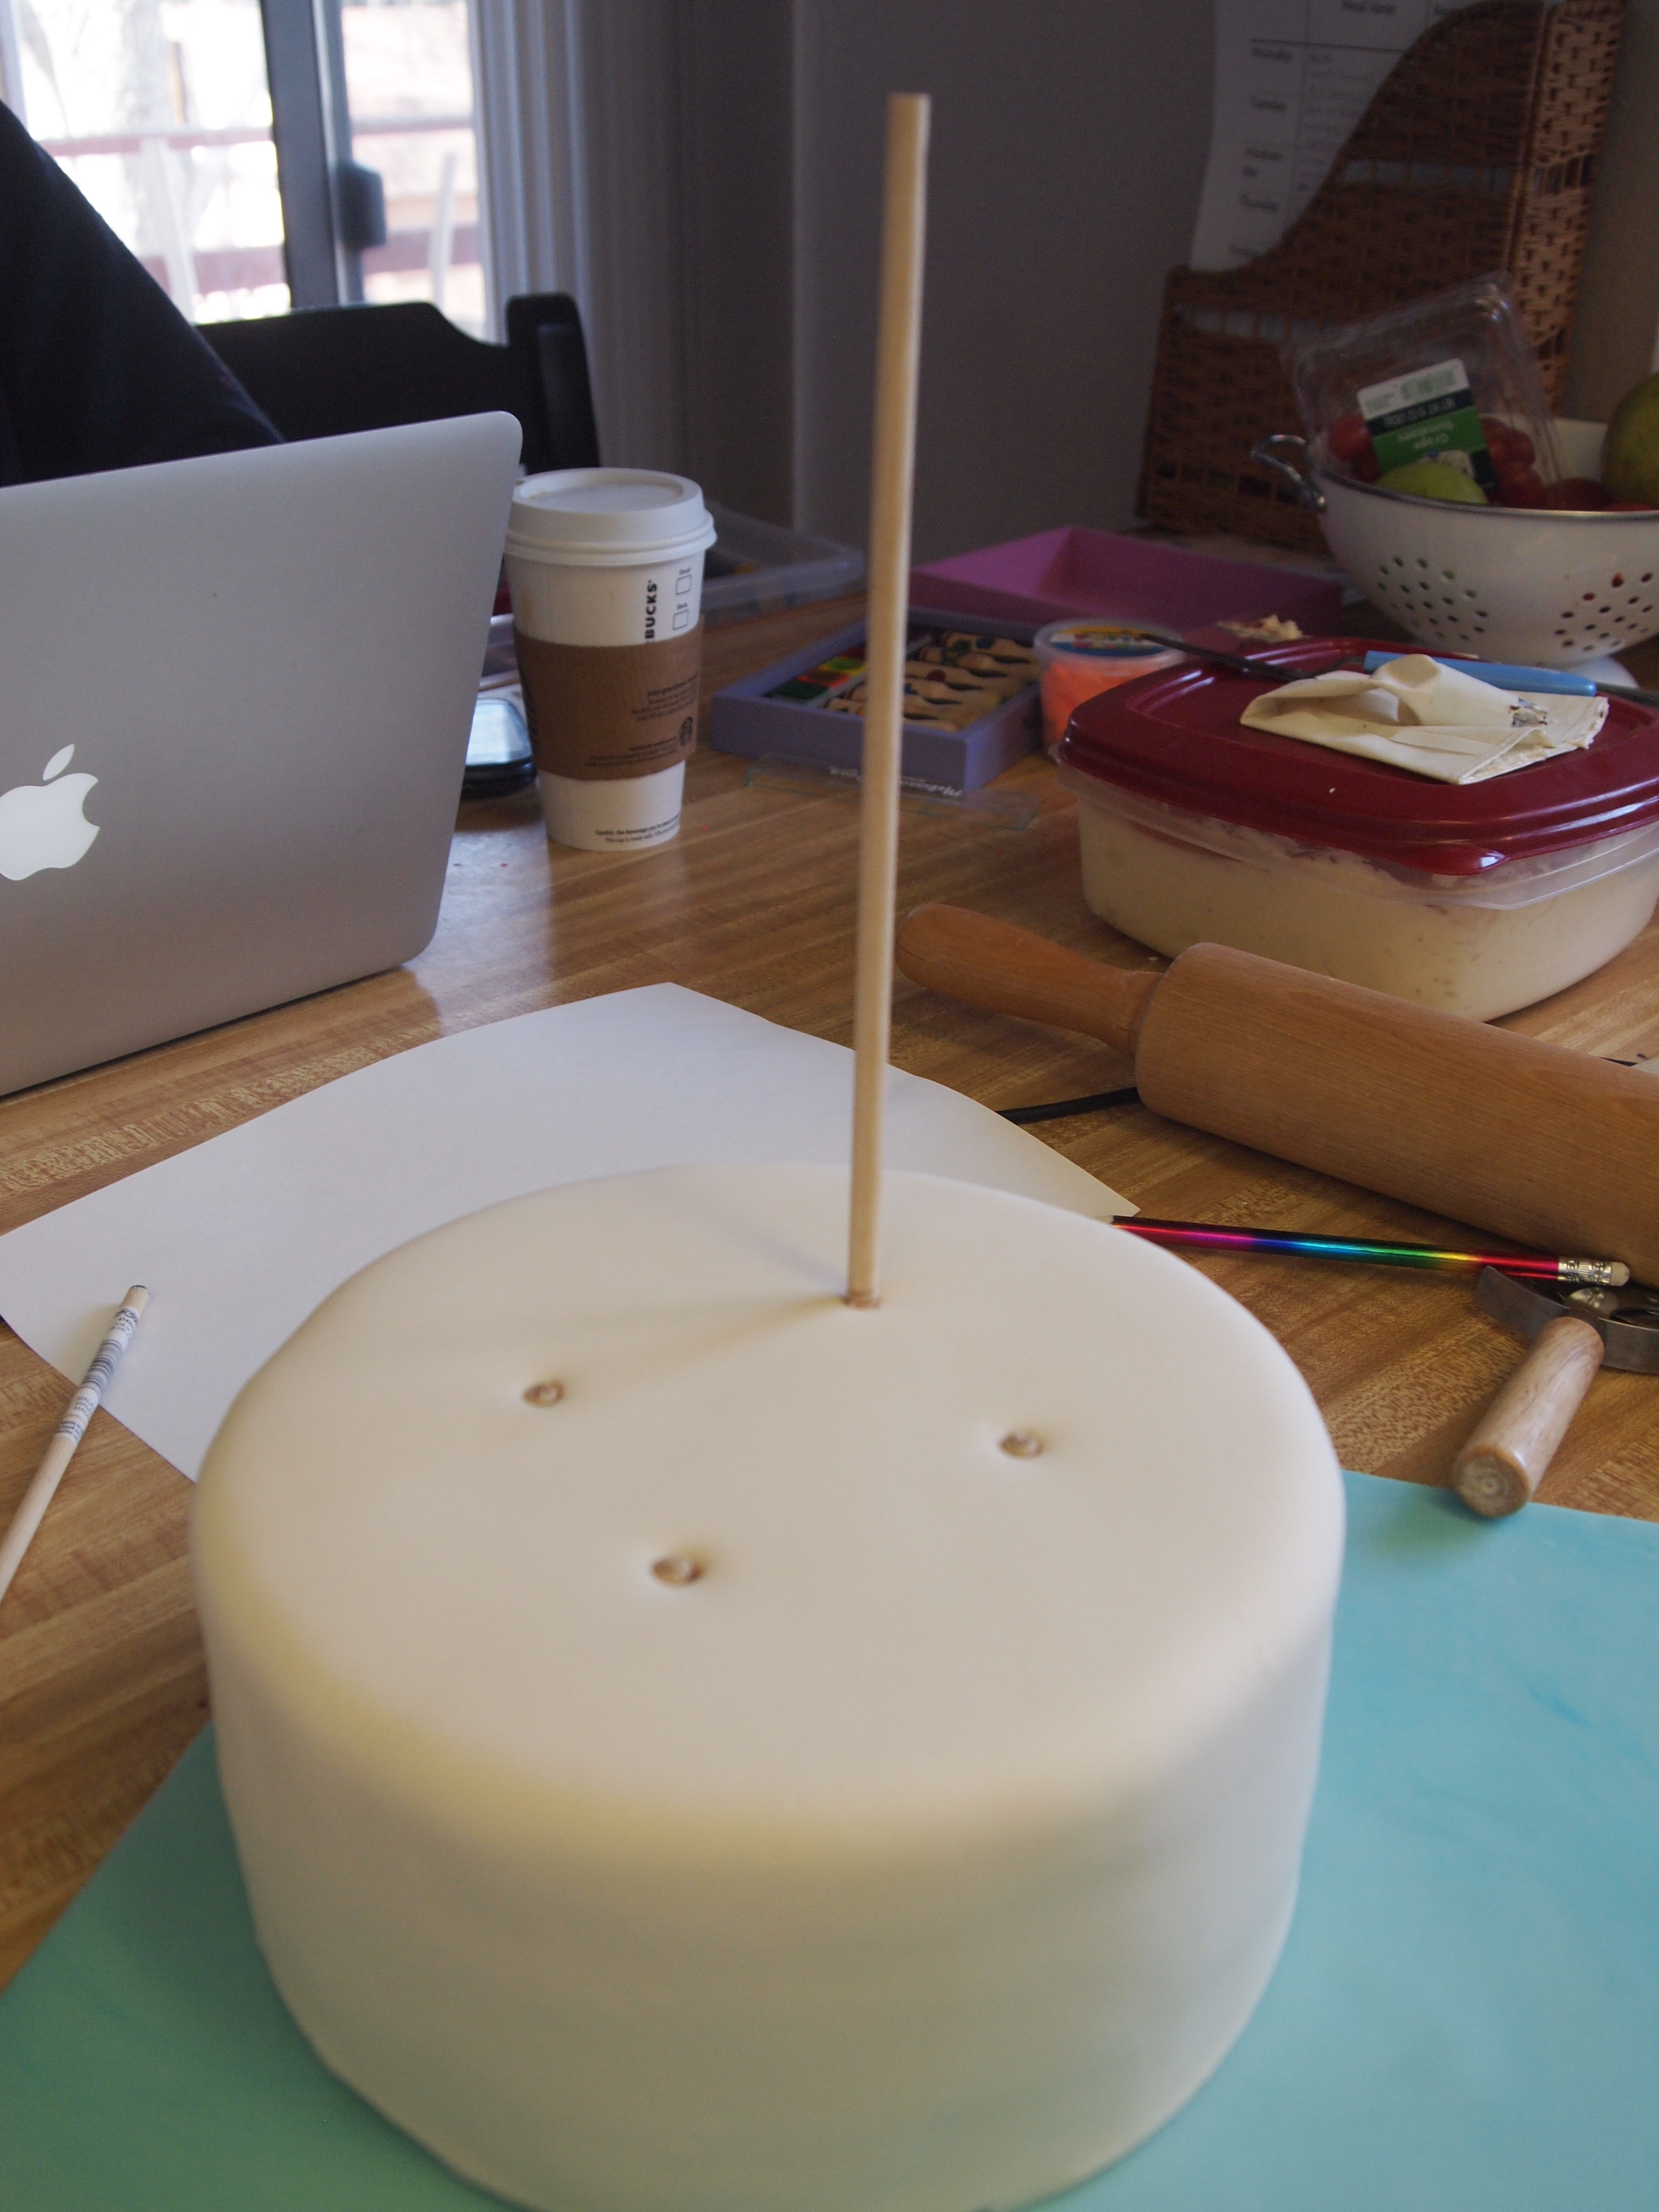
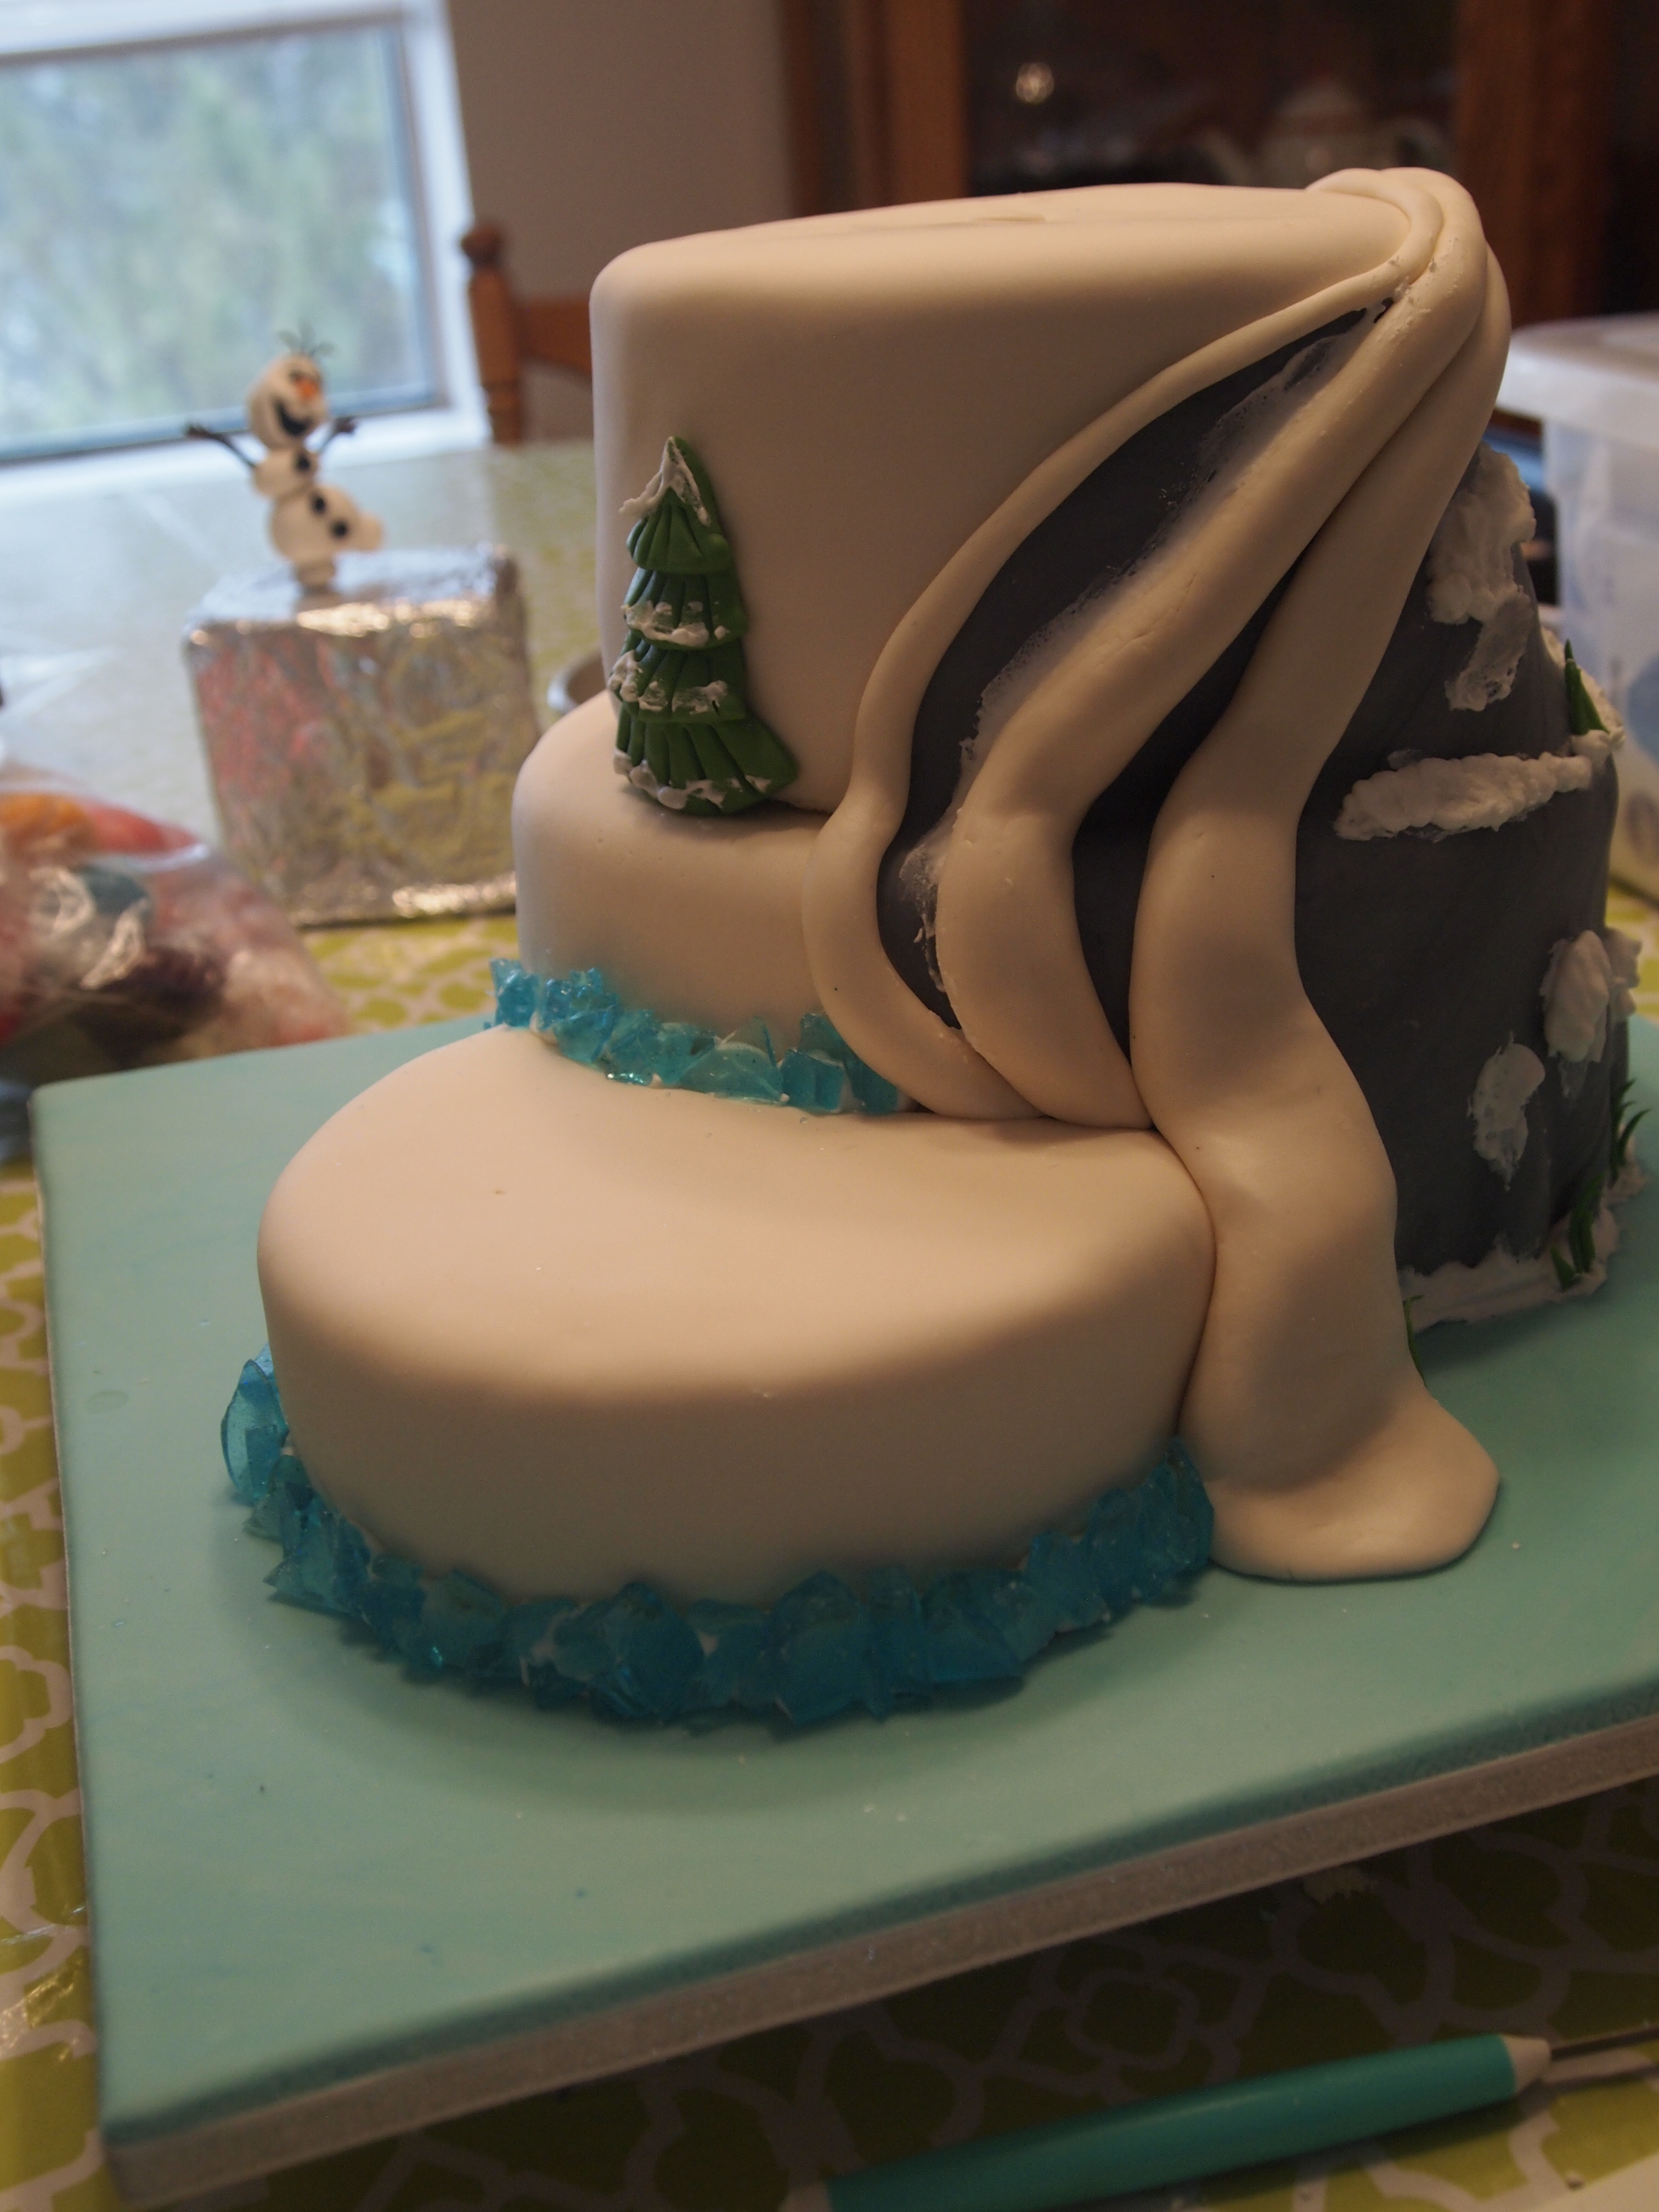
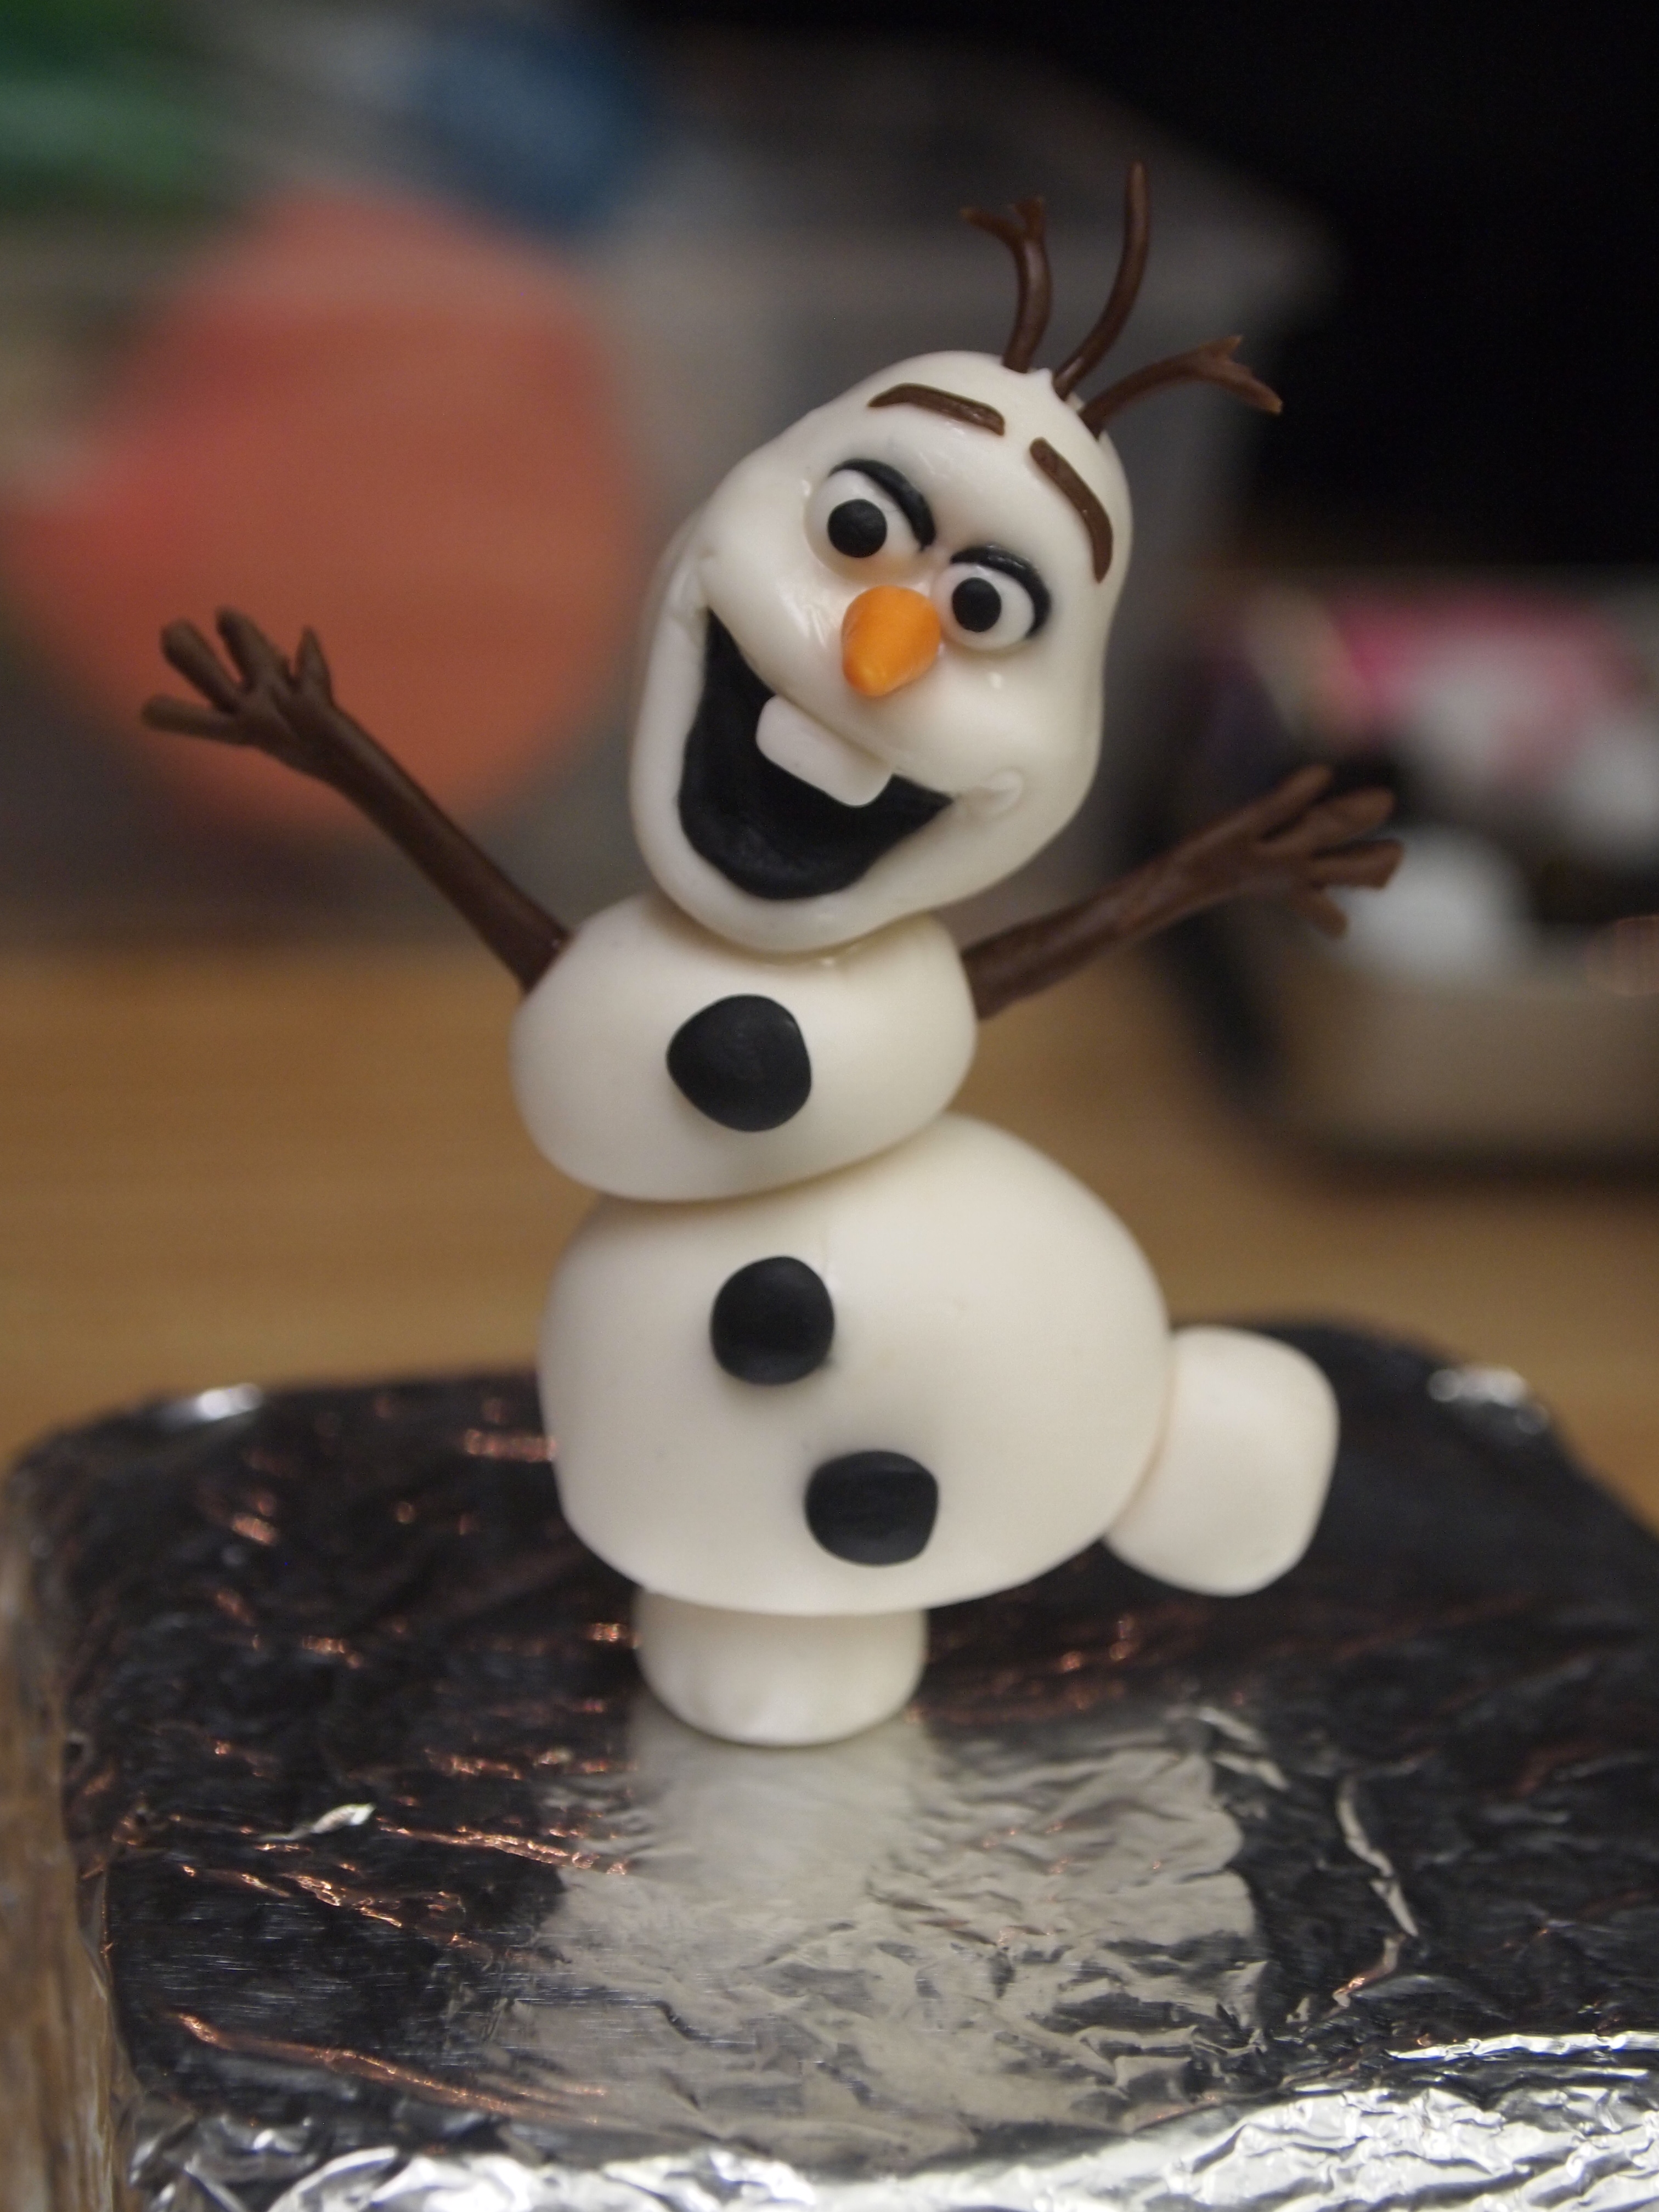
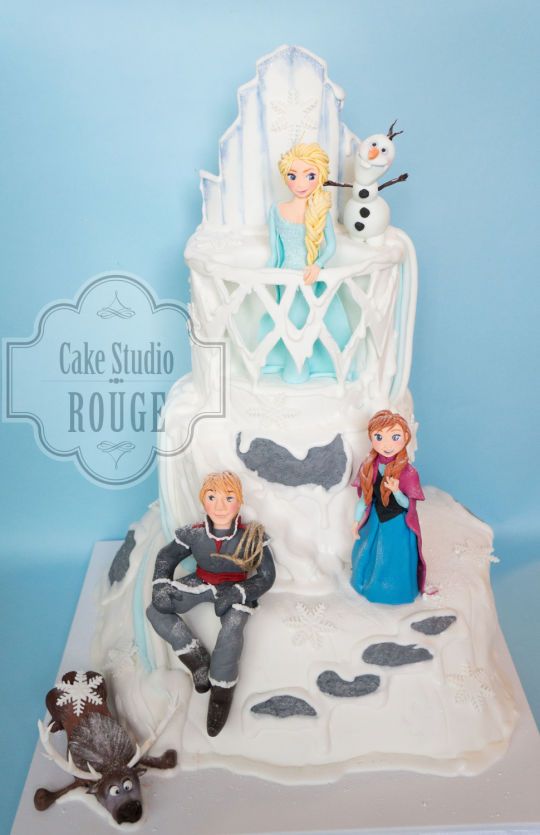
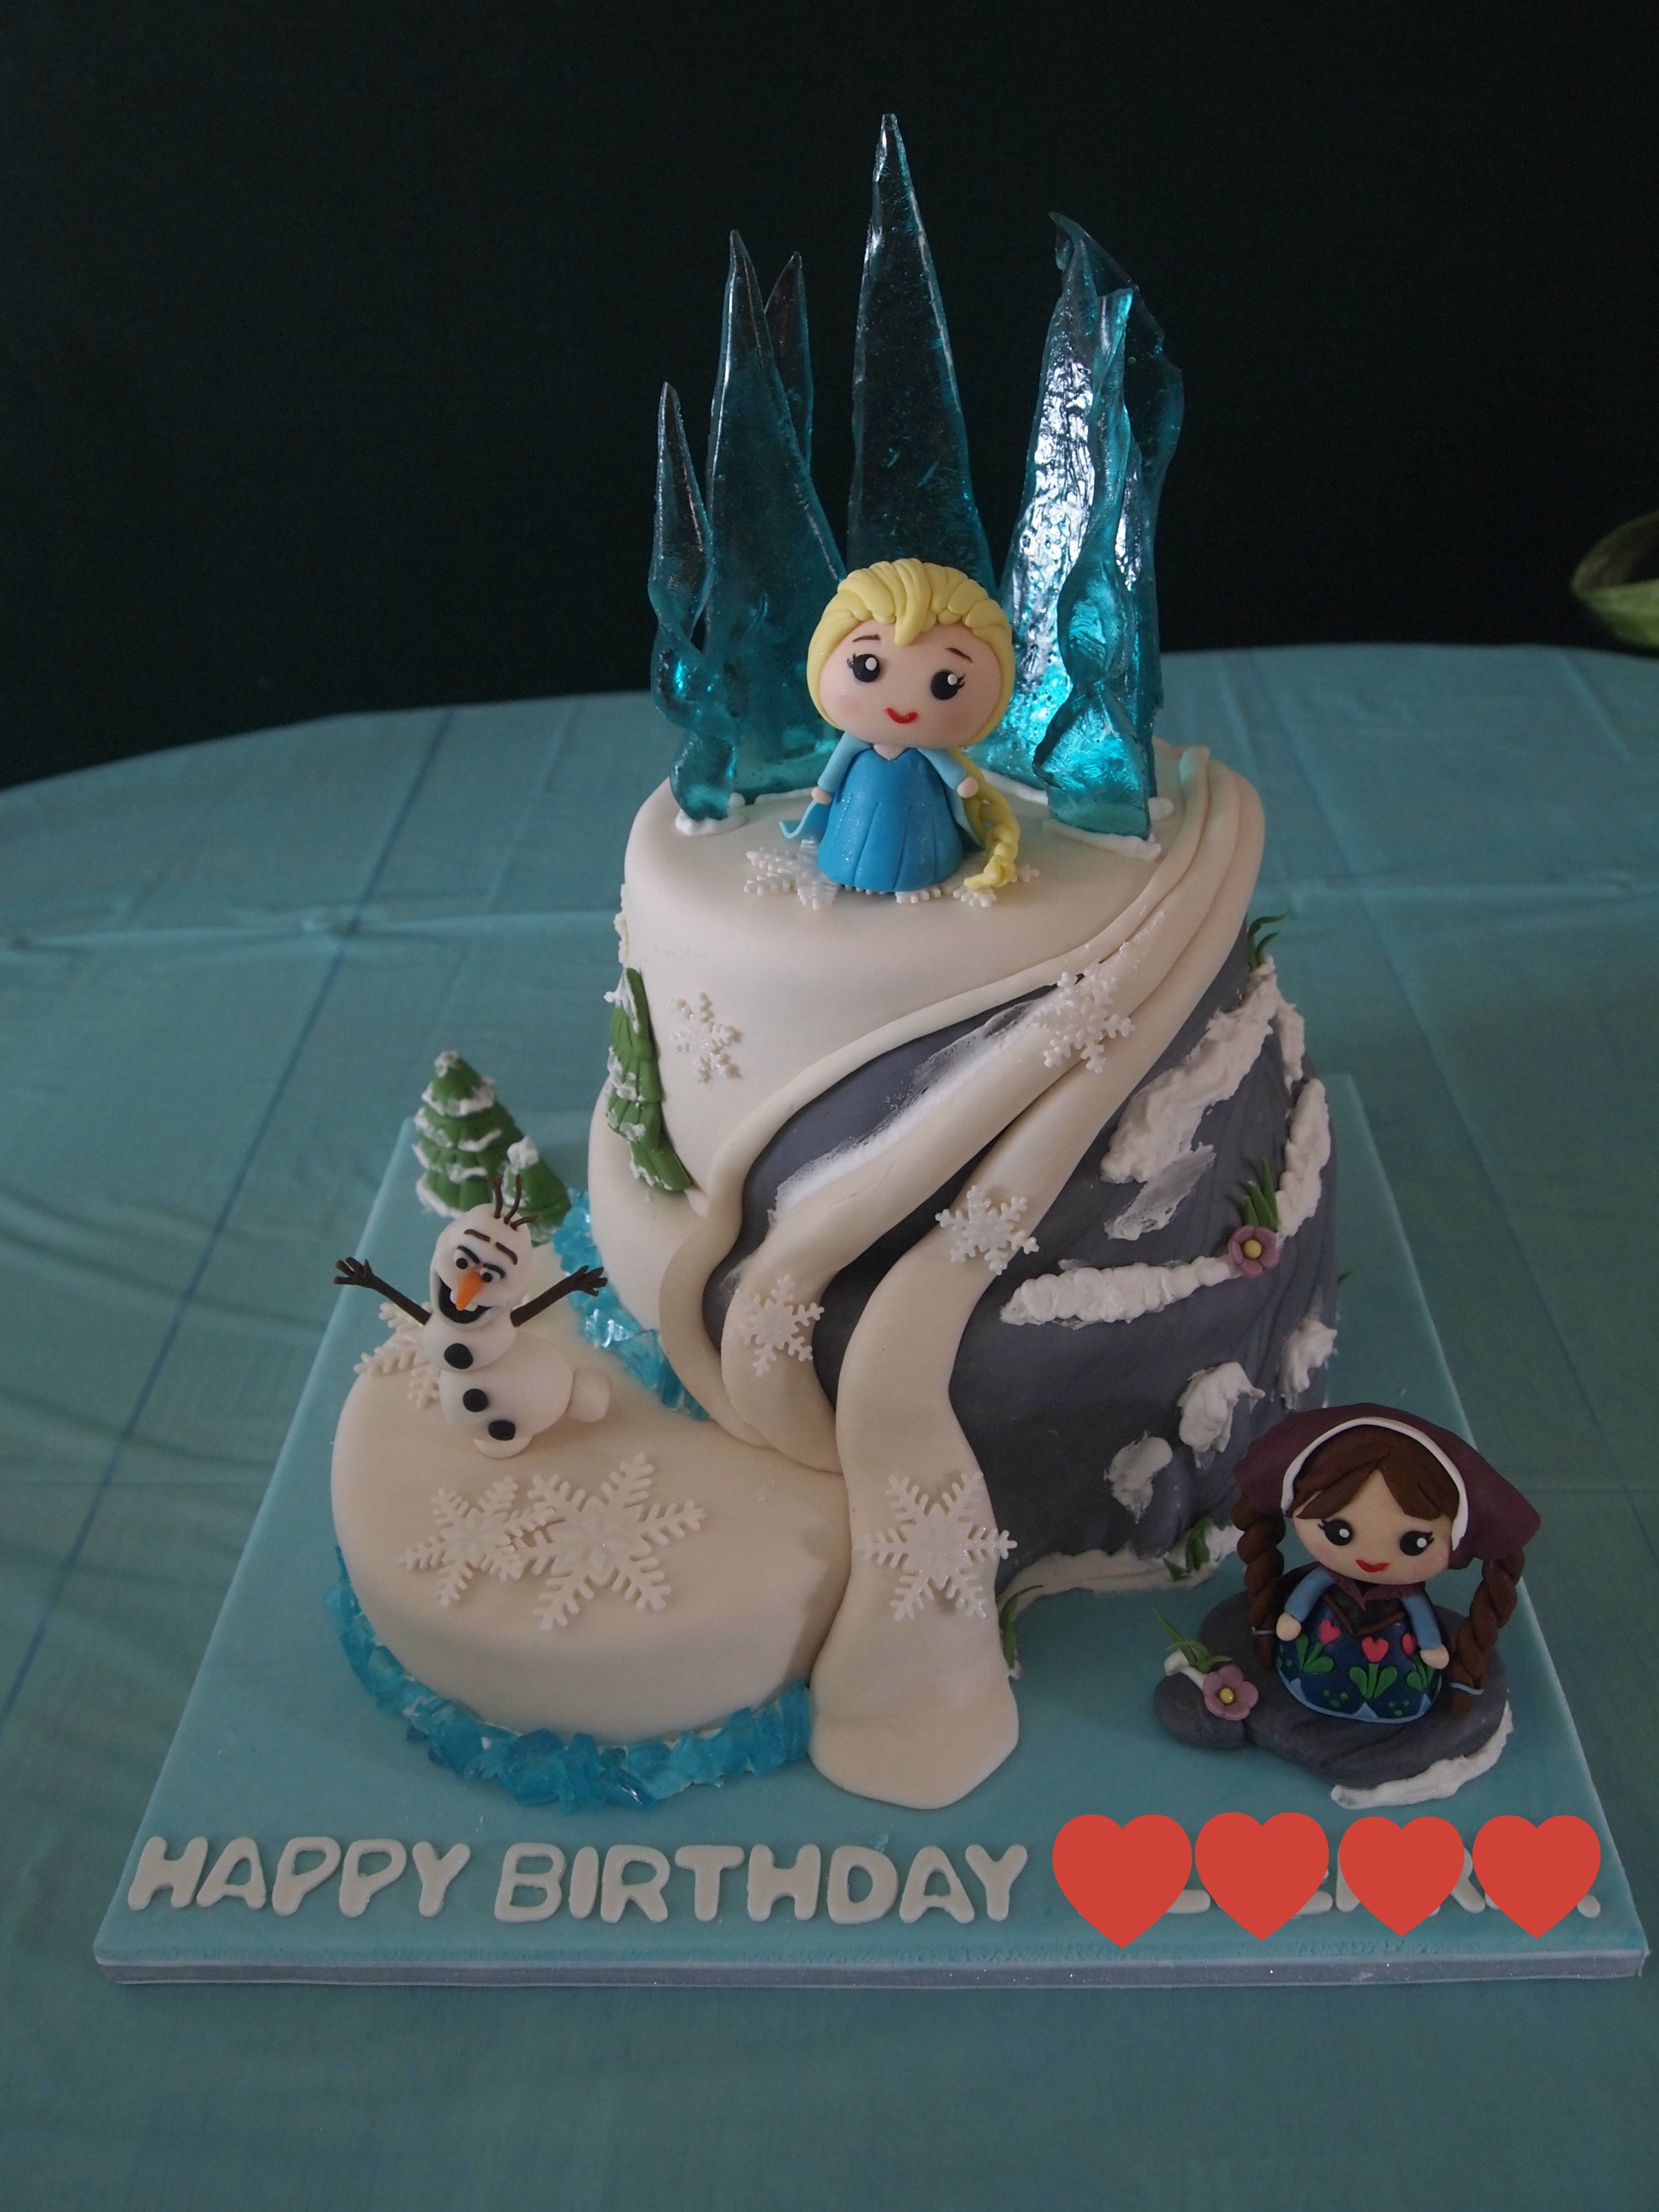
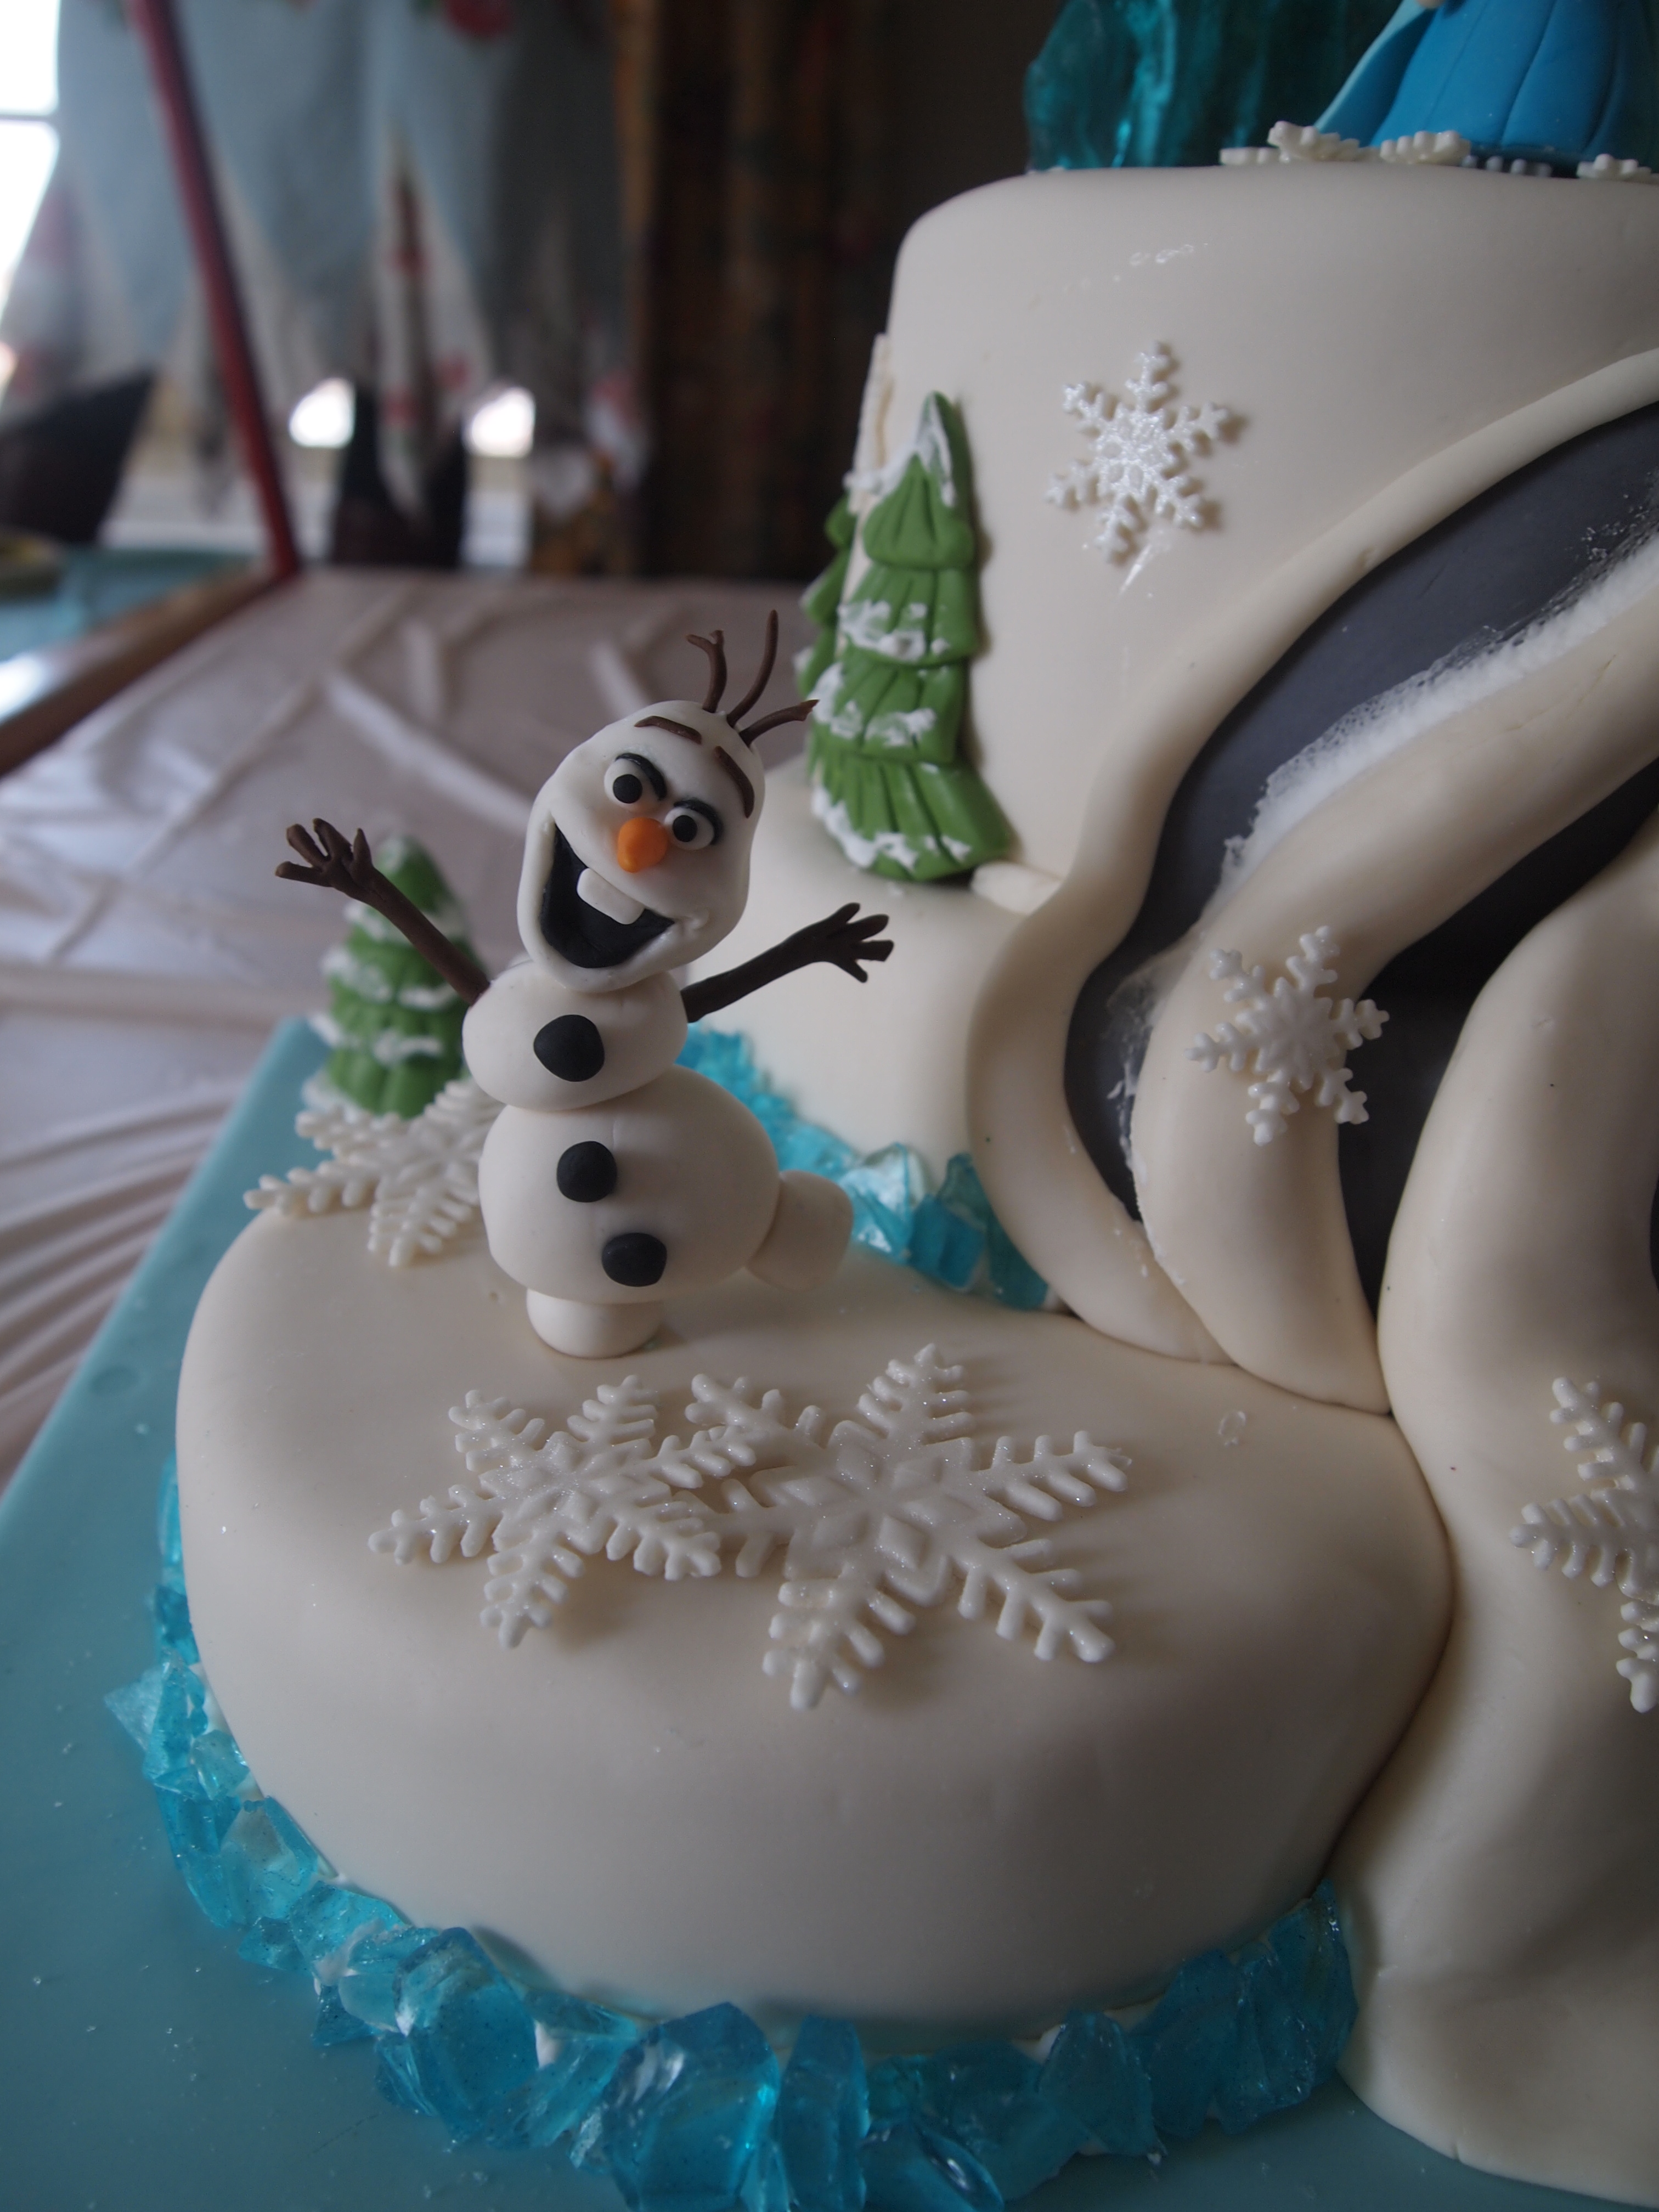
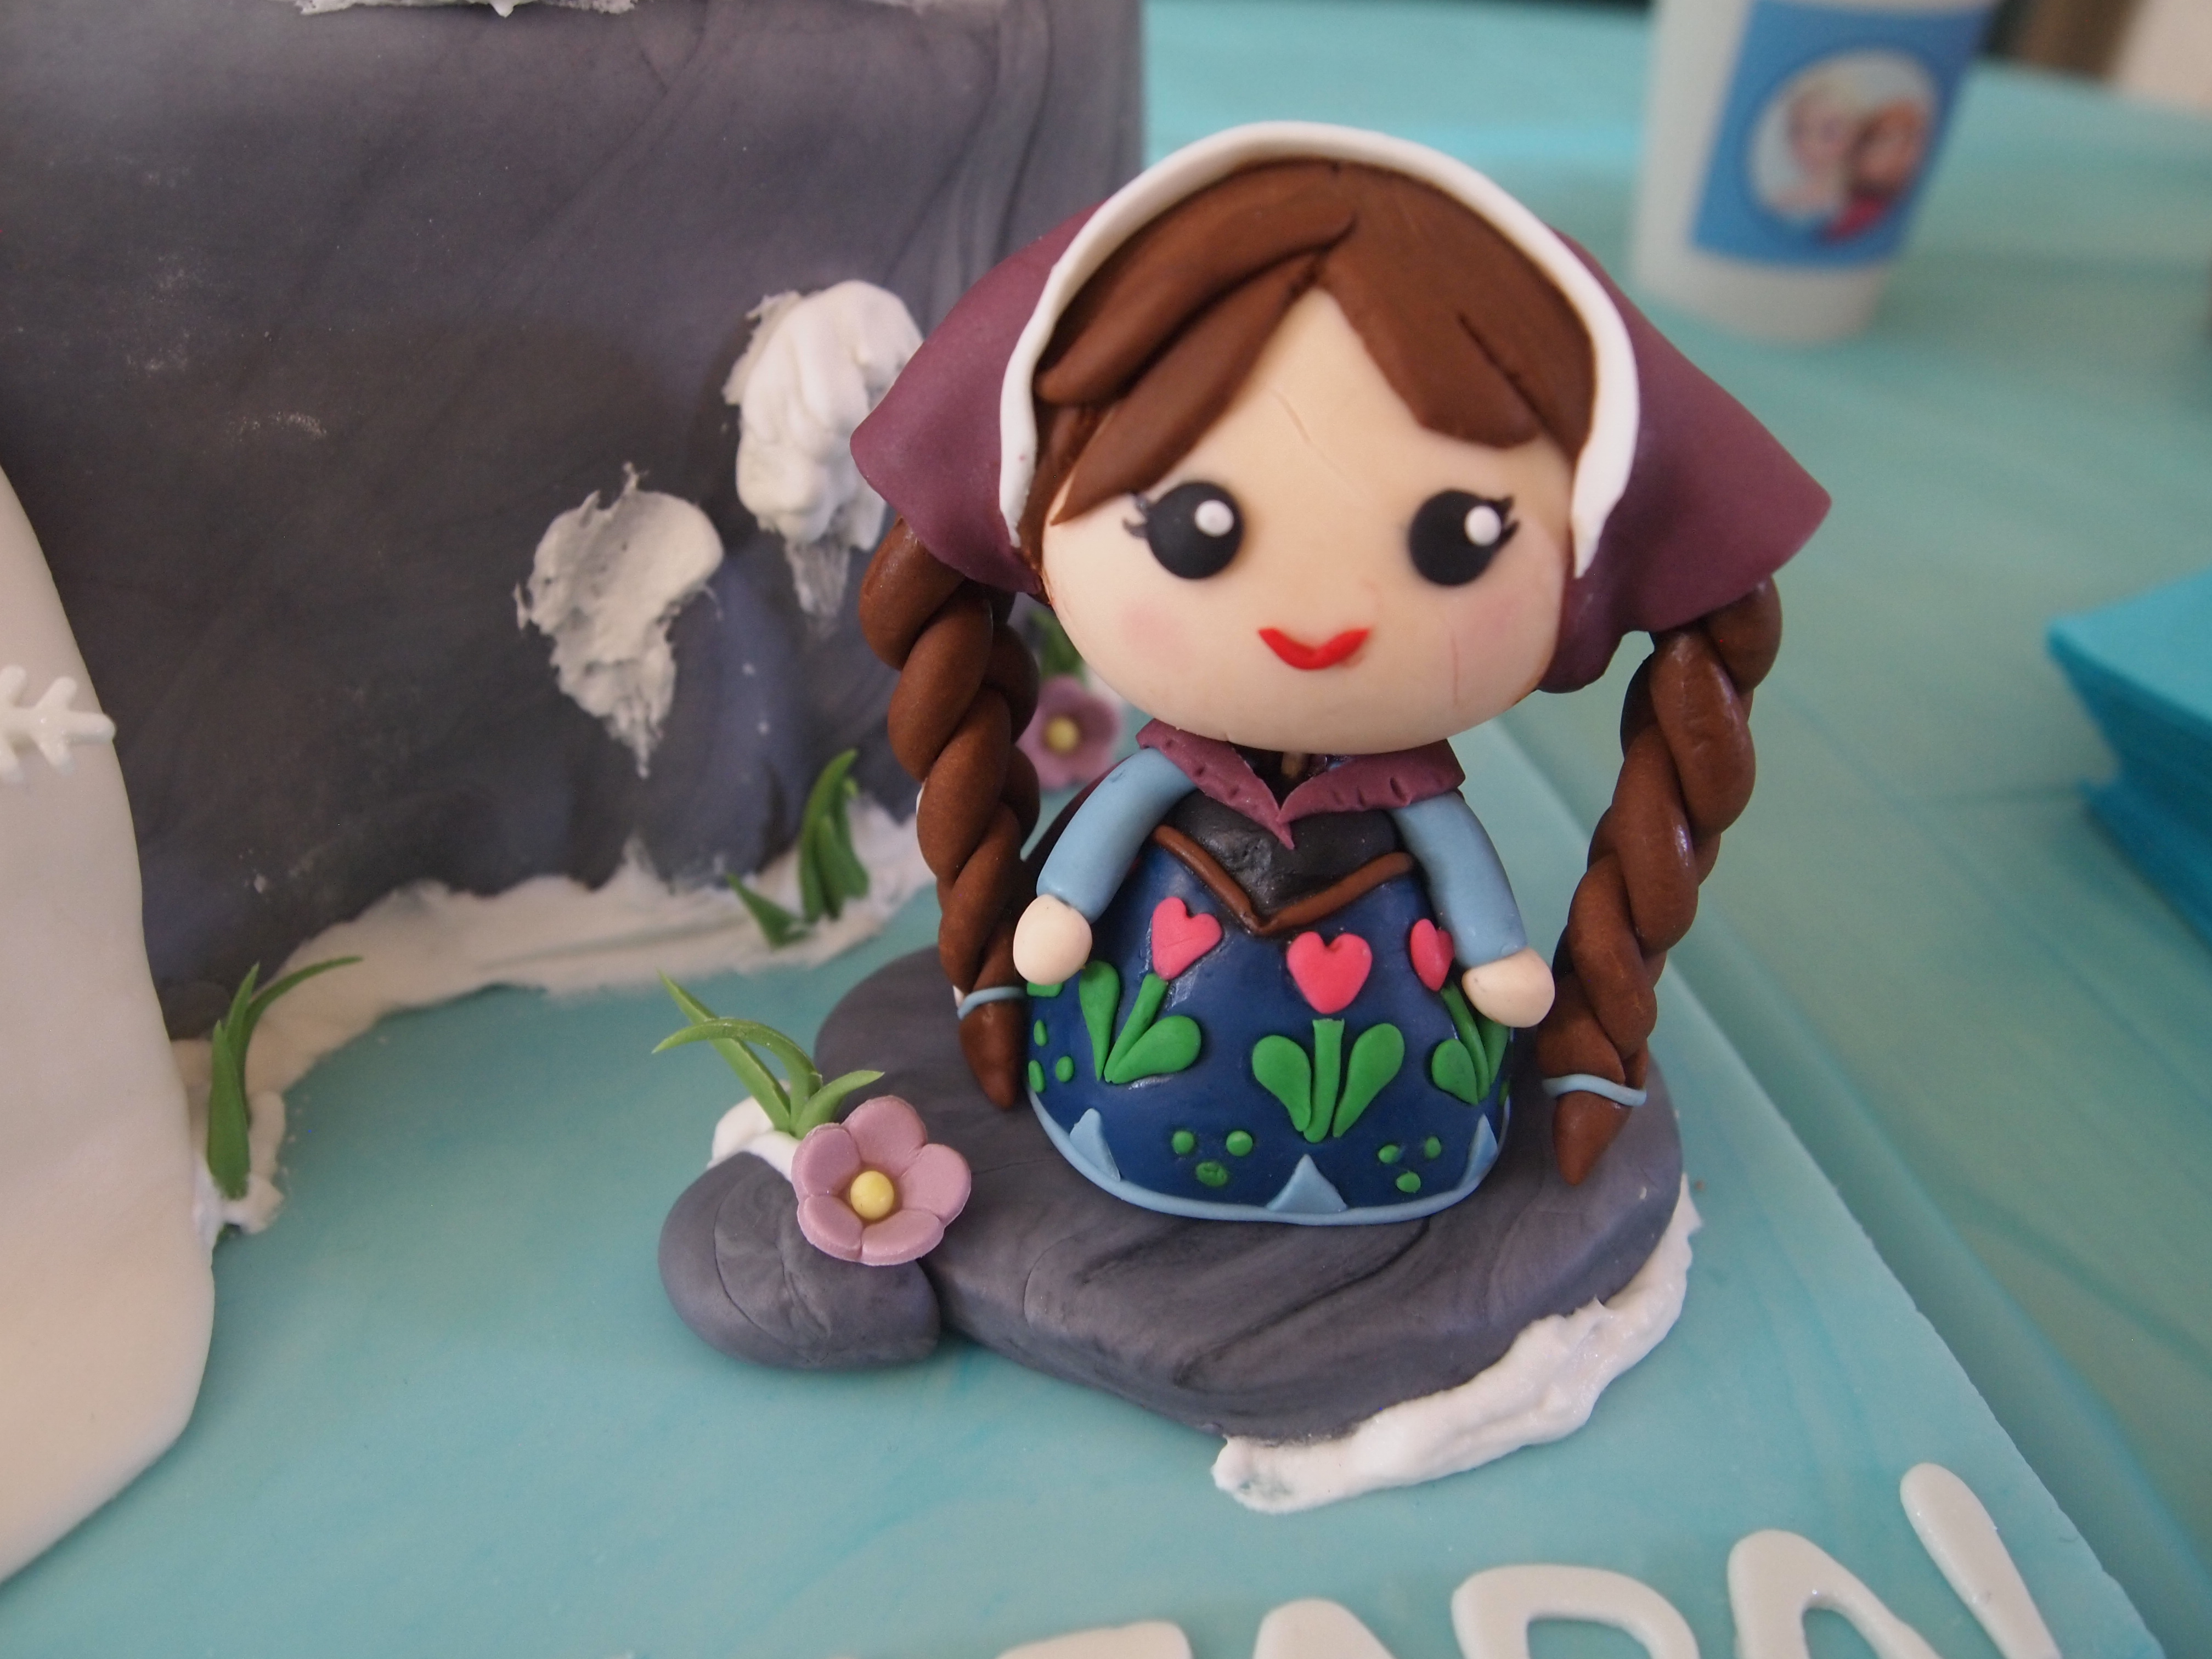
Even though the pressure was on, I was in a much better mood than the previous morning.  I just had a few last touches to finish: putting the lettering on the cakeboard, finishing some trees, flowers and snowflakes, and placing the figurines in the right spots.  After a few hours (barely interrupted as the kids watched a movie in the other room), I arrived at this:

OLYMPUS DIGITAL CAMERA

OLYMPUS DIGITAL CAMERA

OLYMPUS DIGITAL CAMERA

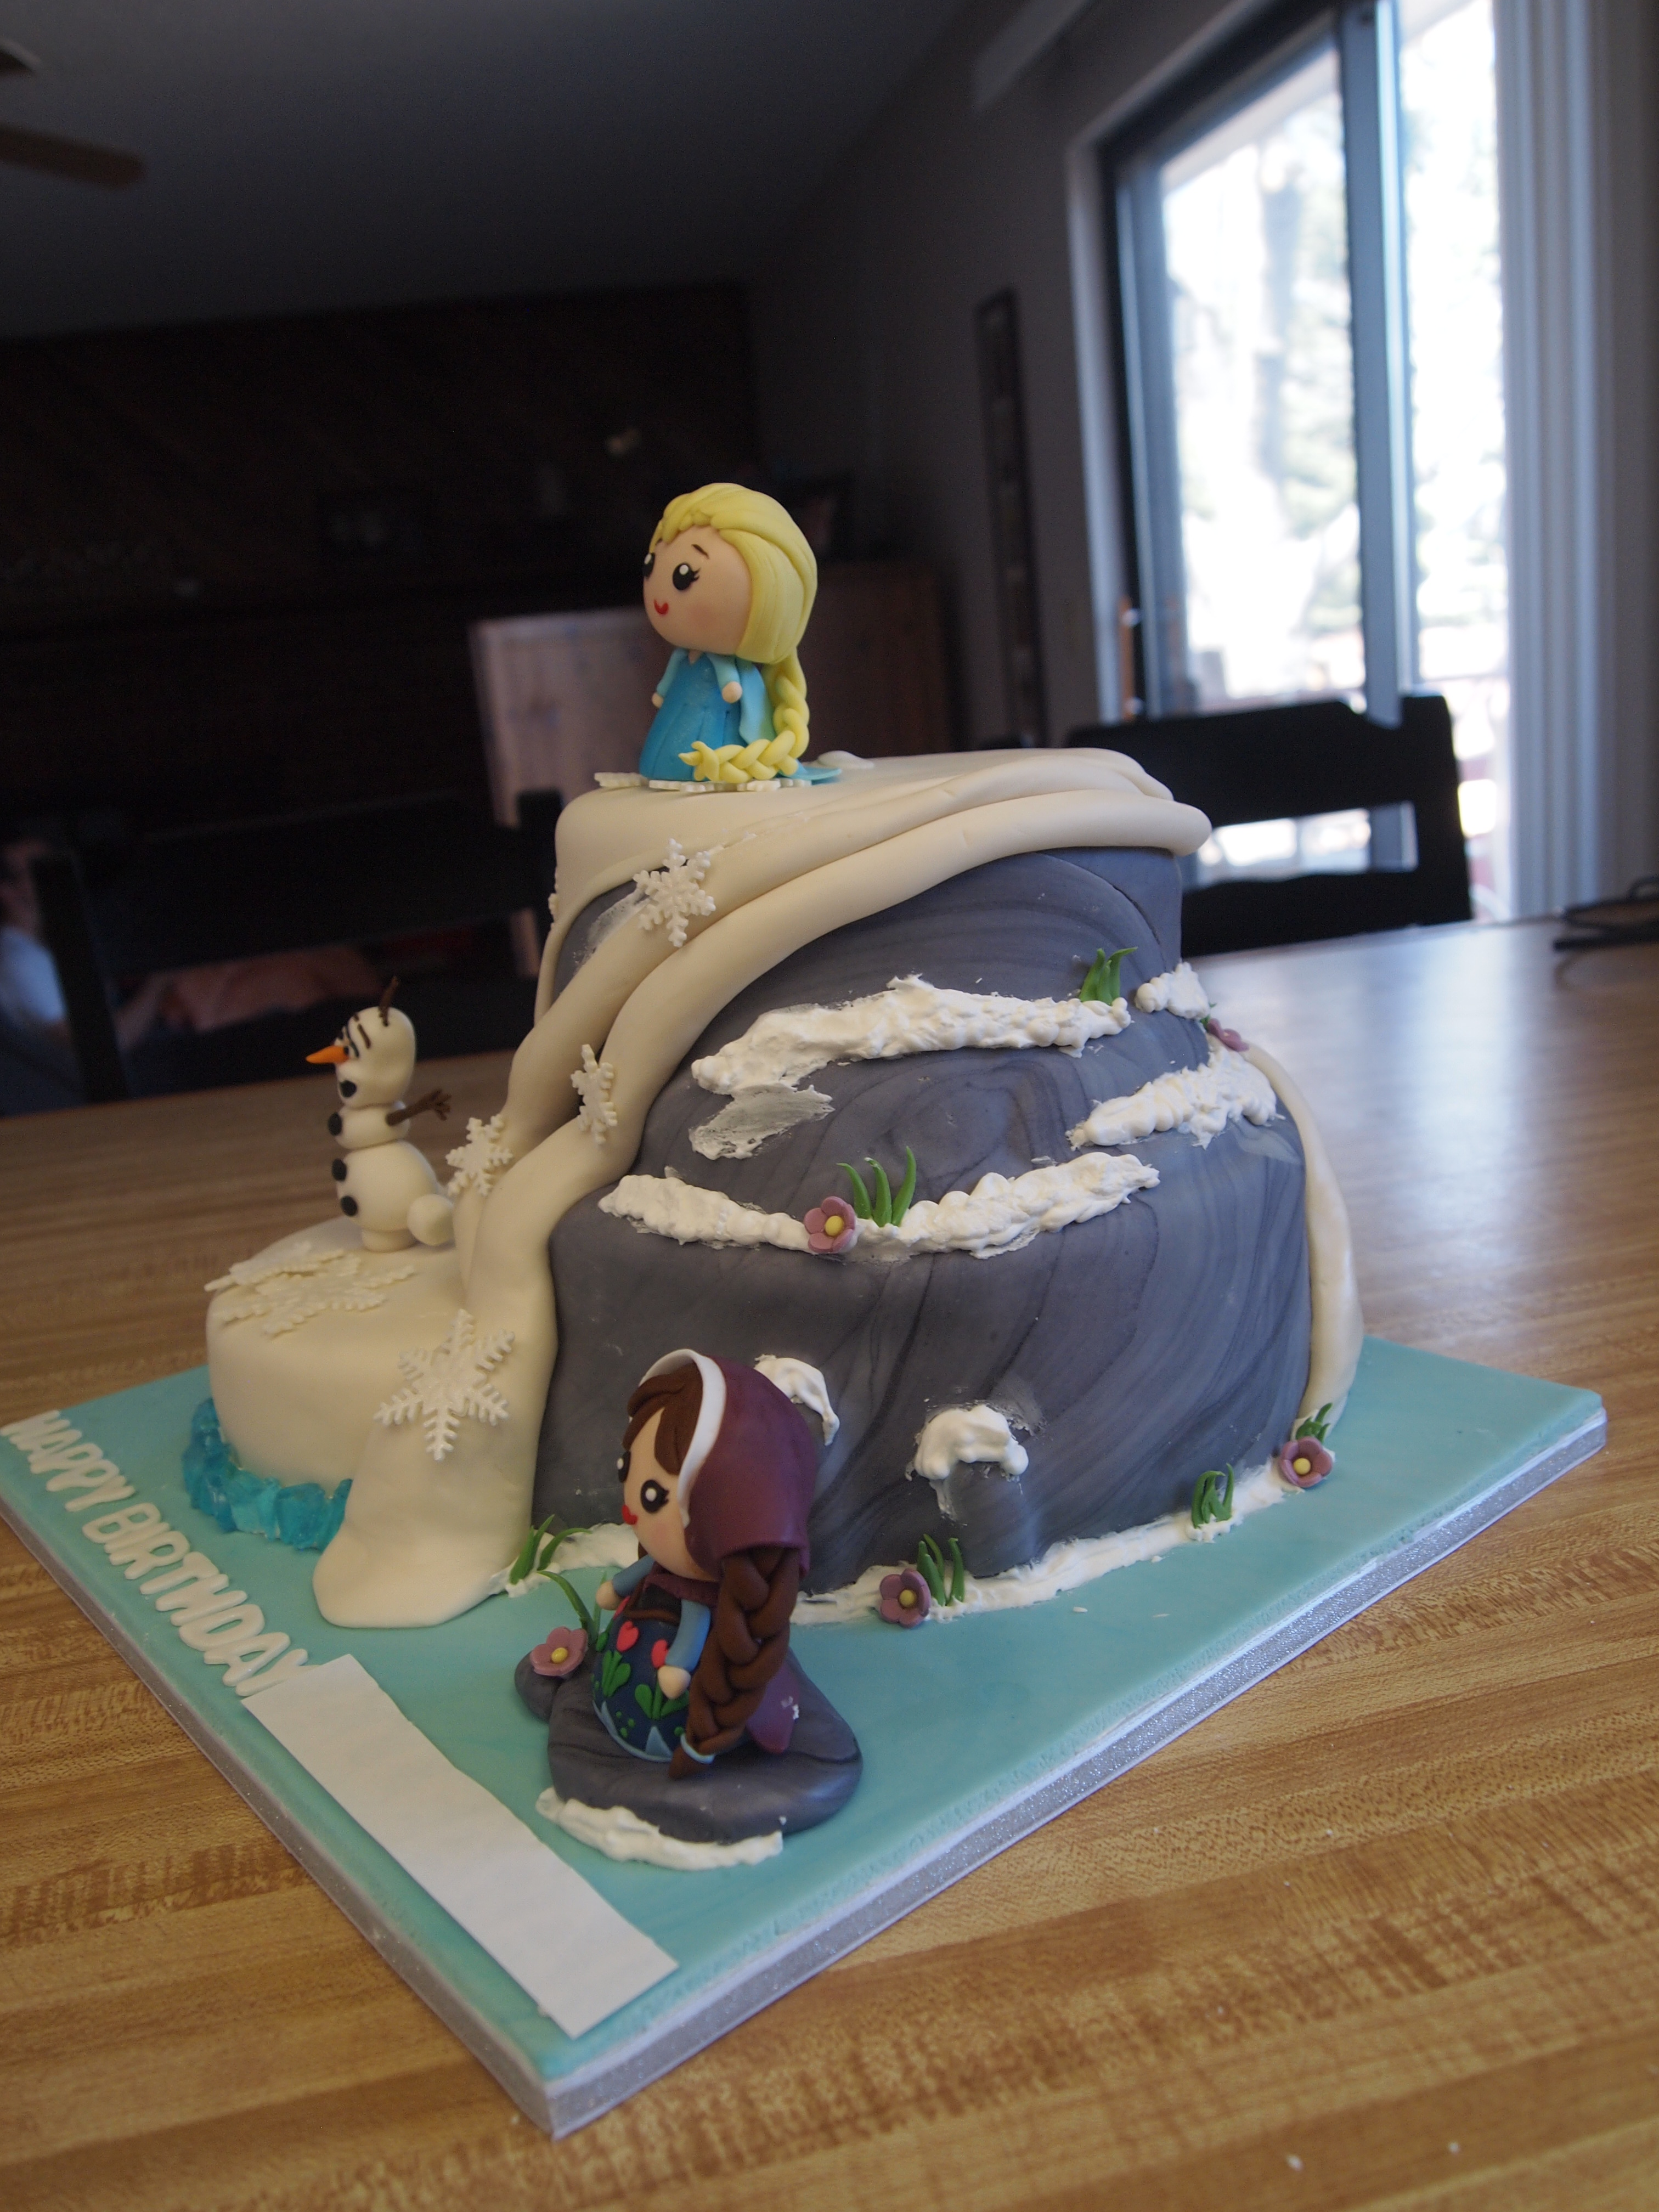
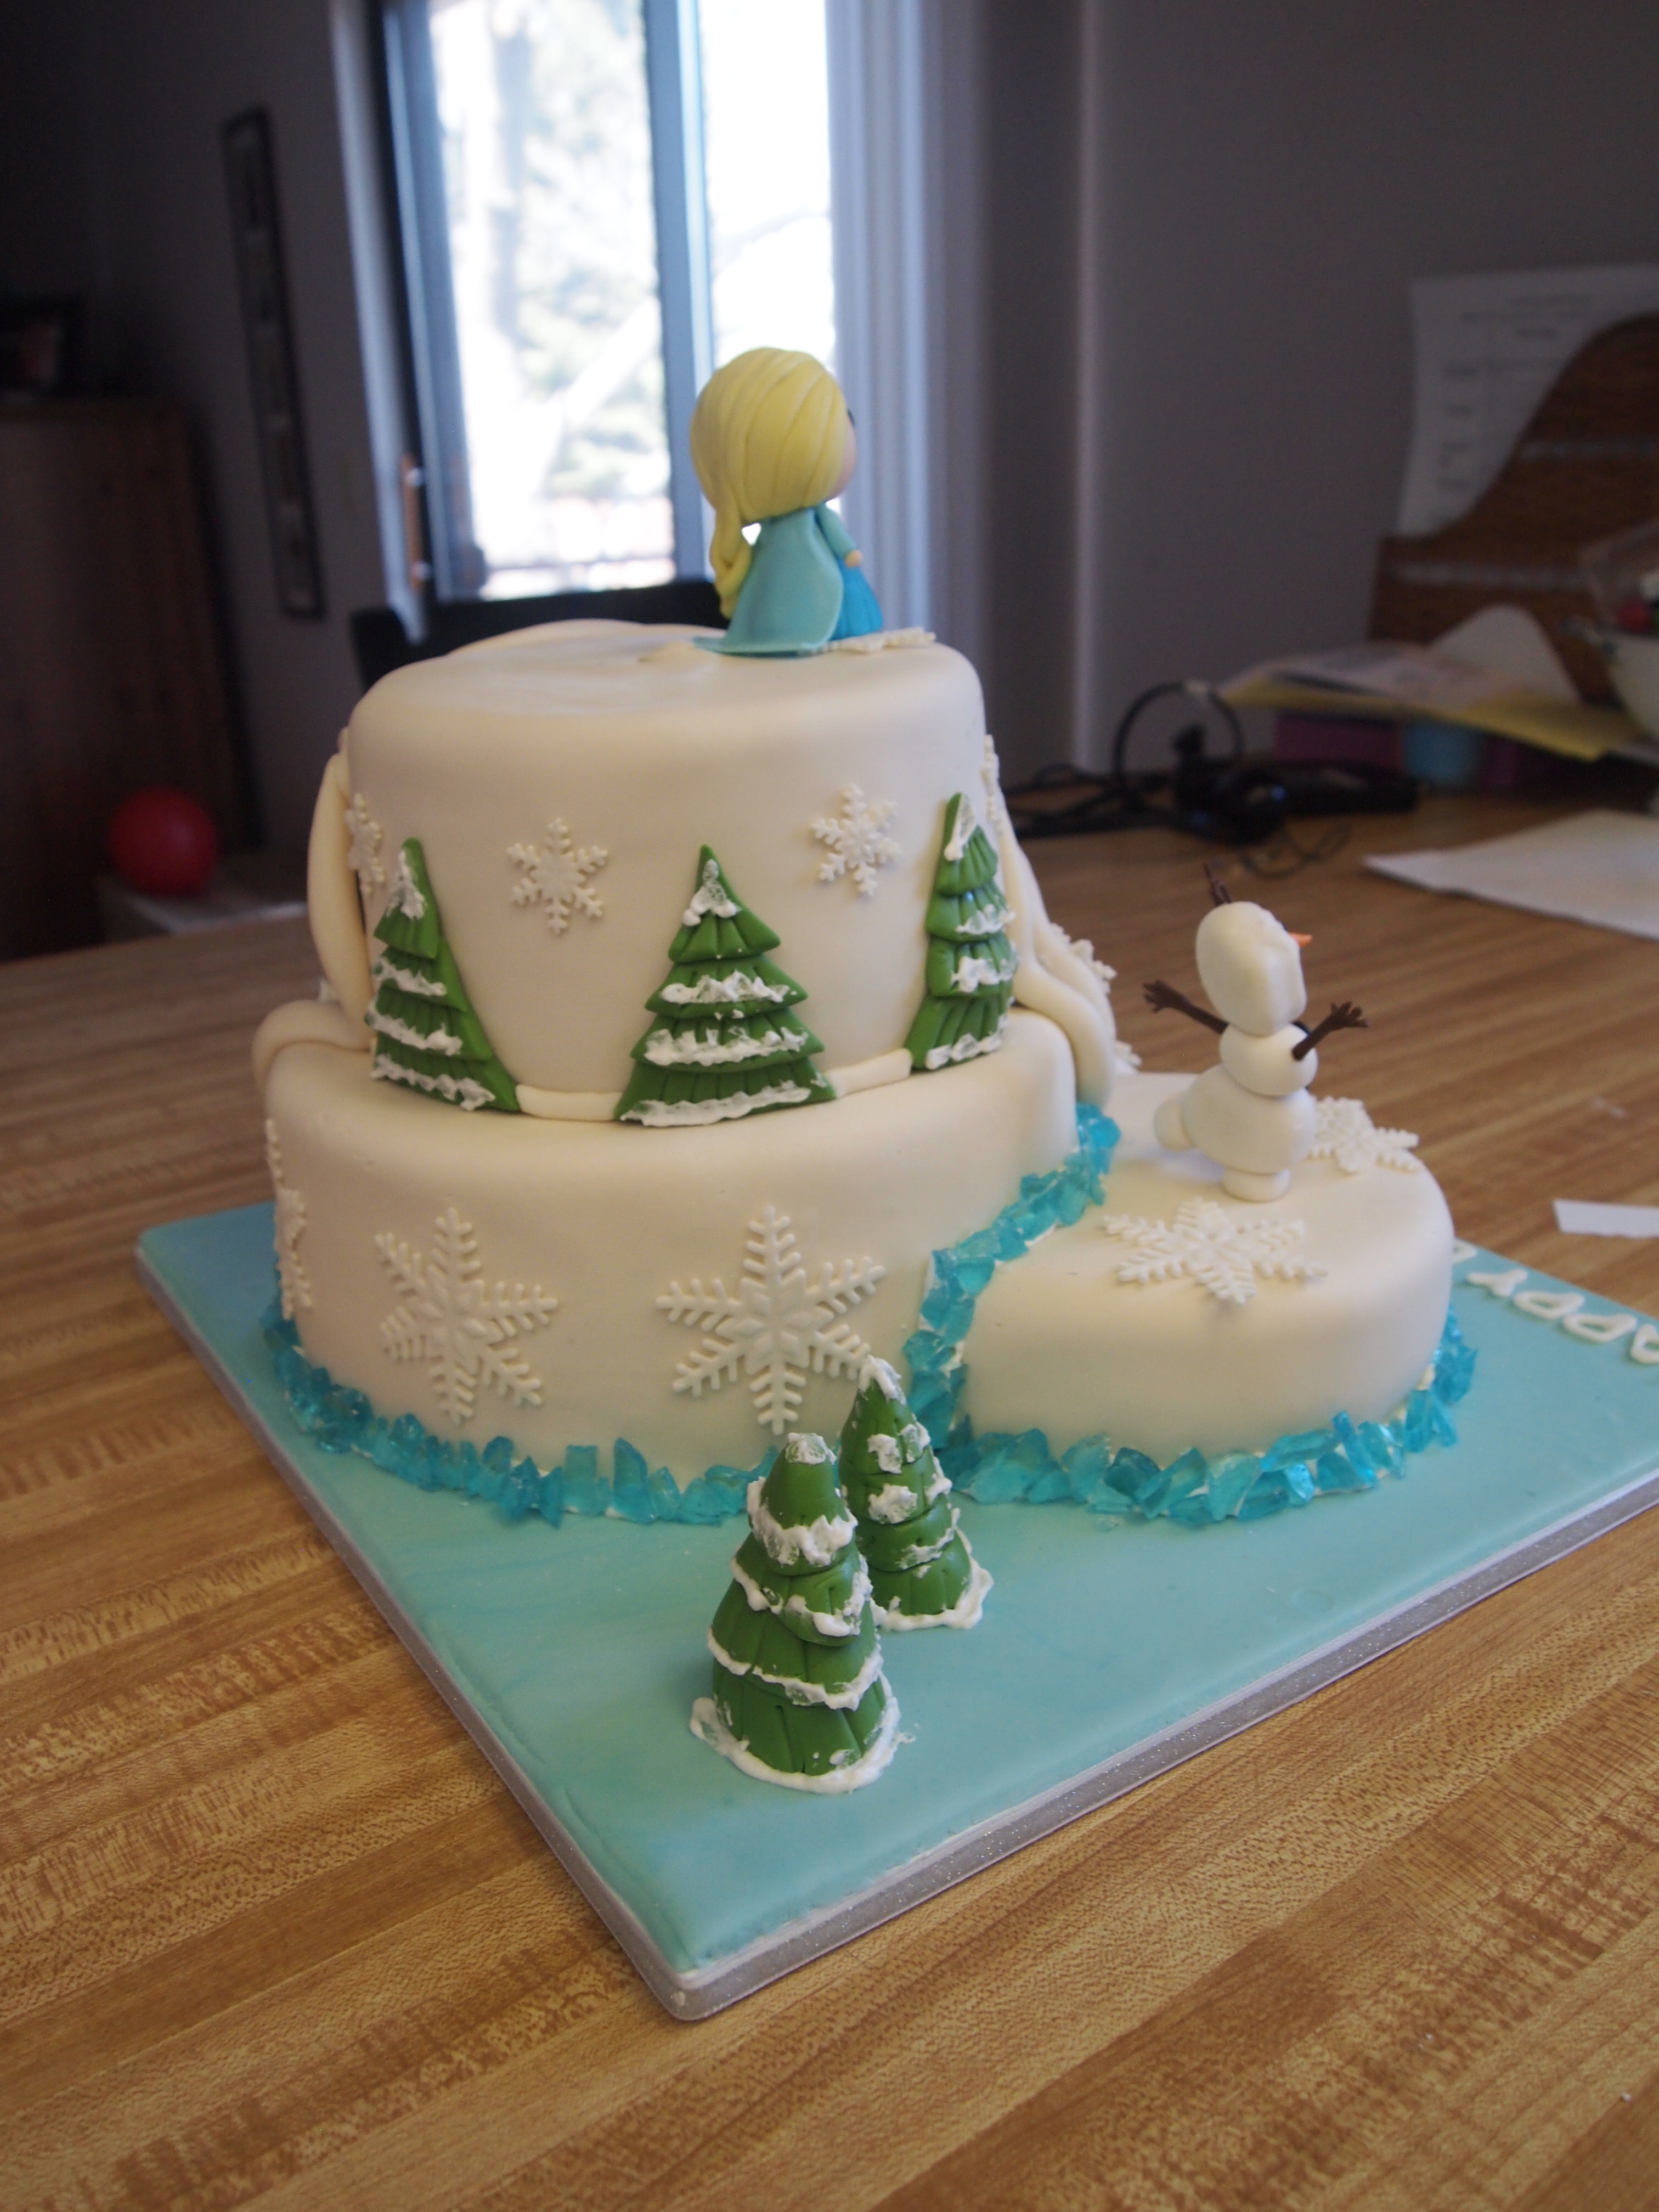
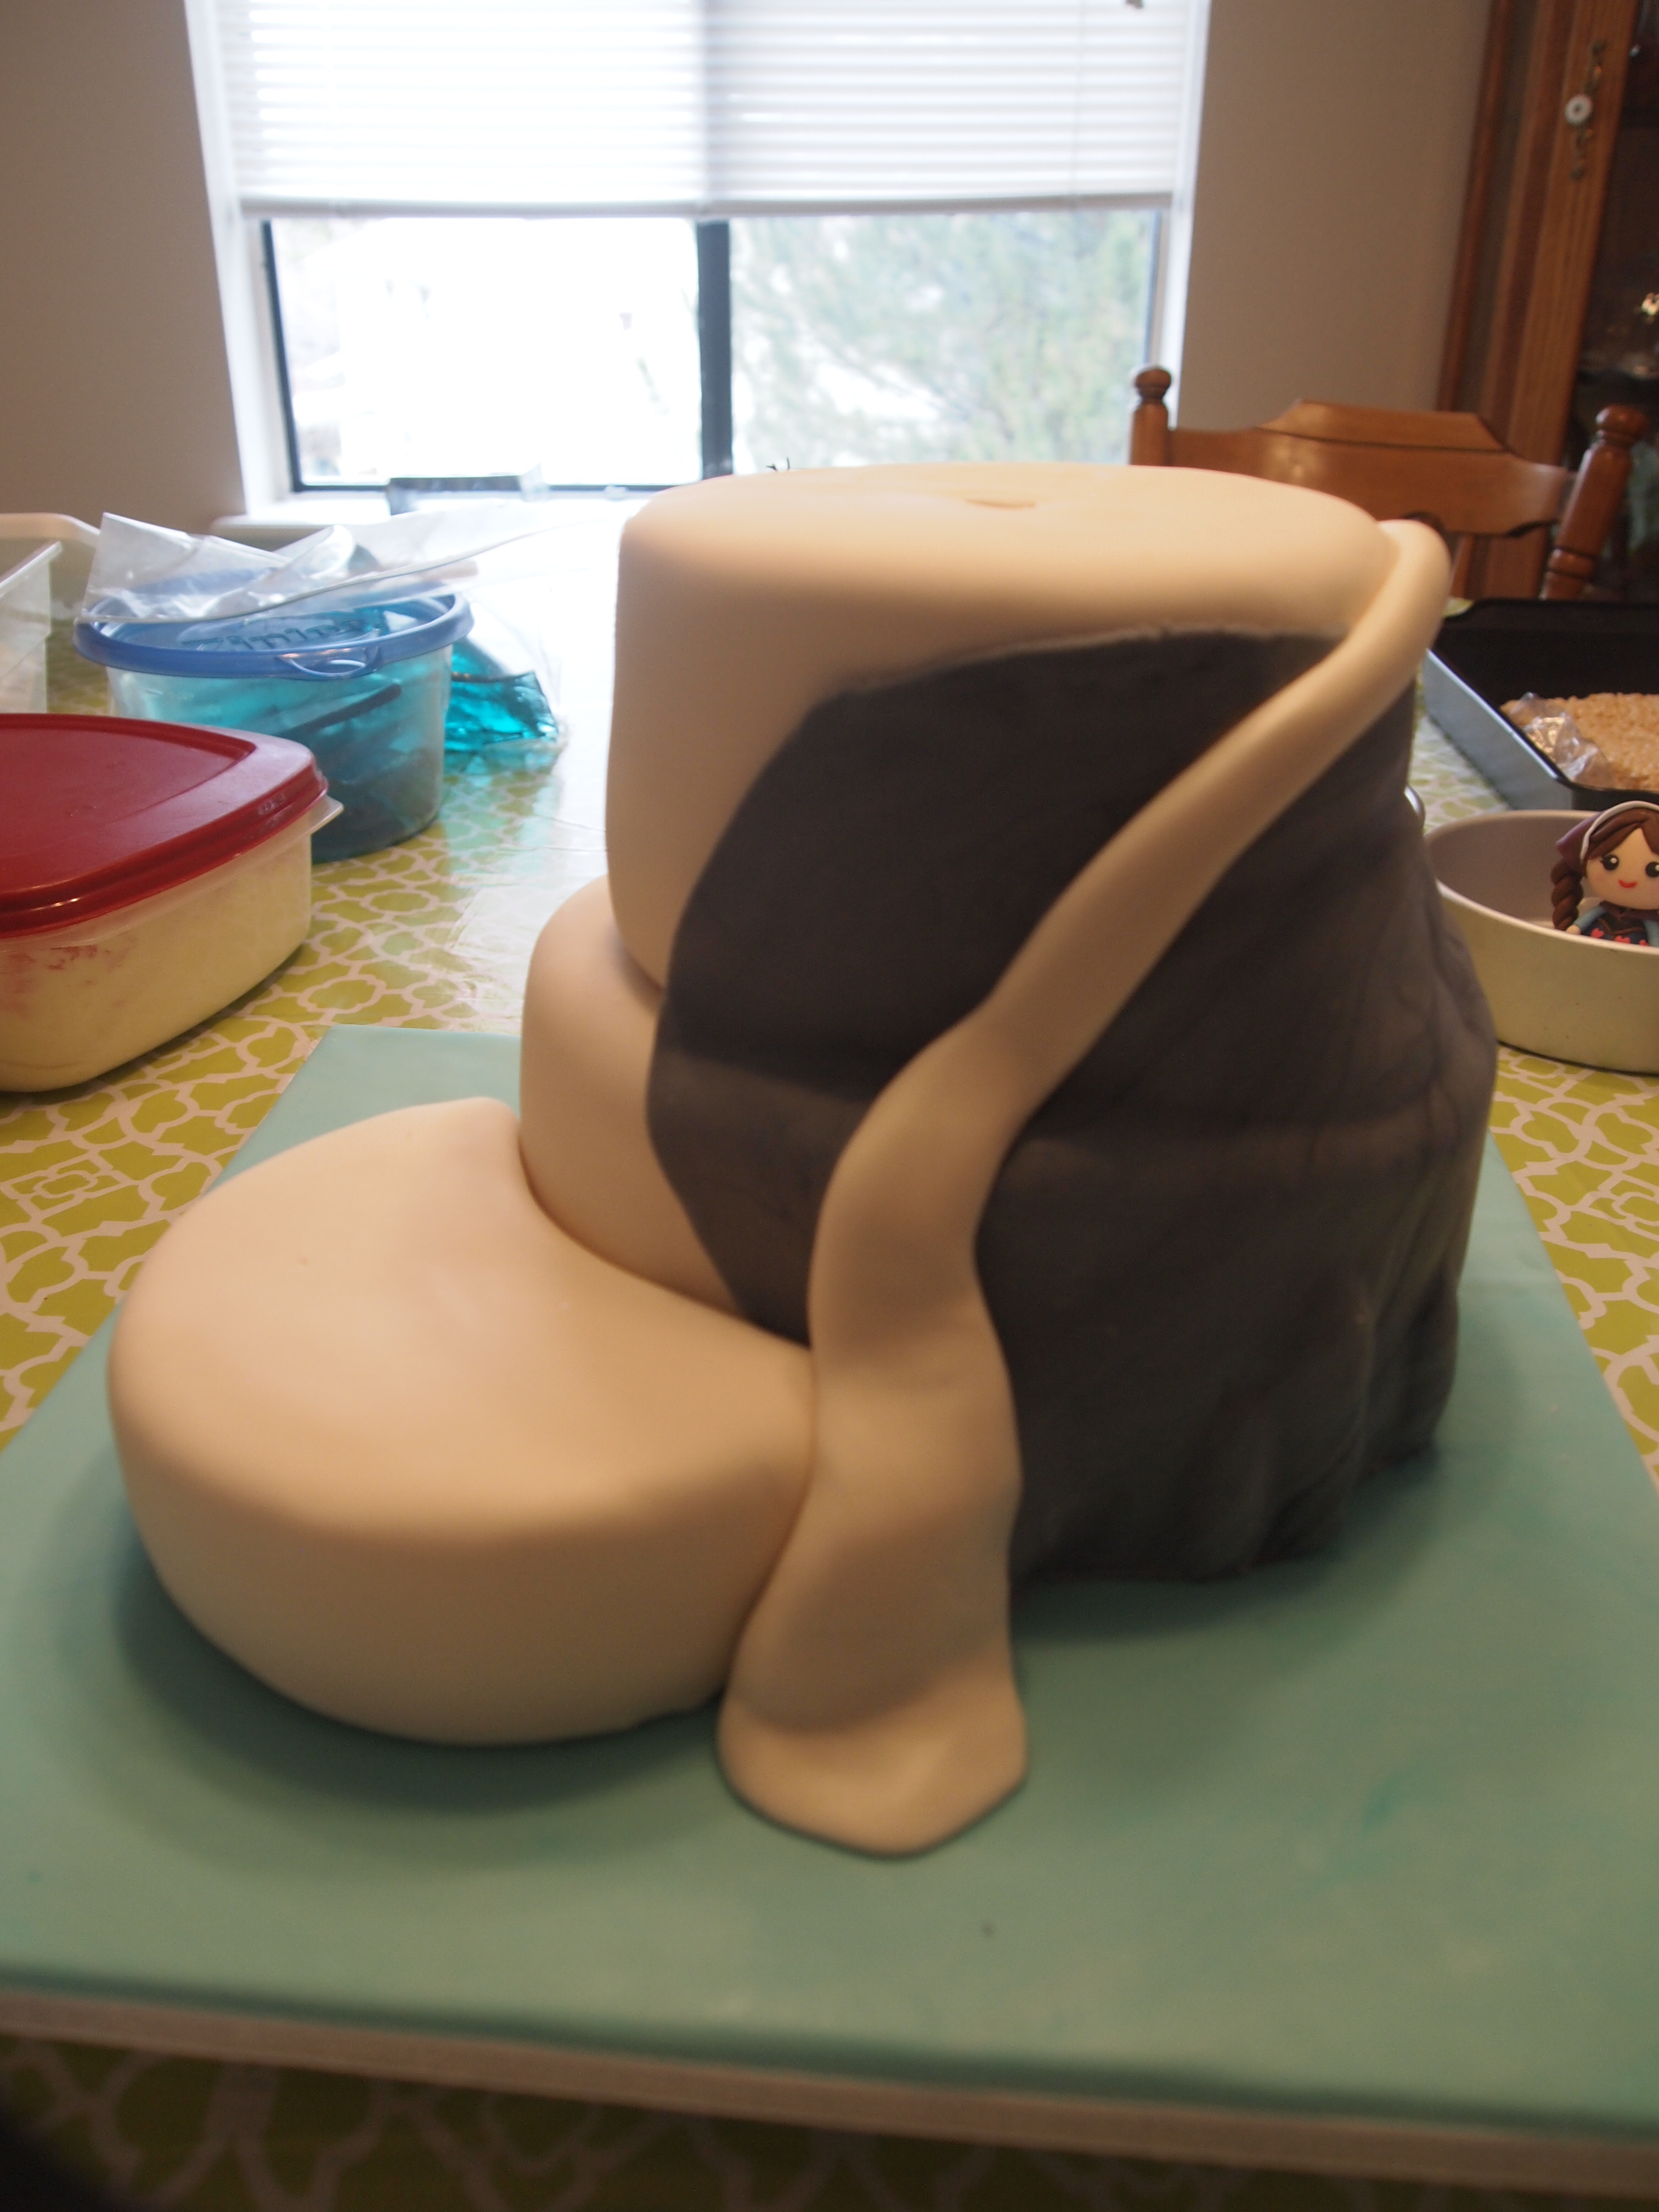
Hee hee, even the back was cool 🙂

Time spent: 3 hours

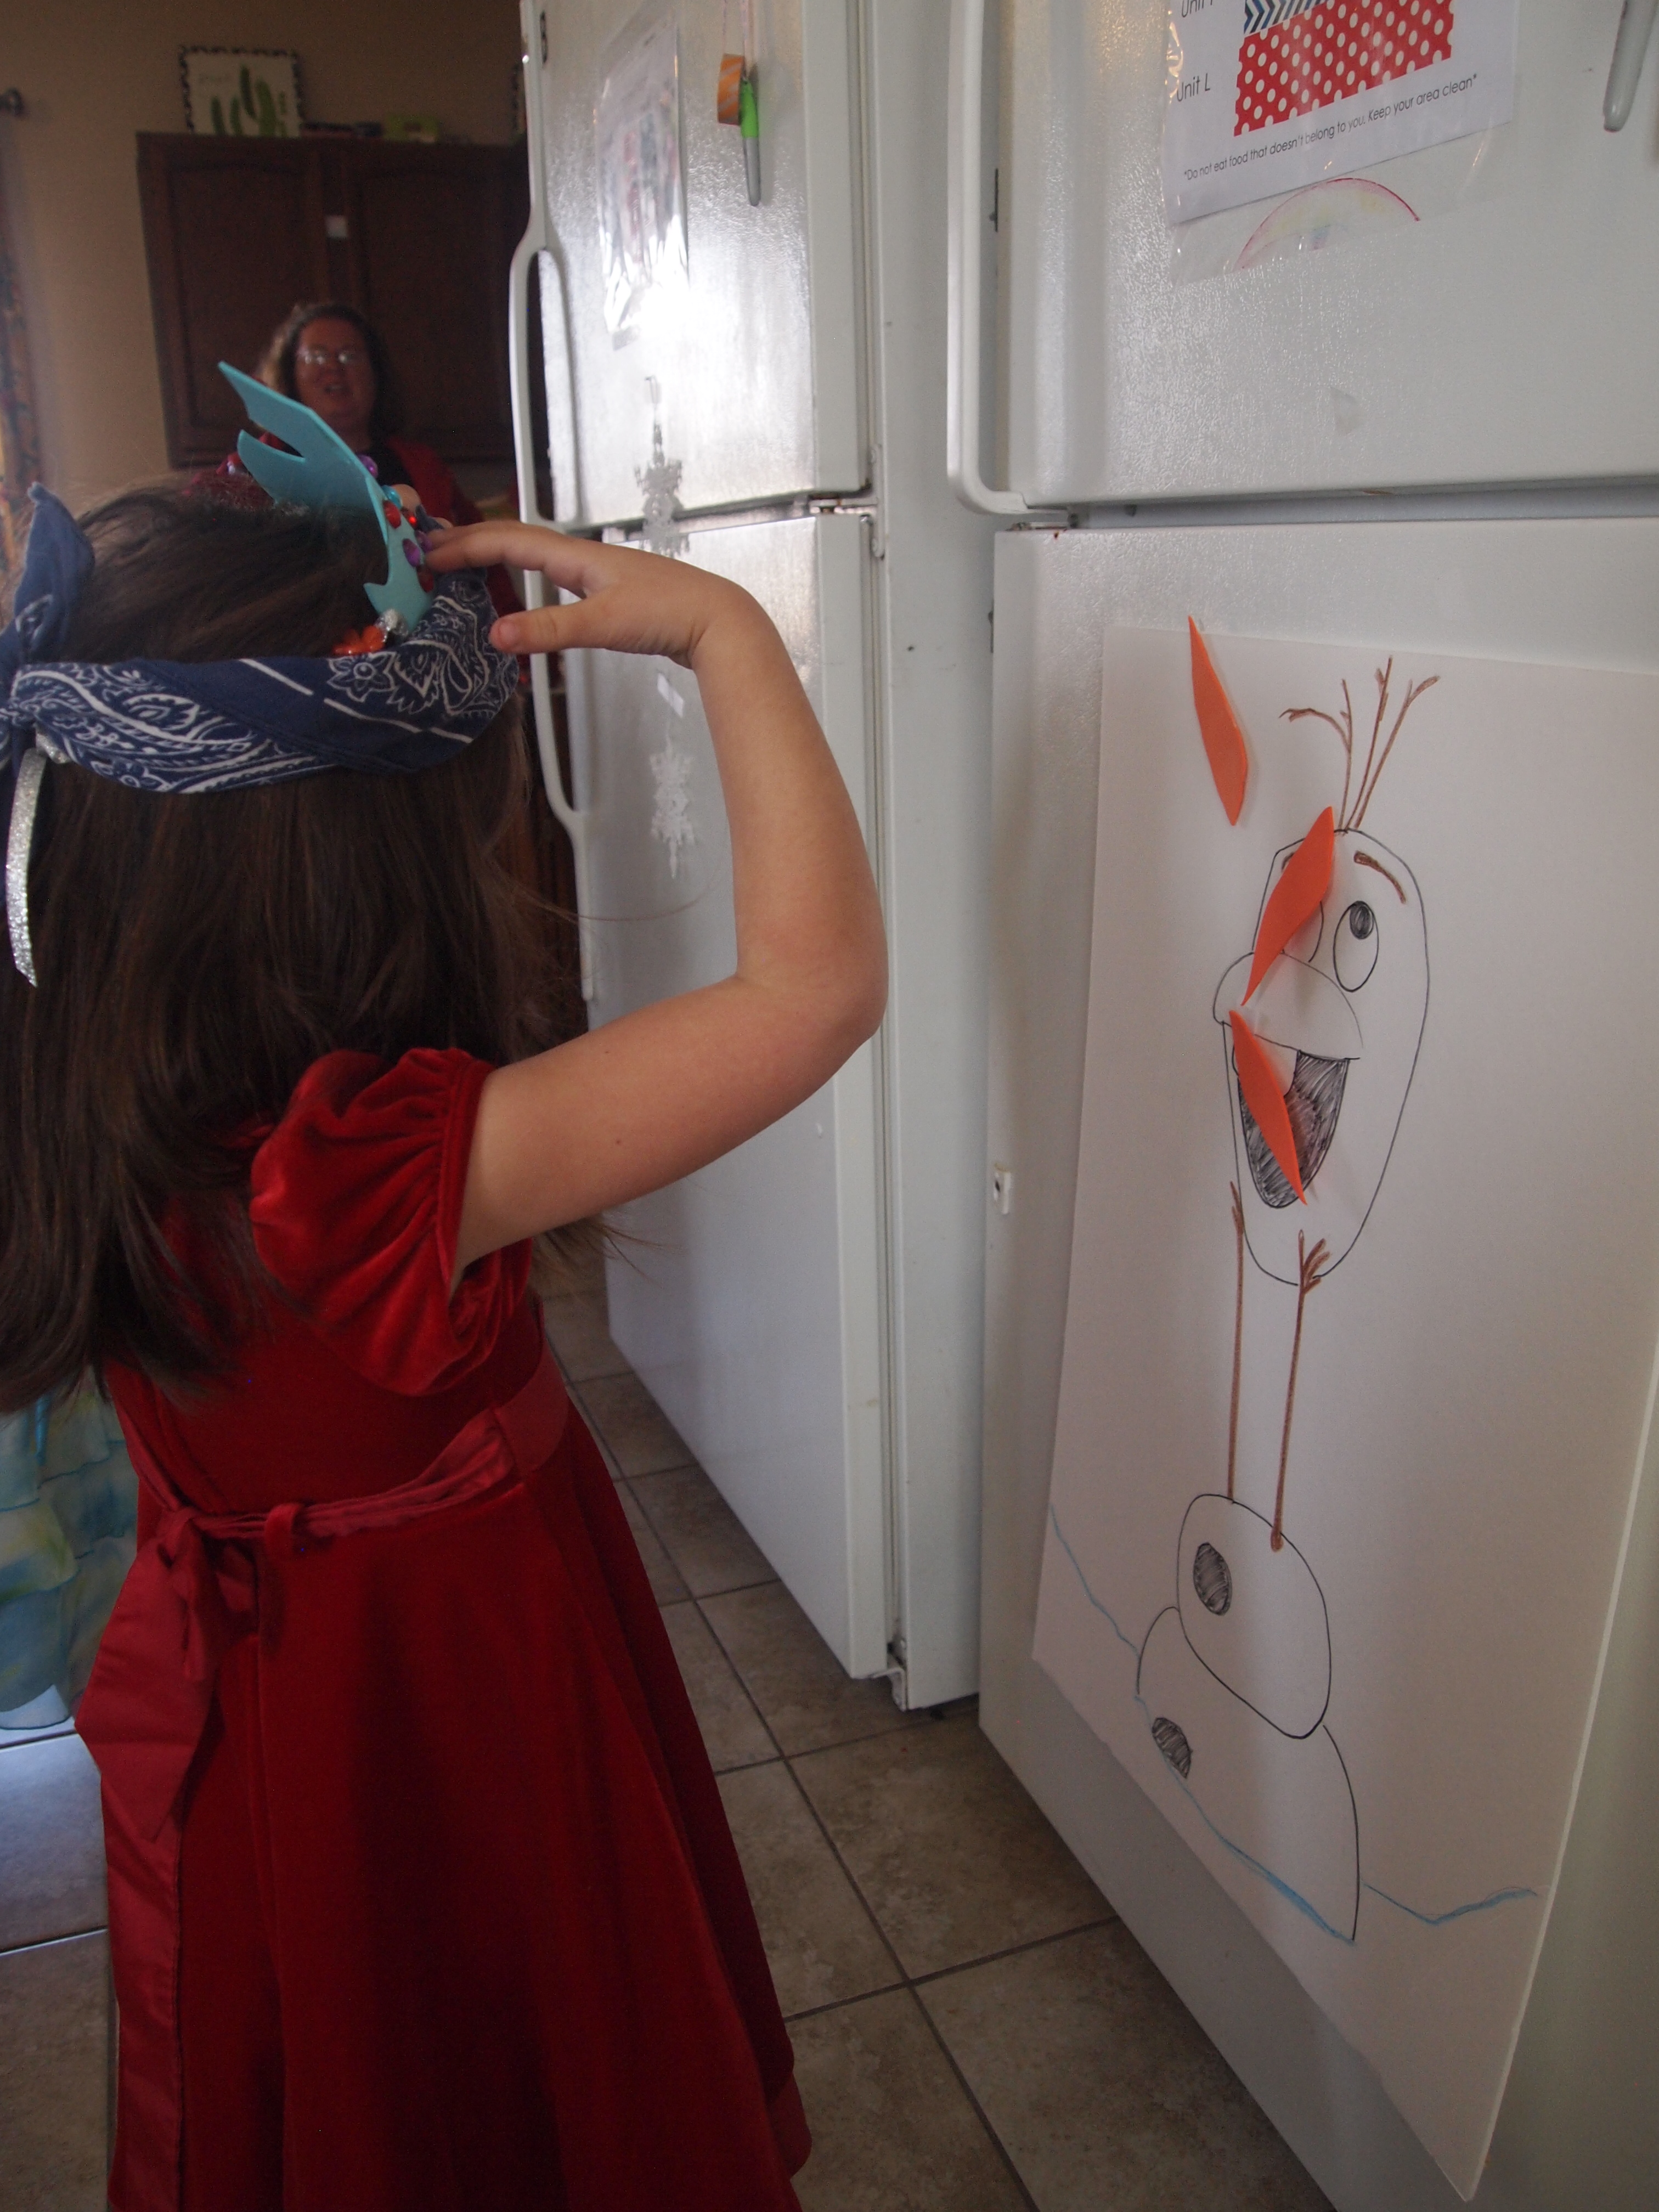
I decided to wait until I was at the party to construct Elsa’s candy ice castle, worried the structure would come crashing down in transport.  Feeling good about the cake, I turned my attention to all the other party details.  I don’t have many pictures of this process- honestly, the last hour before a party I spin around the house like a Tasmanian devil and I’m lucky if I remember to pack my camera in the midst of everything.  But the last hour involved drawing a pin-the-nose-on-Olaf game (Penny cut out all the carrot noses for me), finishing party favors (thanks Mom!), gathering craft supplies, and making sure Penny had been fed and dressed.  Penny usually accompanies me to the parties and always insists in dressing in her fanciest dress- I’m lucky if I’m wearing makeup and clothes without buttercream smears.  We balance each other out, I suppose.

Then we jumped in the car, with just a quick stop at the store for punch and to fill up our 4-foot Olaf balloon with helium (my one Amazon-bought splurge).  Penny was delighted with Olaf and talked to him like he was her new best friend.  However, we had a little scare when a gust of wind ripped Olaf’s string from the base of the balloon and he nearly flew away in the parking lot. Luckily, a scrubby tree caught him and we were able to recover him from his escape attempt.  Crisis averted.

On our 30 minute drive to First Step, it began to rain heavily.  This may seem odd, but I’ve NEVER had to deliver a cake when it was raining.  We get 300+ days of sunshine in Denver and it hadn’t occurred to me that rain could be an issue.  Just a few raindrops could dissolve my pretty cake into a smeary mess and I didn’t have an umbrella in the car or any other way to protect the cake while moving it into the house. I began to daydream about my rainy hometown of Portland and what a problem cake delivery would be if I ever moved back.  Thankfully, the rain dissipated and the sun came out (as usual).  Another crisis averted.

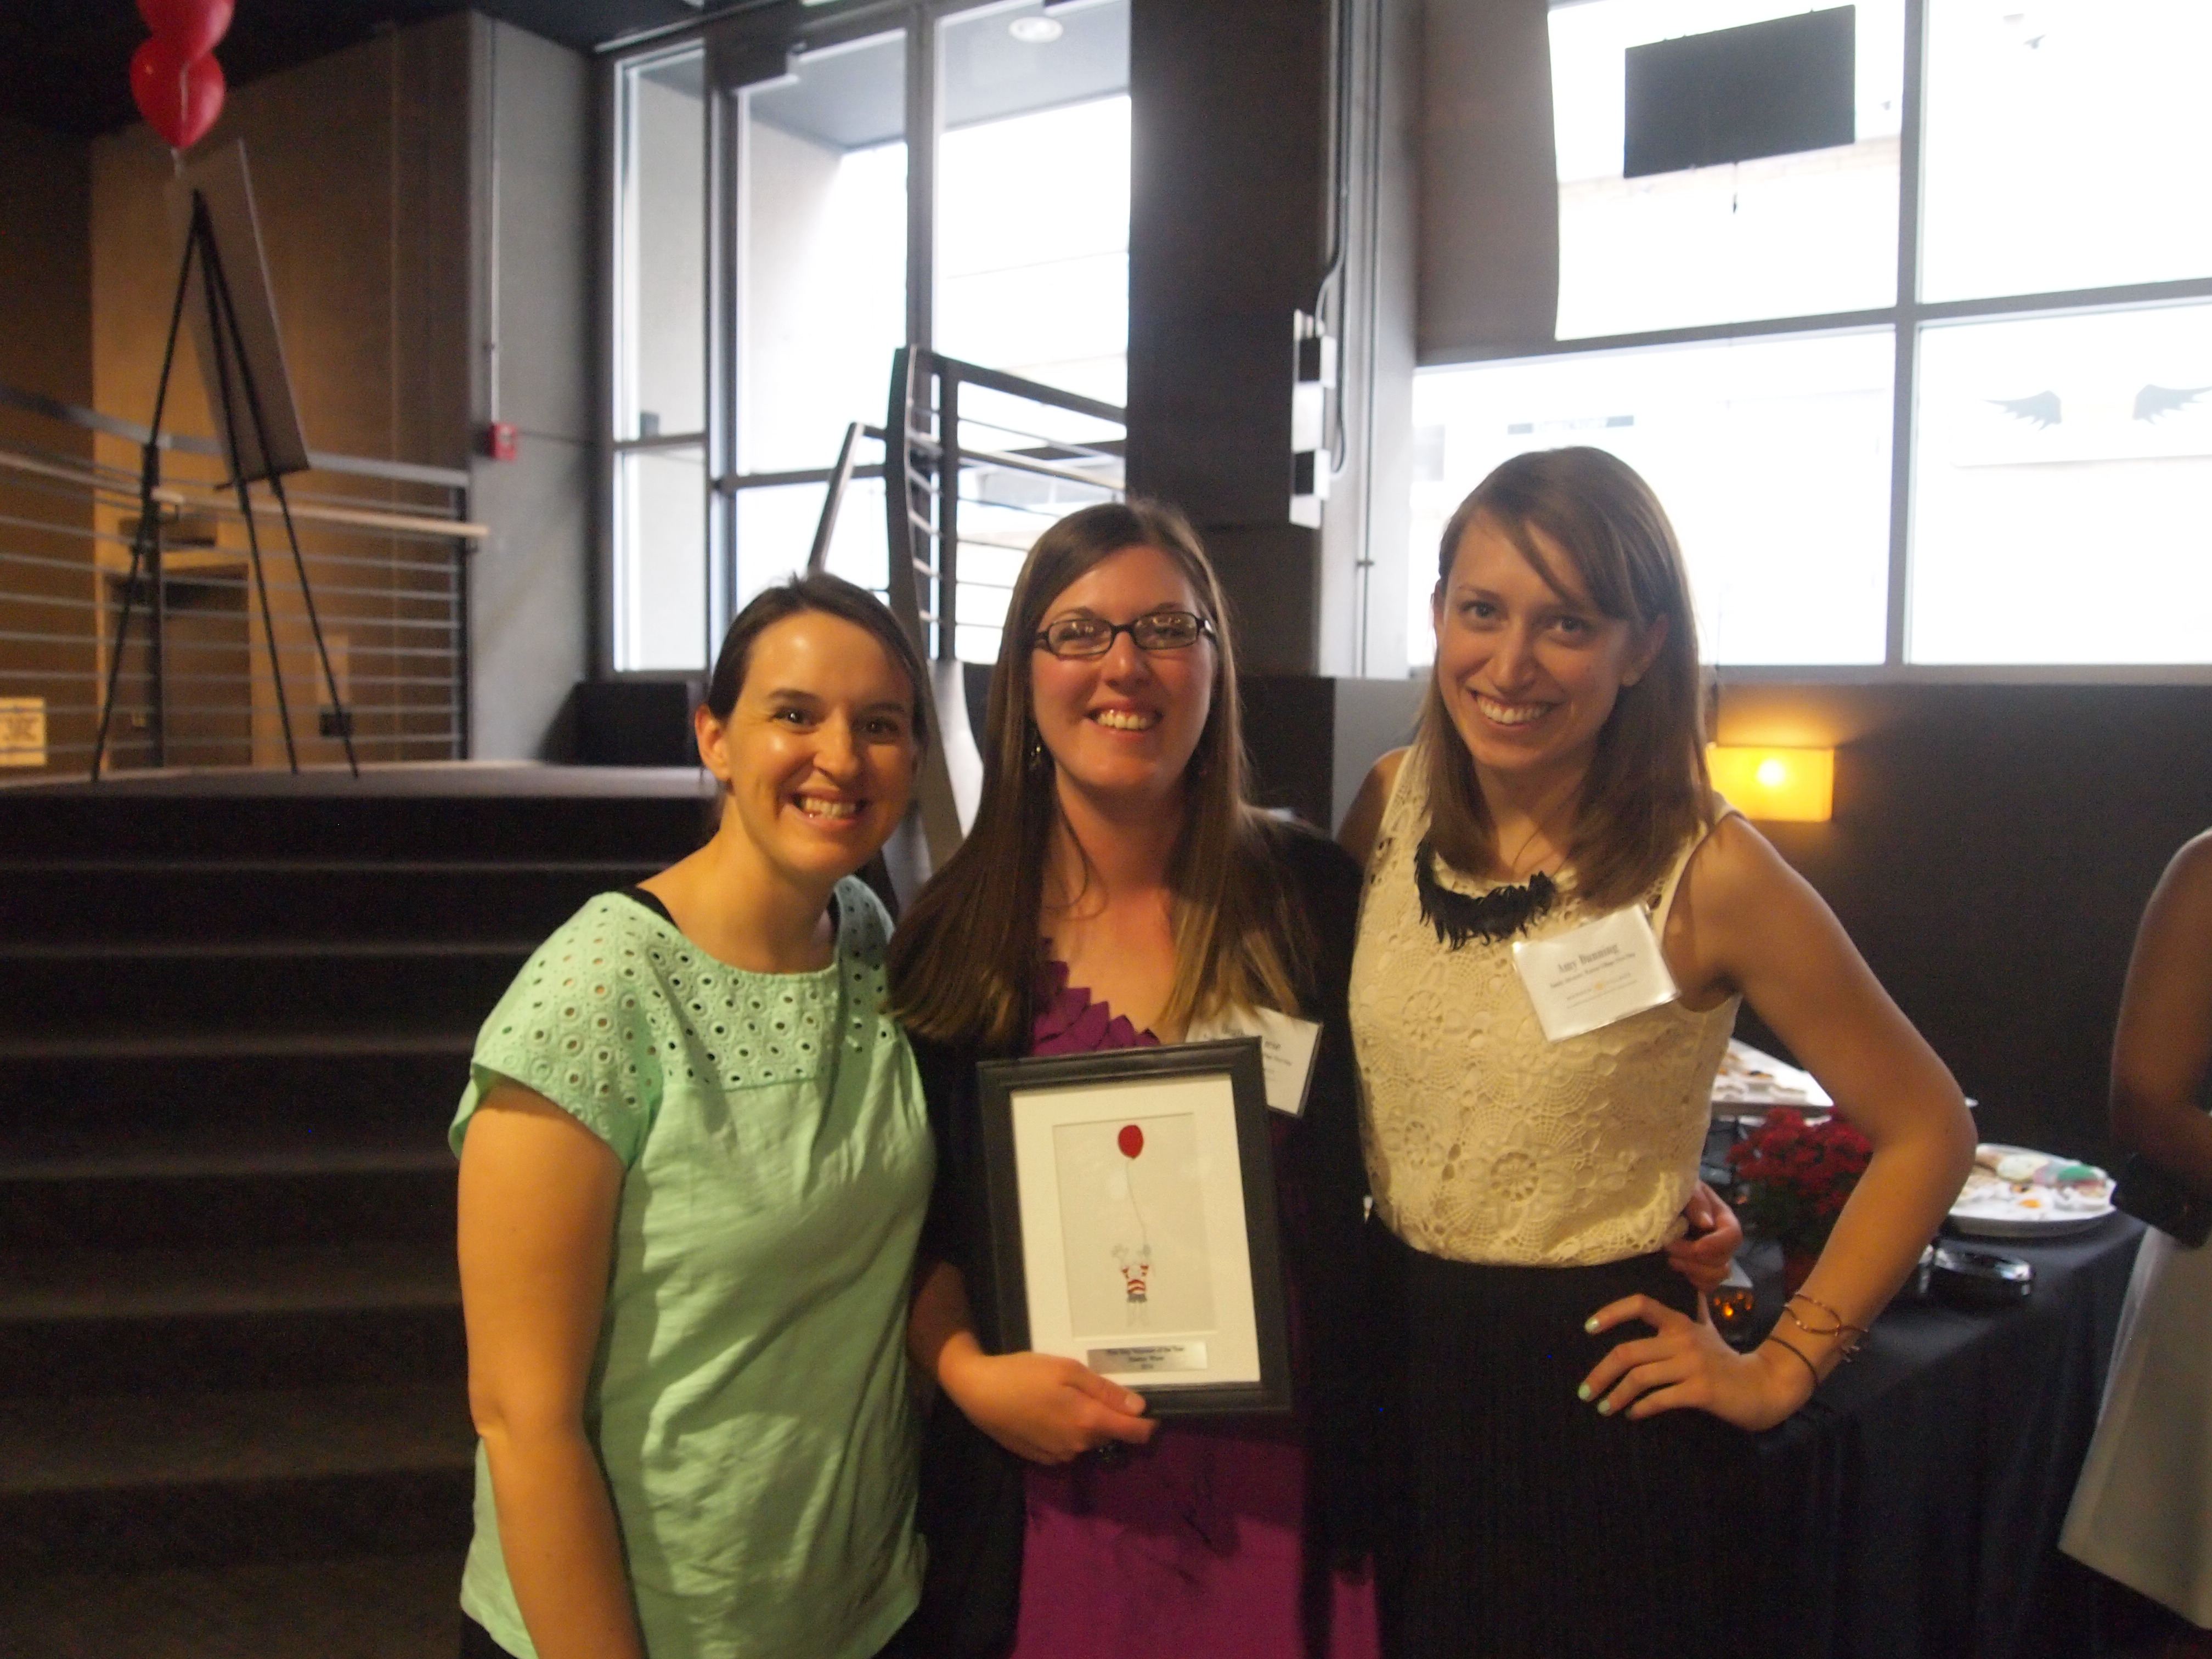
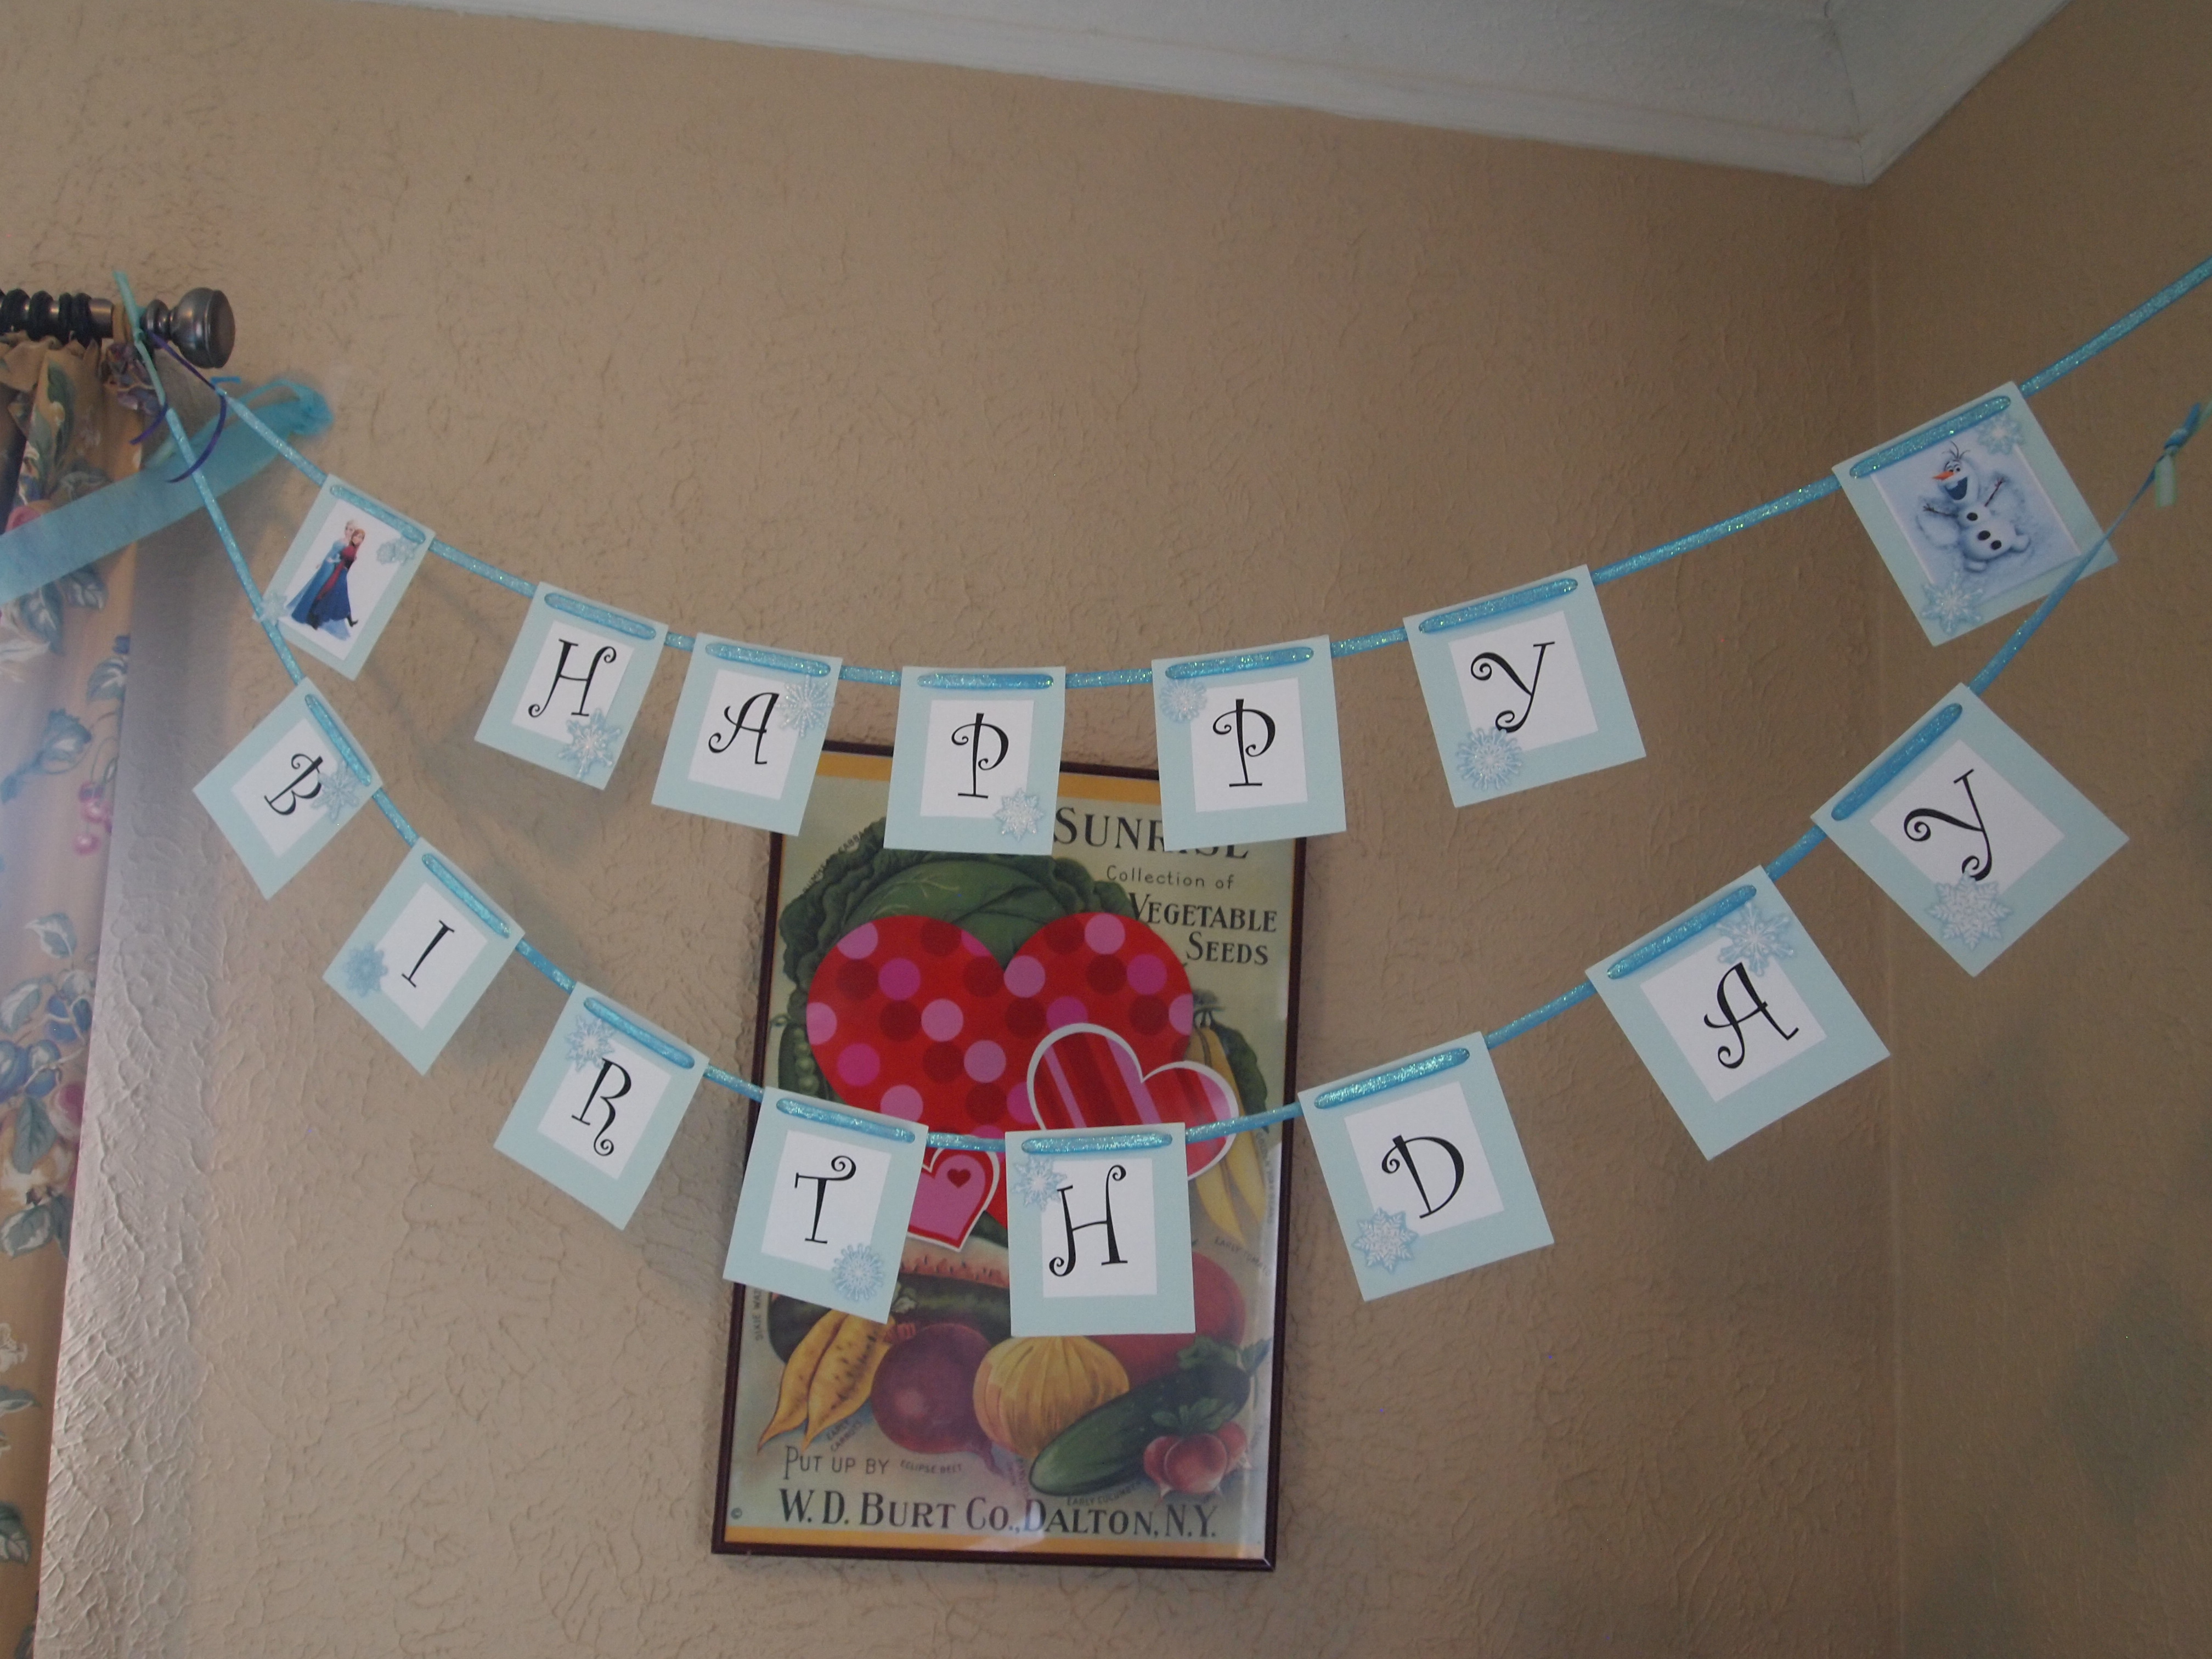
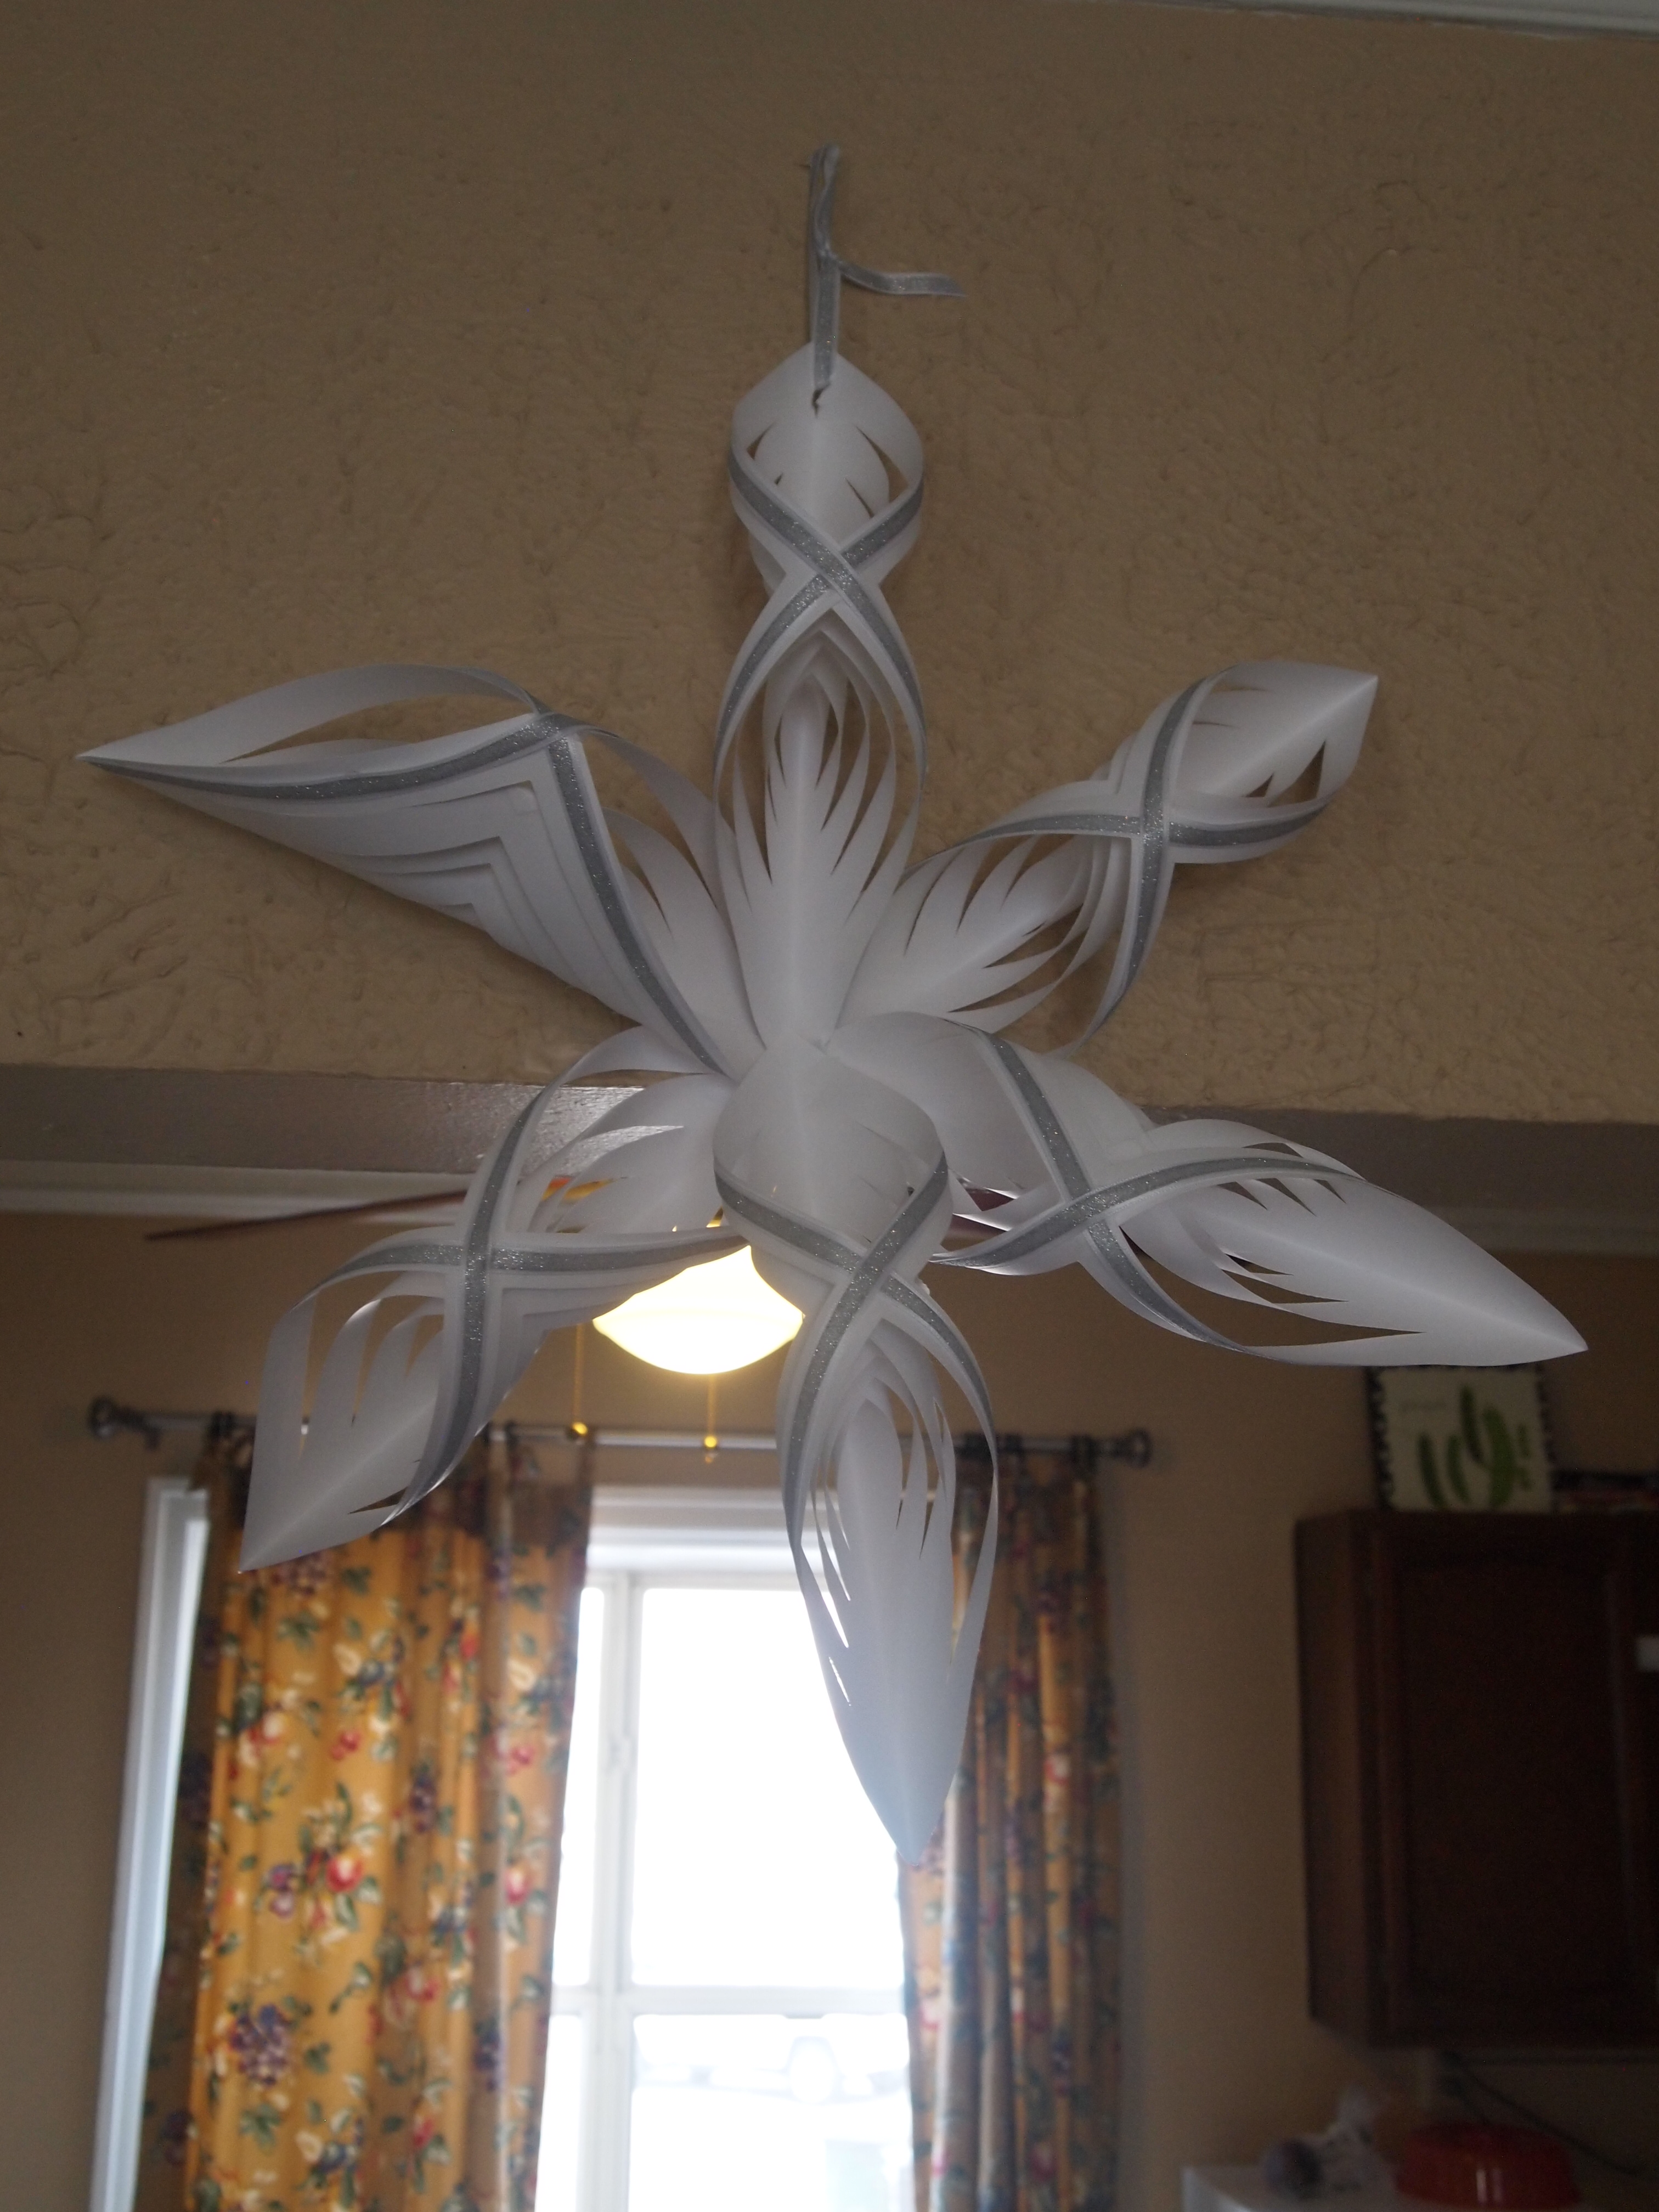
Once all the supplies and cake were safely unloaded, I started decorating the dining room with my mostly homemade decorations. I was joined by my wonderful volunteers, Laura and Sarah a few minutes later and they jumped in to cover the room with streamers and sparkly snowflakes.

OLYMPUS DIGITAL CAMERAOLYMPUS DIGITAL CAMERA

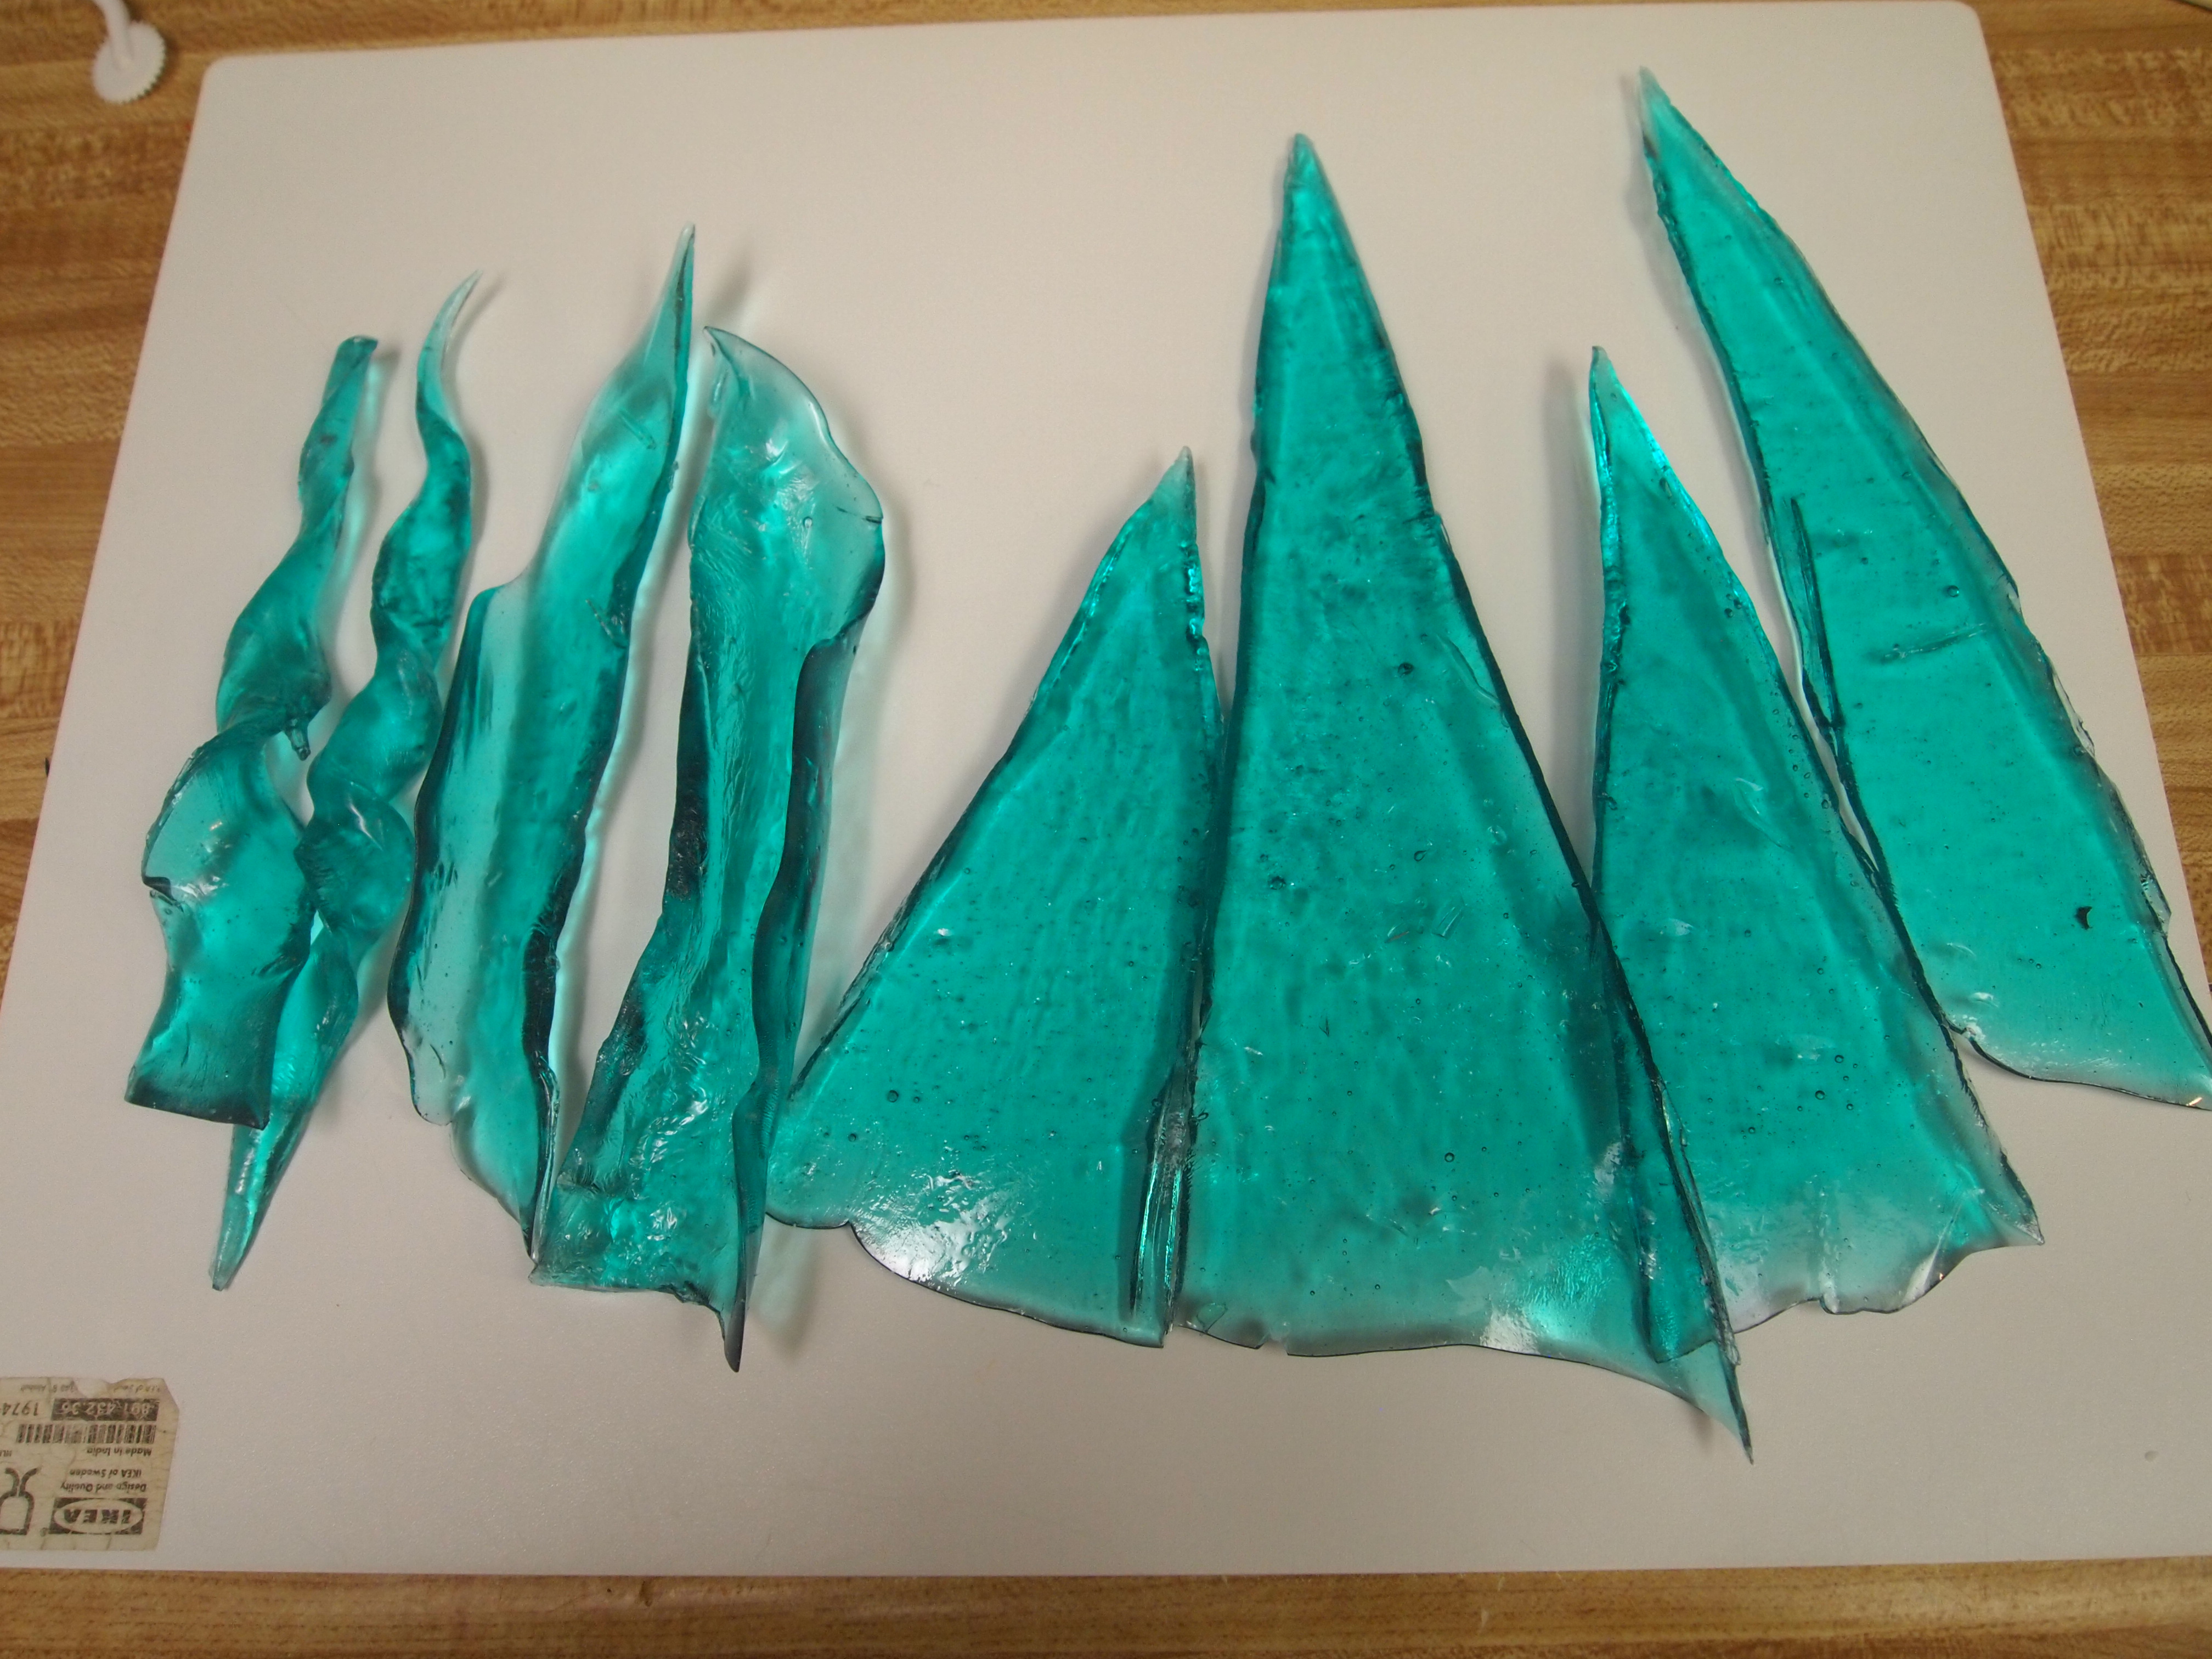
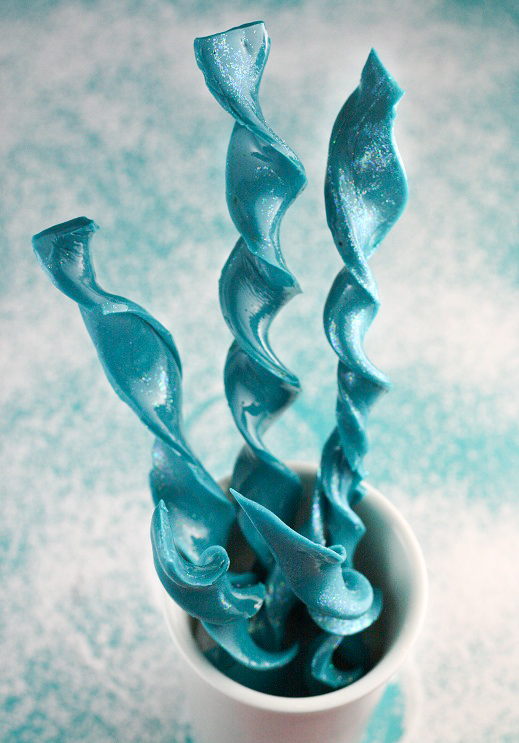
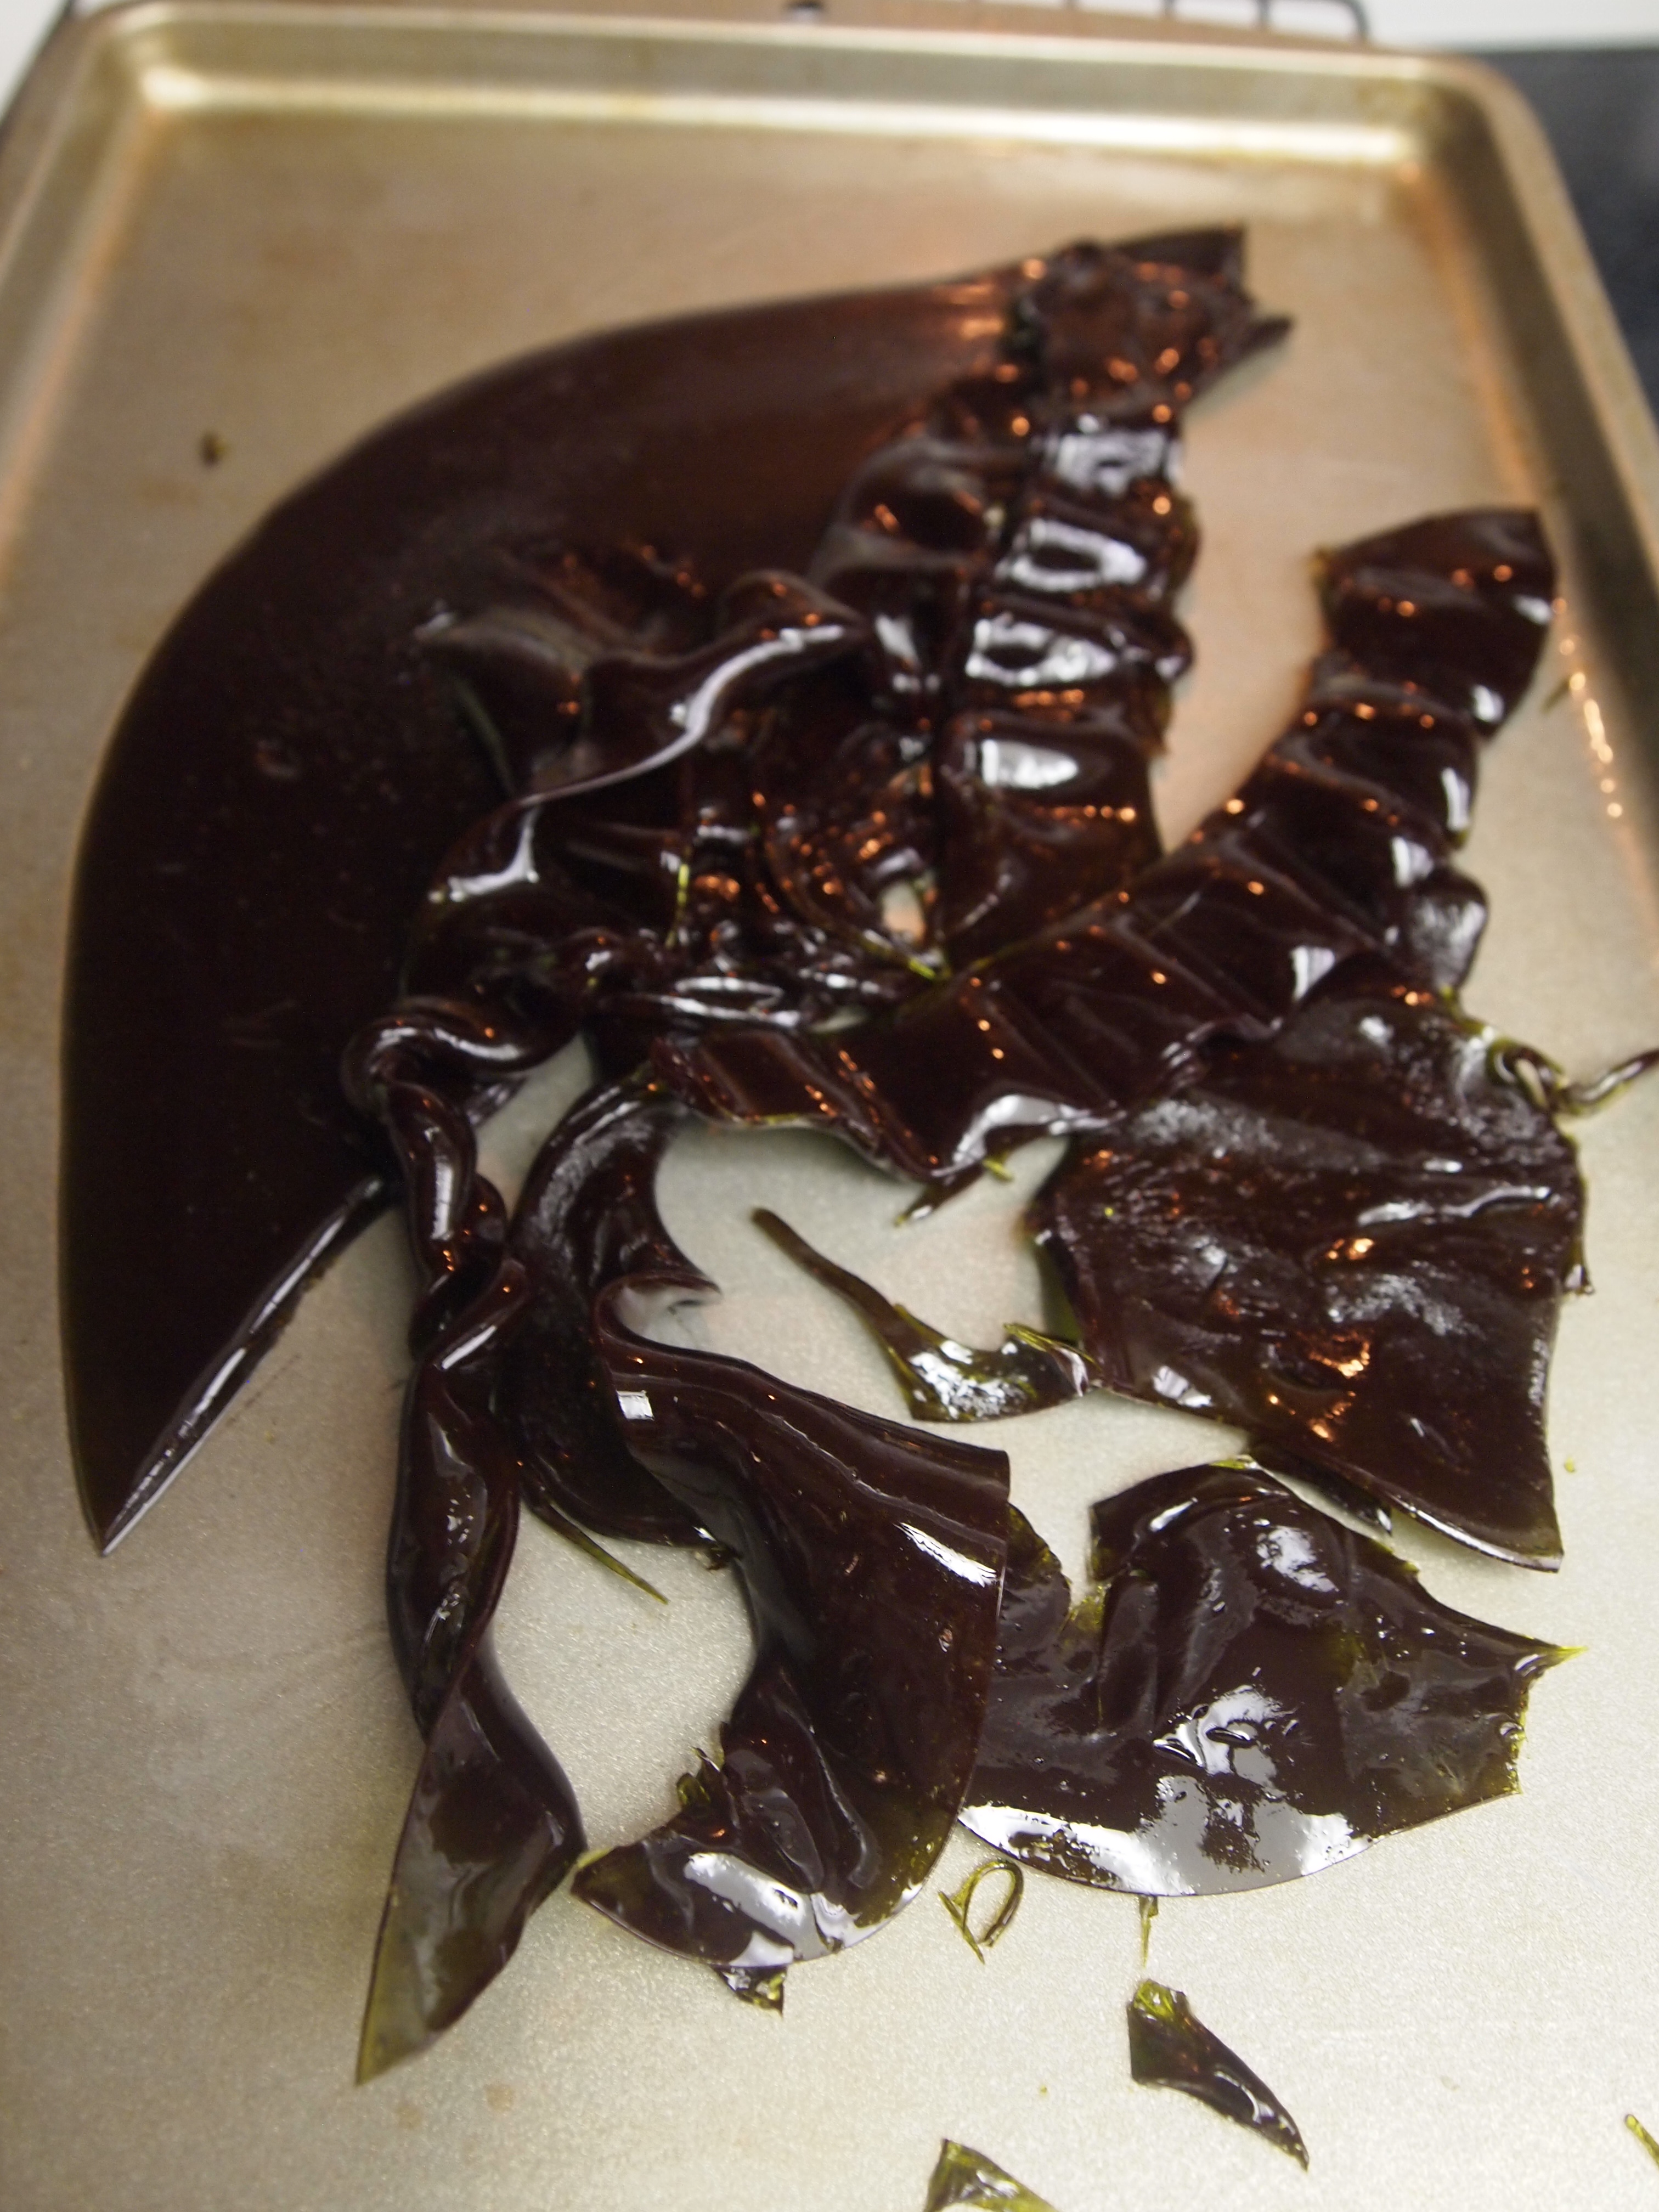
I also took a moment to finish the crowning touch of the cake: the ice castle:

OLYMPUS DIGITAL CAMERAElsa and Her Ice Castle

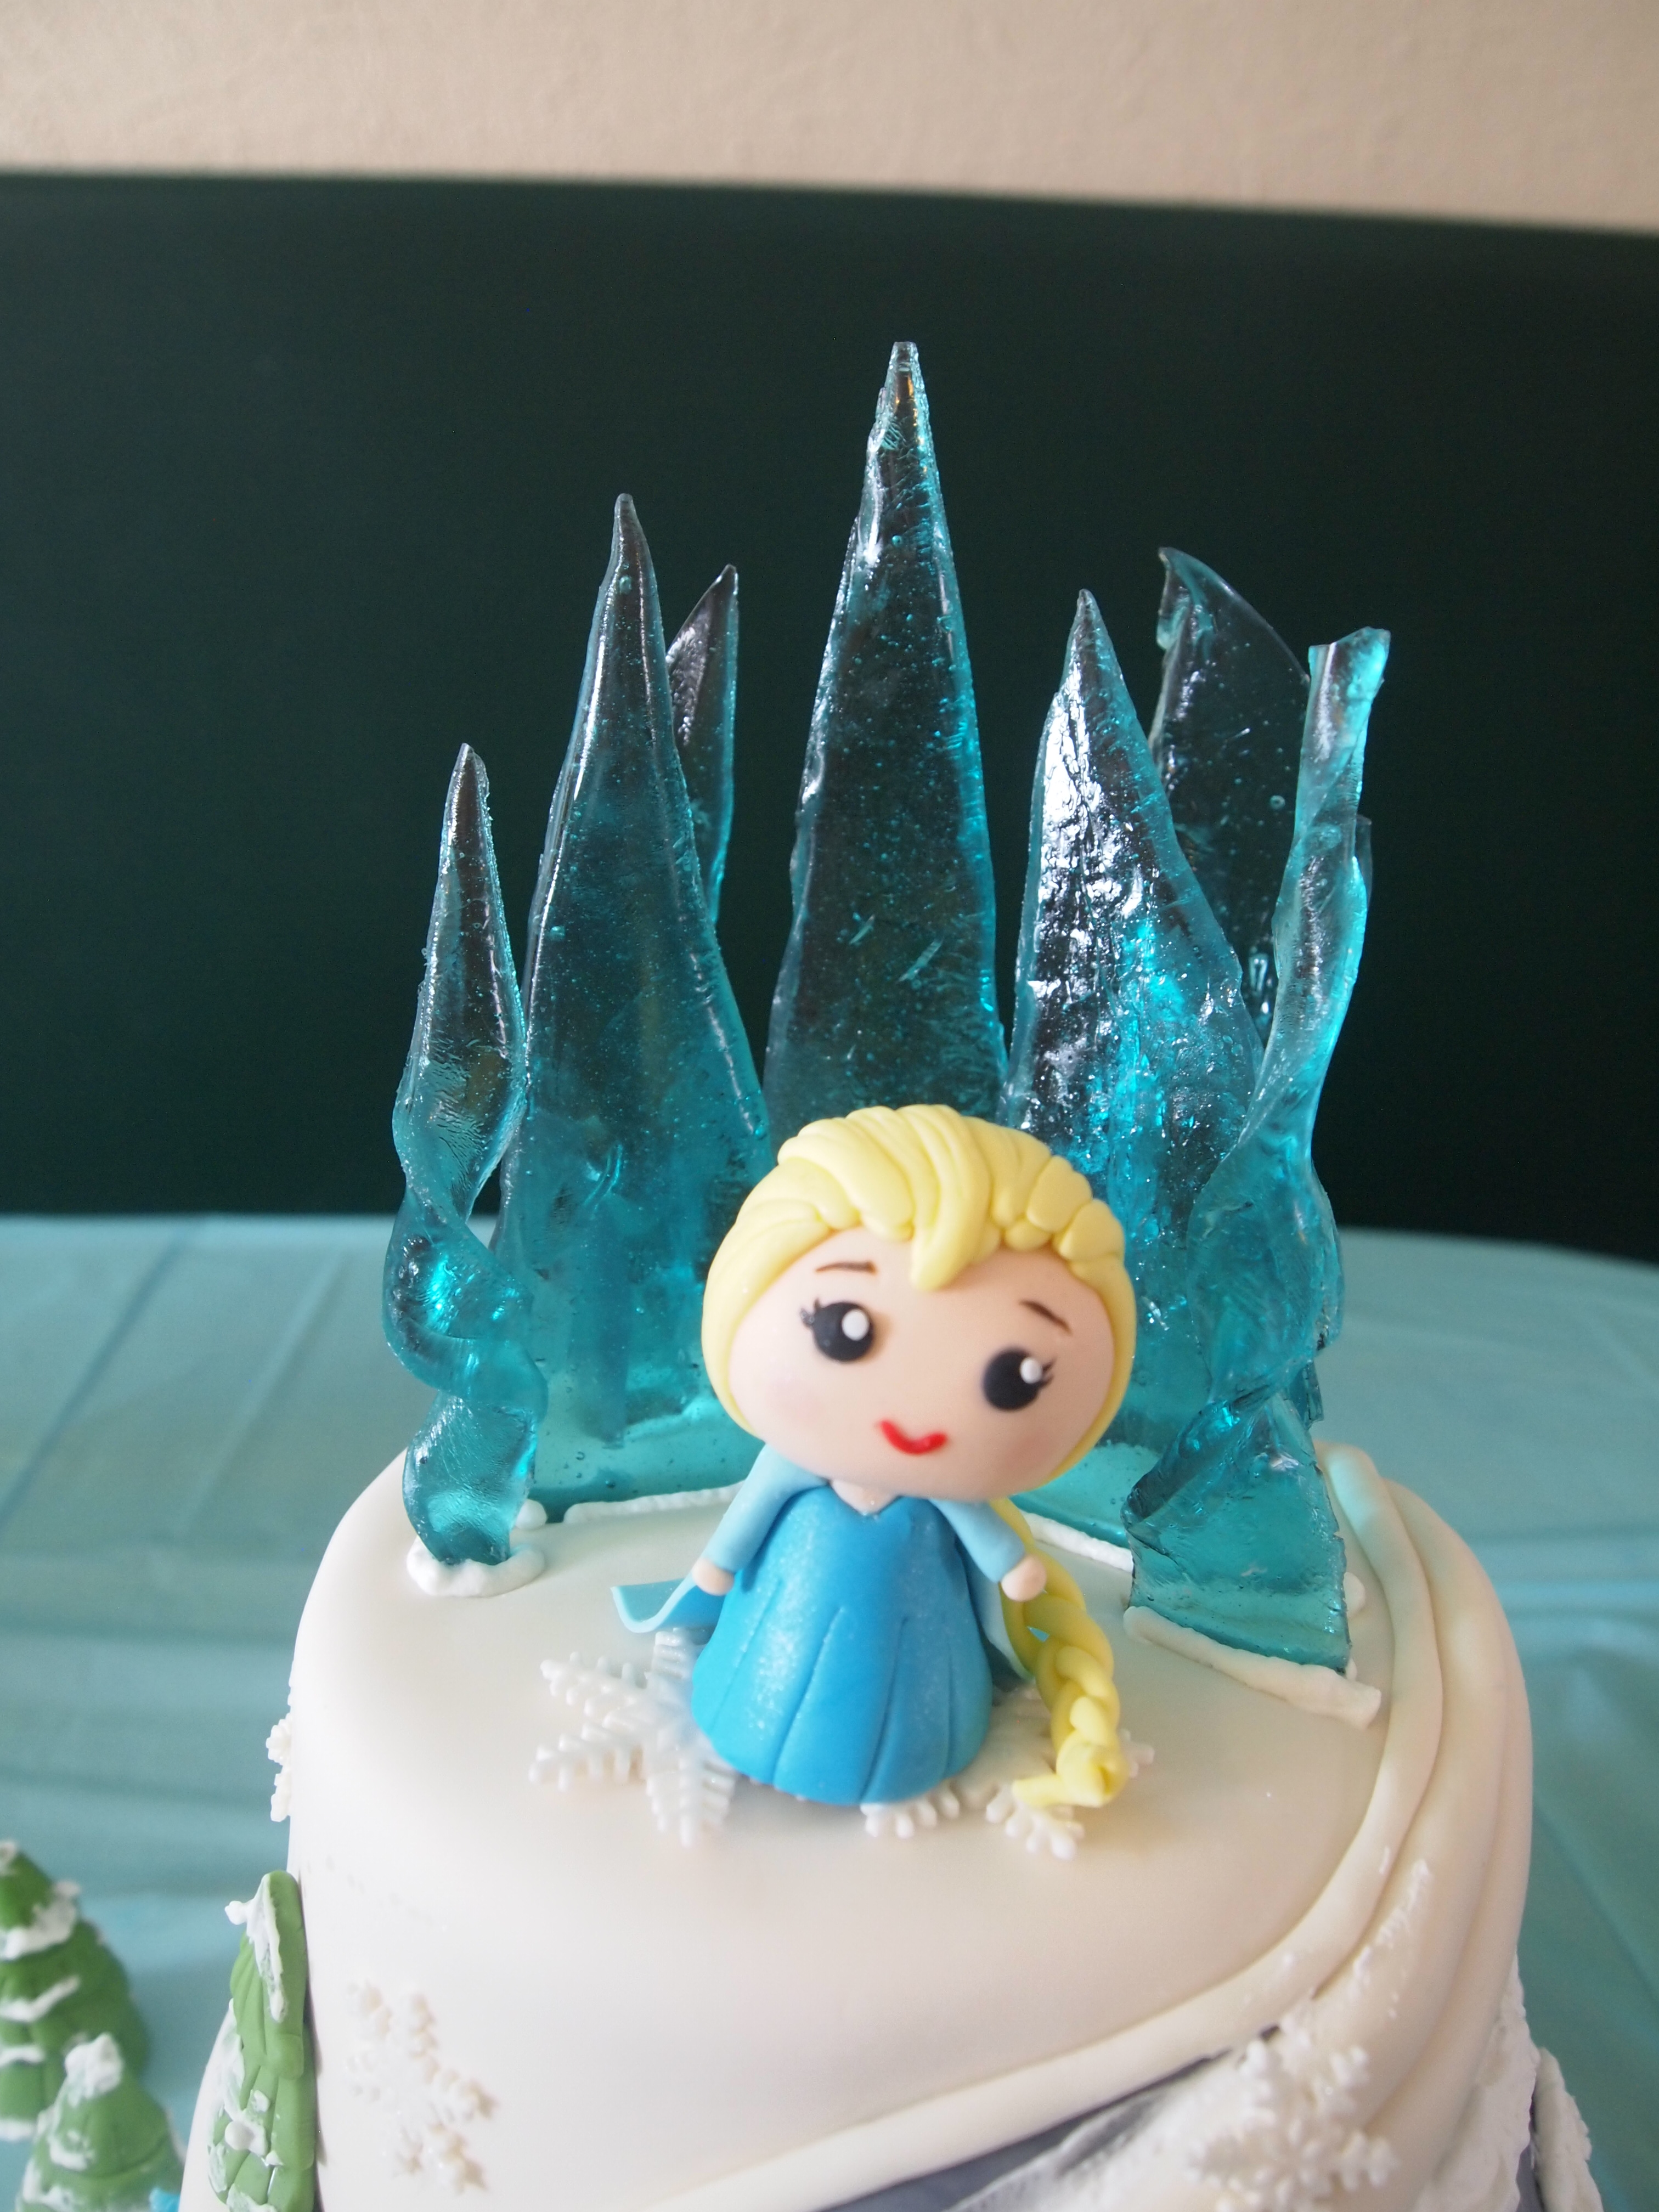
I loved the way it turned out, and I could barely believe I had actually pulled the whole thing off- finally!

Happy Olaf

Princess Anna

Unfortunately, I had stepped out of the room at the moment when our birthday girl came in and saw everything set up.  My volunteers told me I had missed a precious moment as she literally tiptoed up to her cake, eyes big as saucers, and squealed in delight over all the details.  I felt content though, as she continued to run over to her cake all throughout the party- I knew she loved it and that was enough for me.

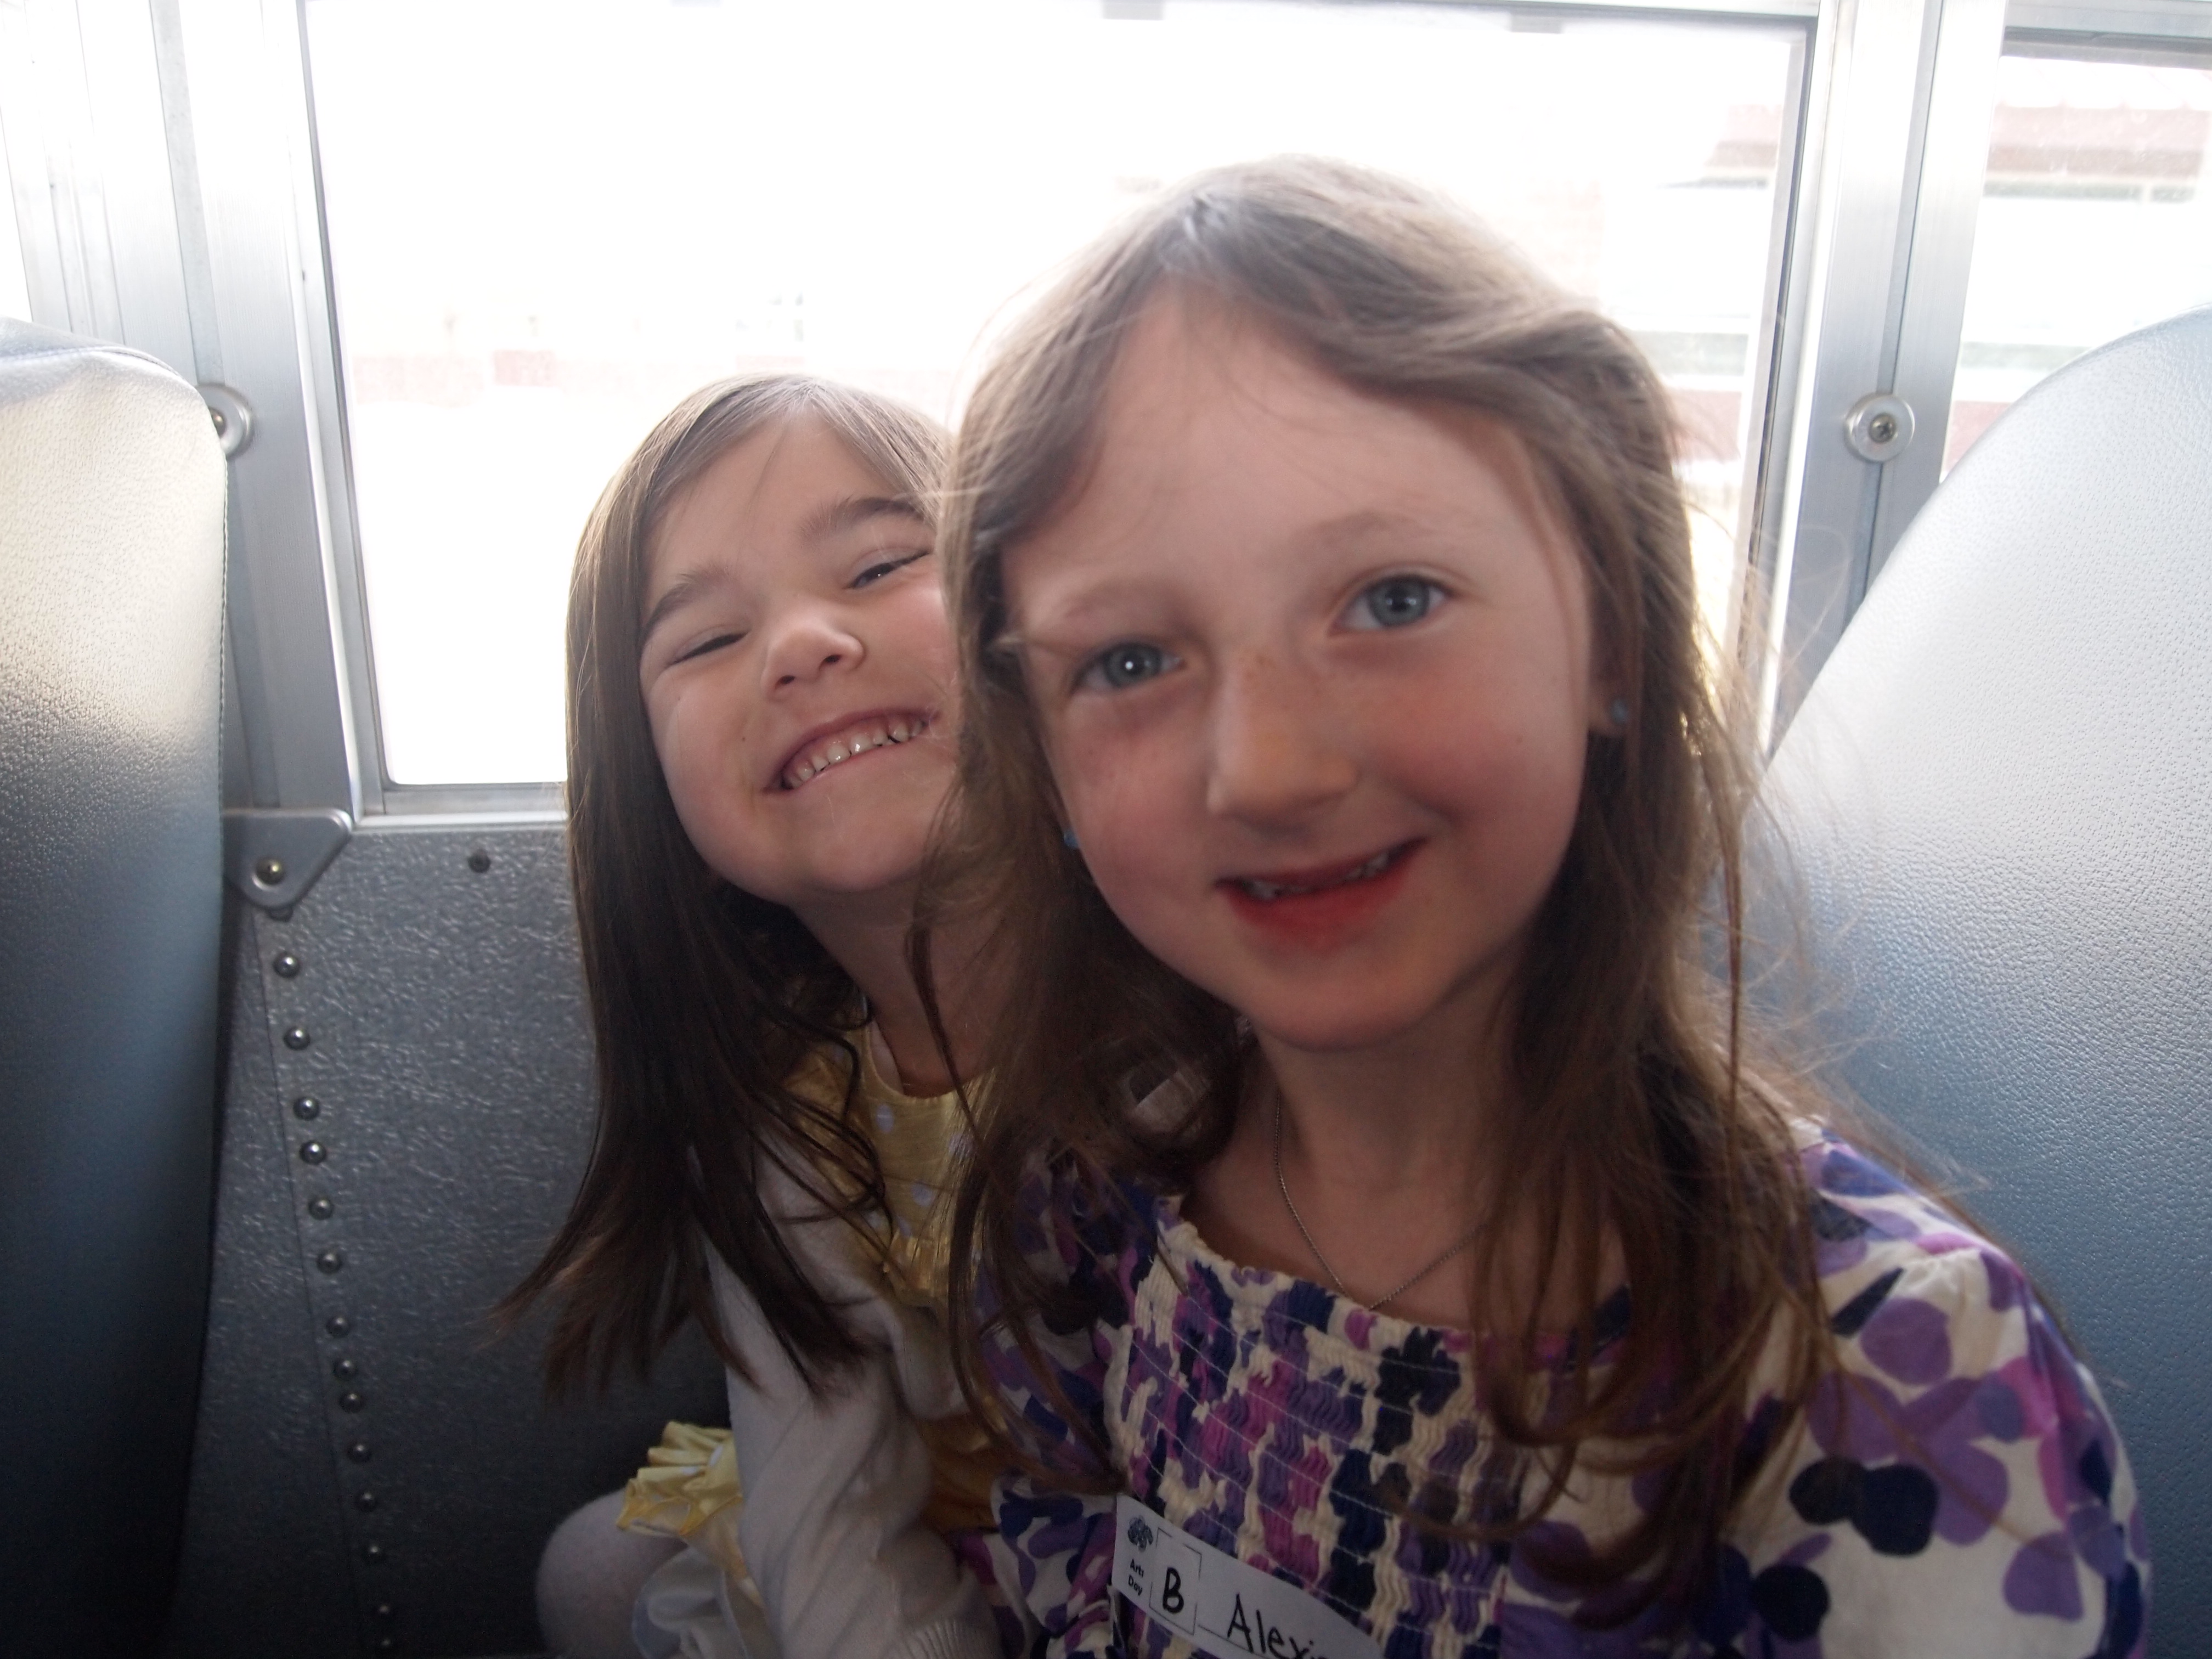
She also loved her Olaf balloon as much as Penny did.  Penny had never met any of the kids before, but it took about 5 minutes for them to become fast friends:

OLYMPUS DIGITAL CAMERA
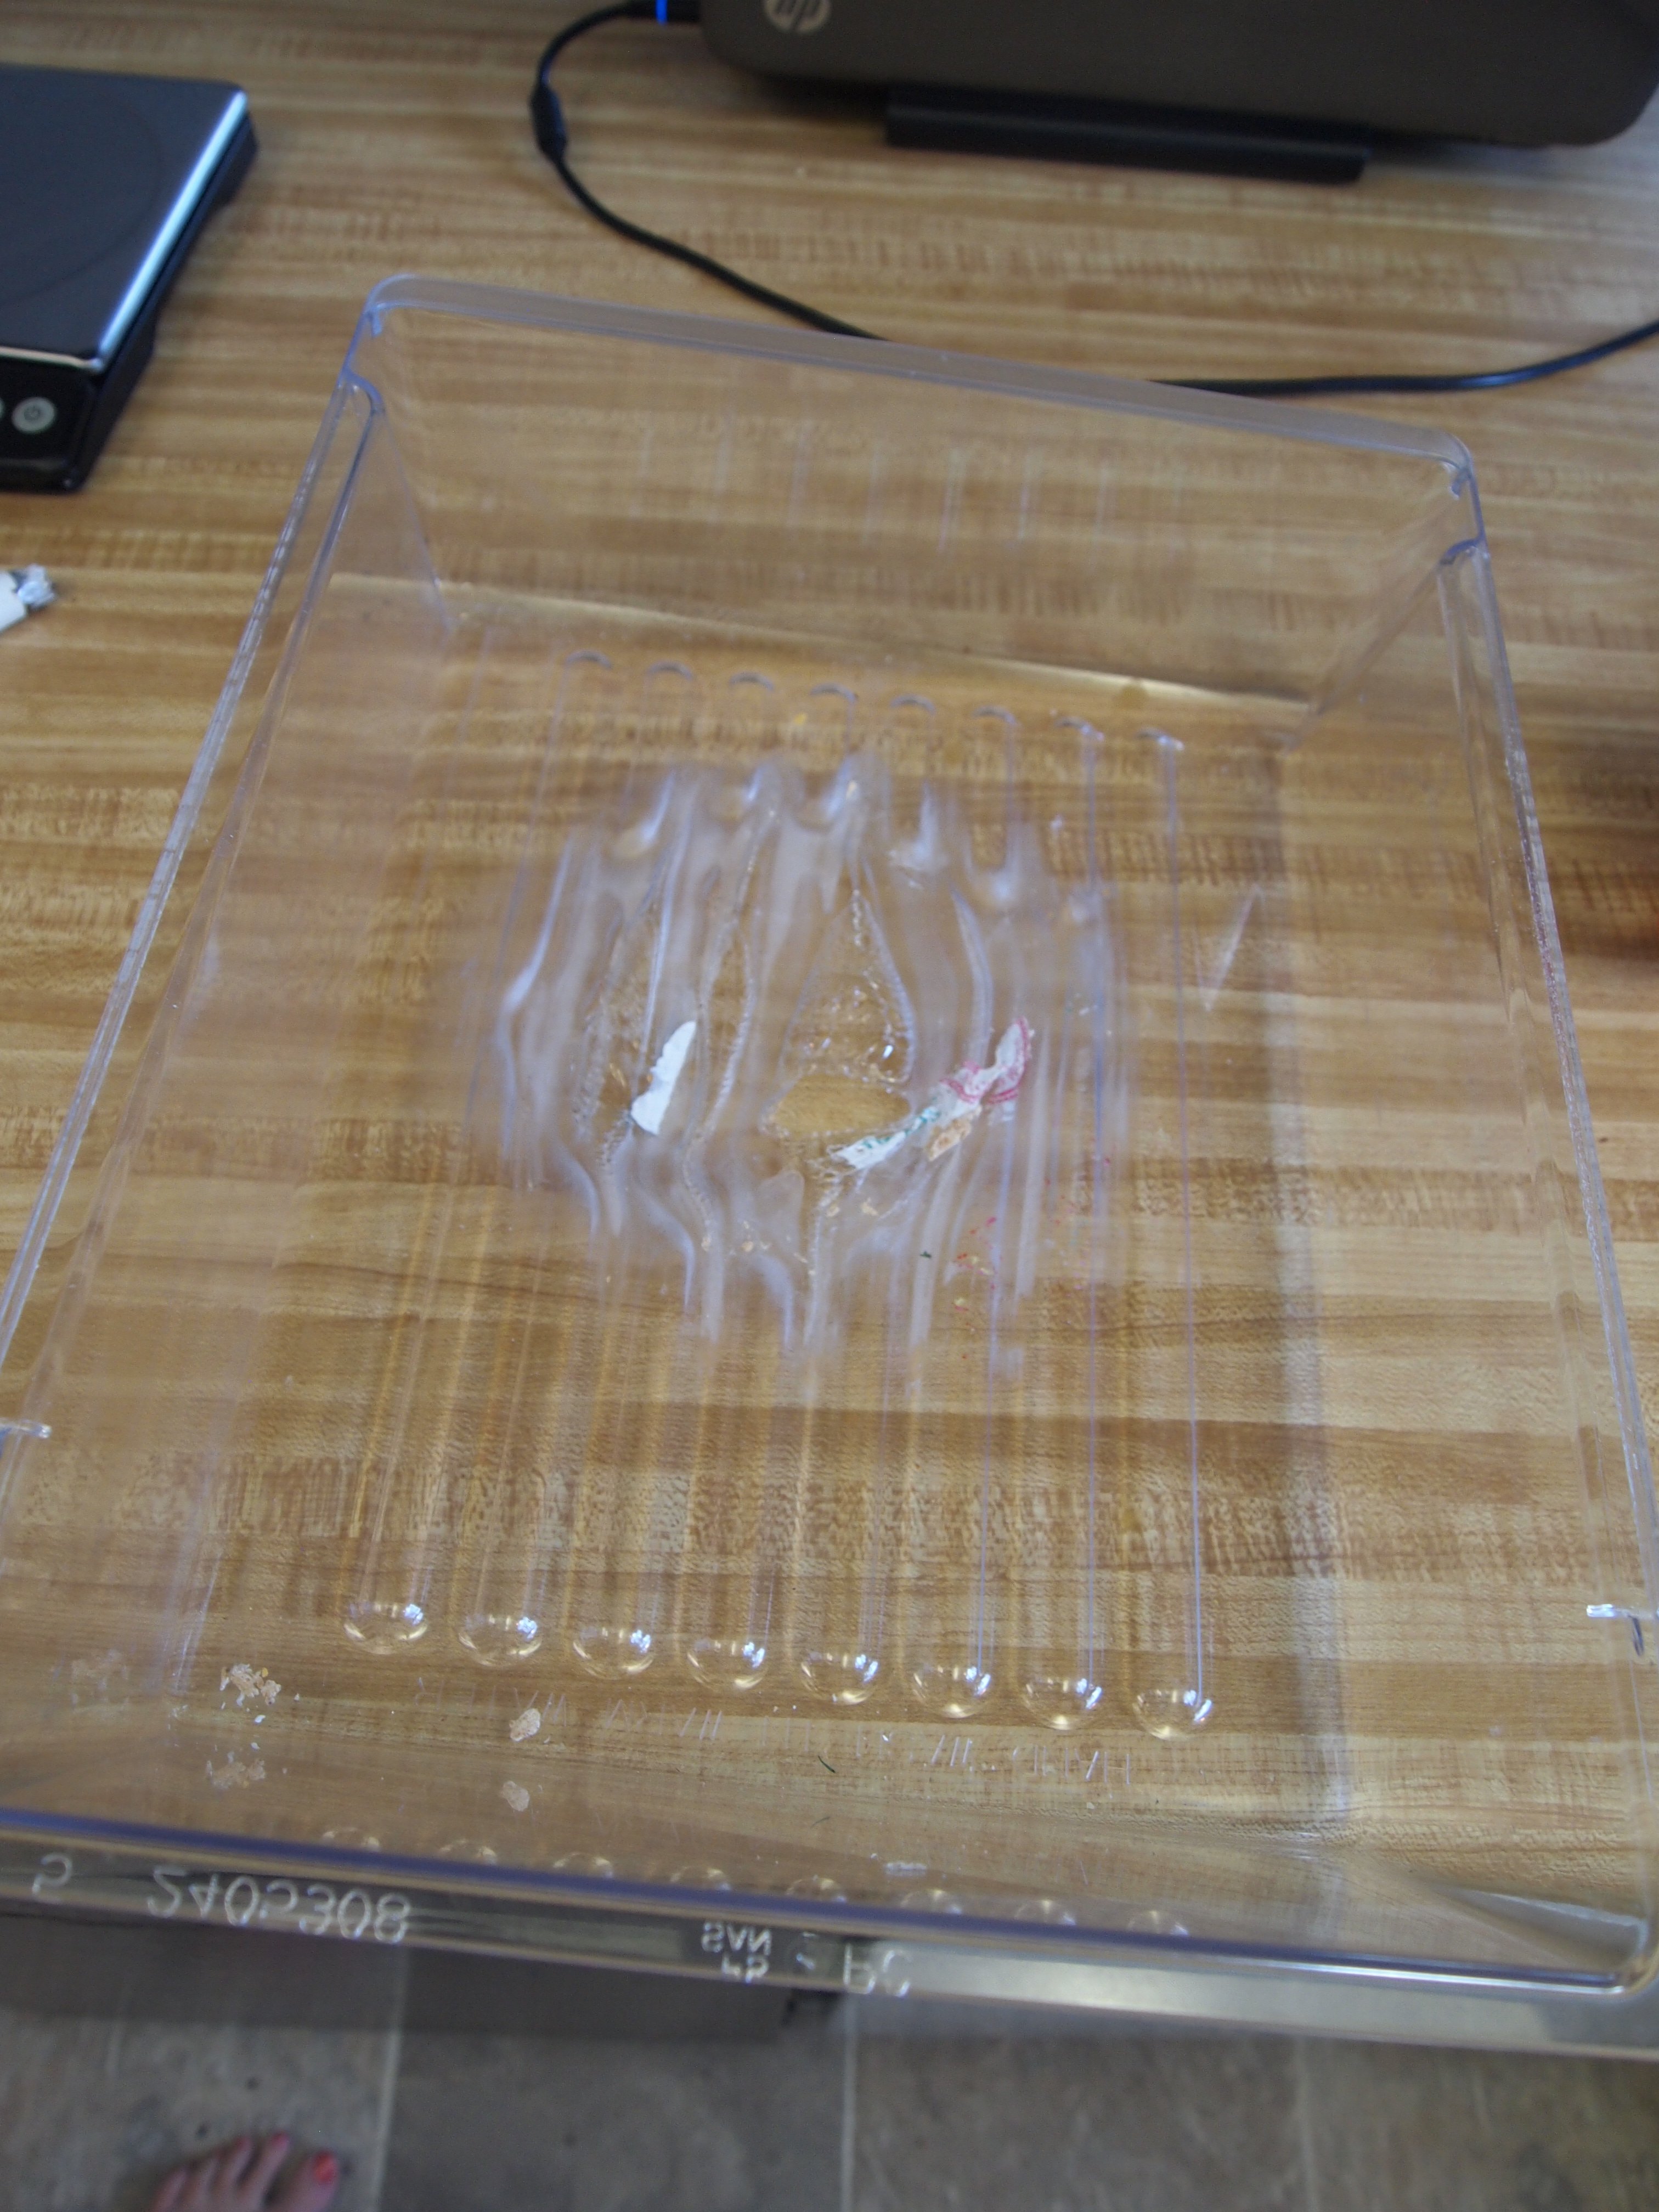
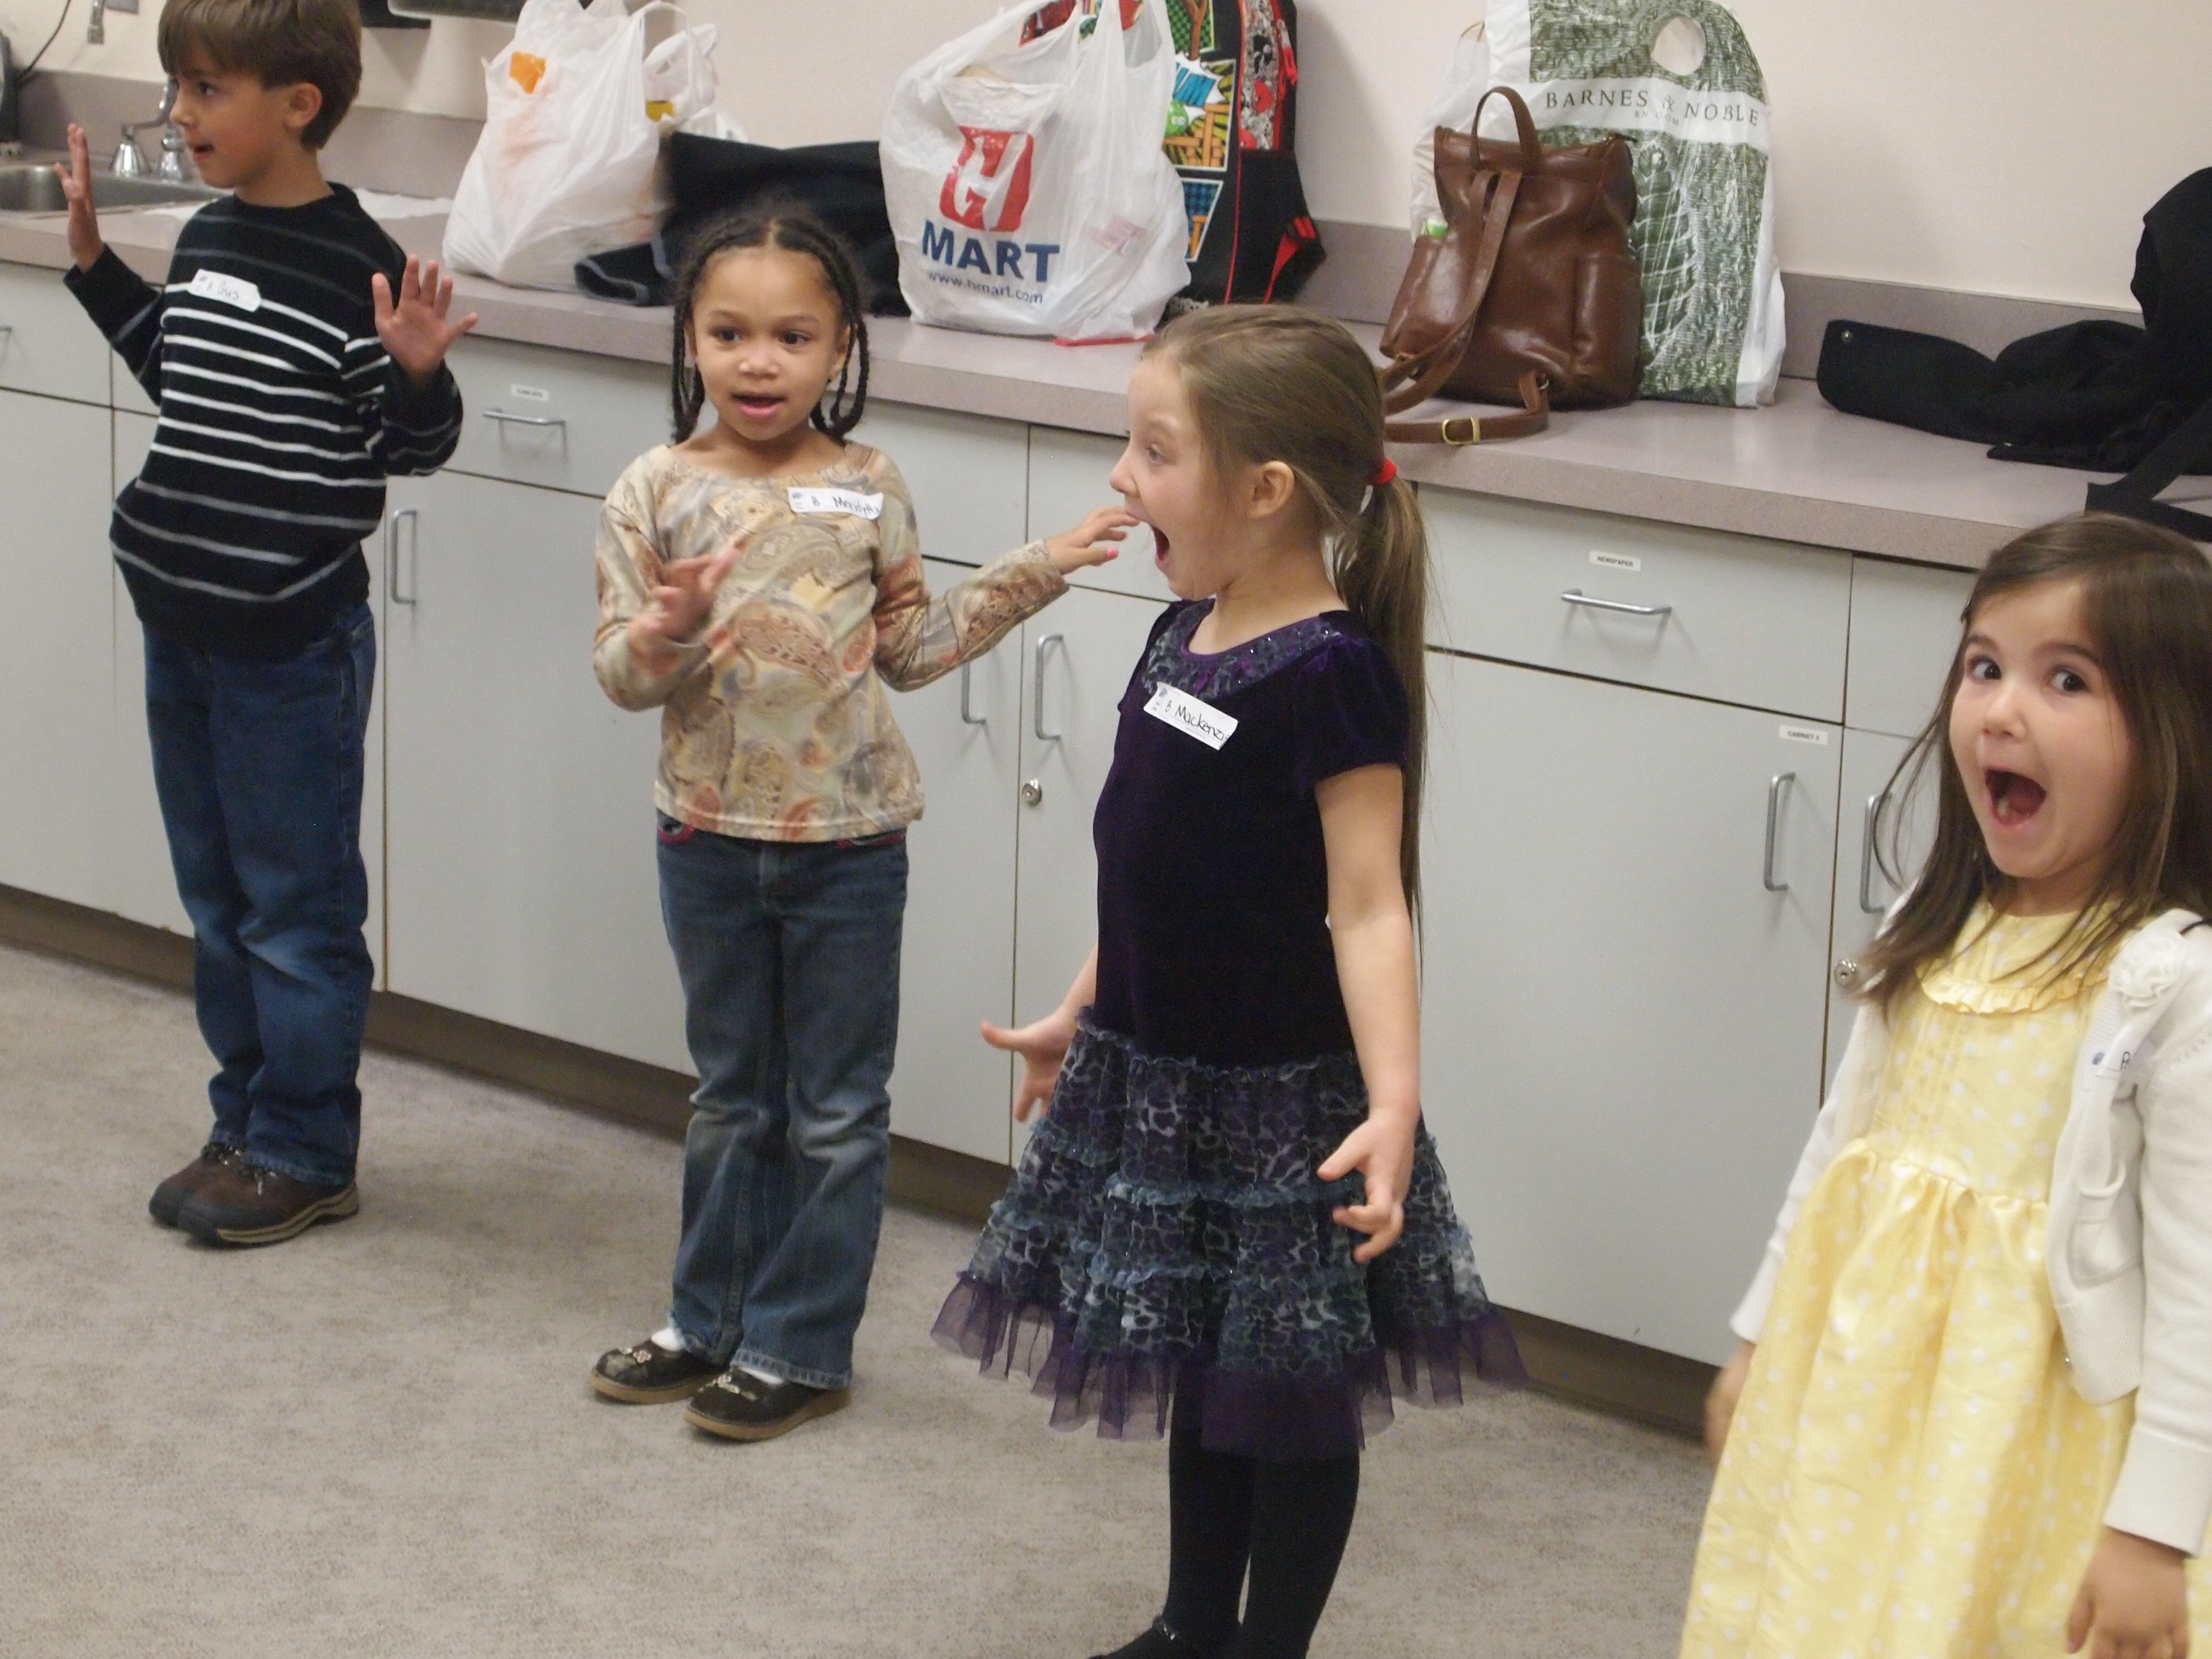
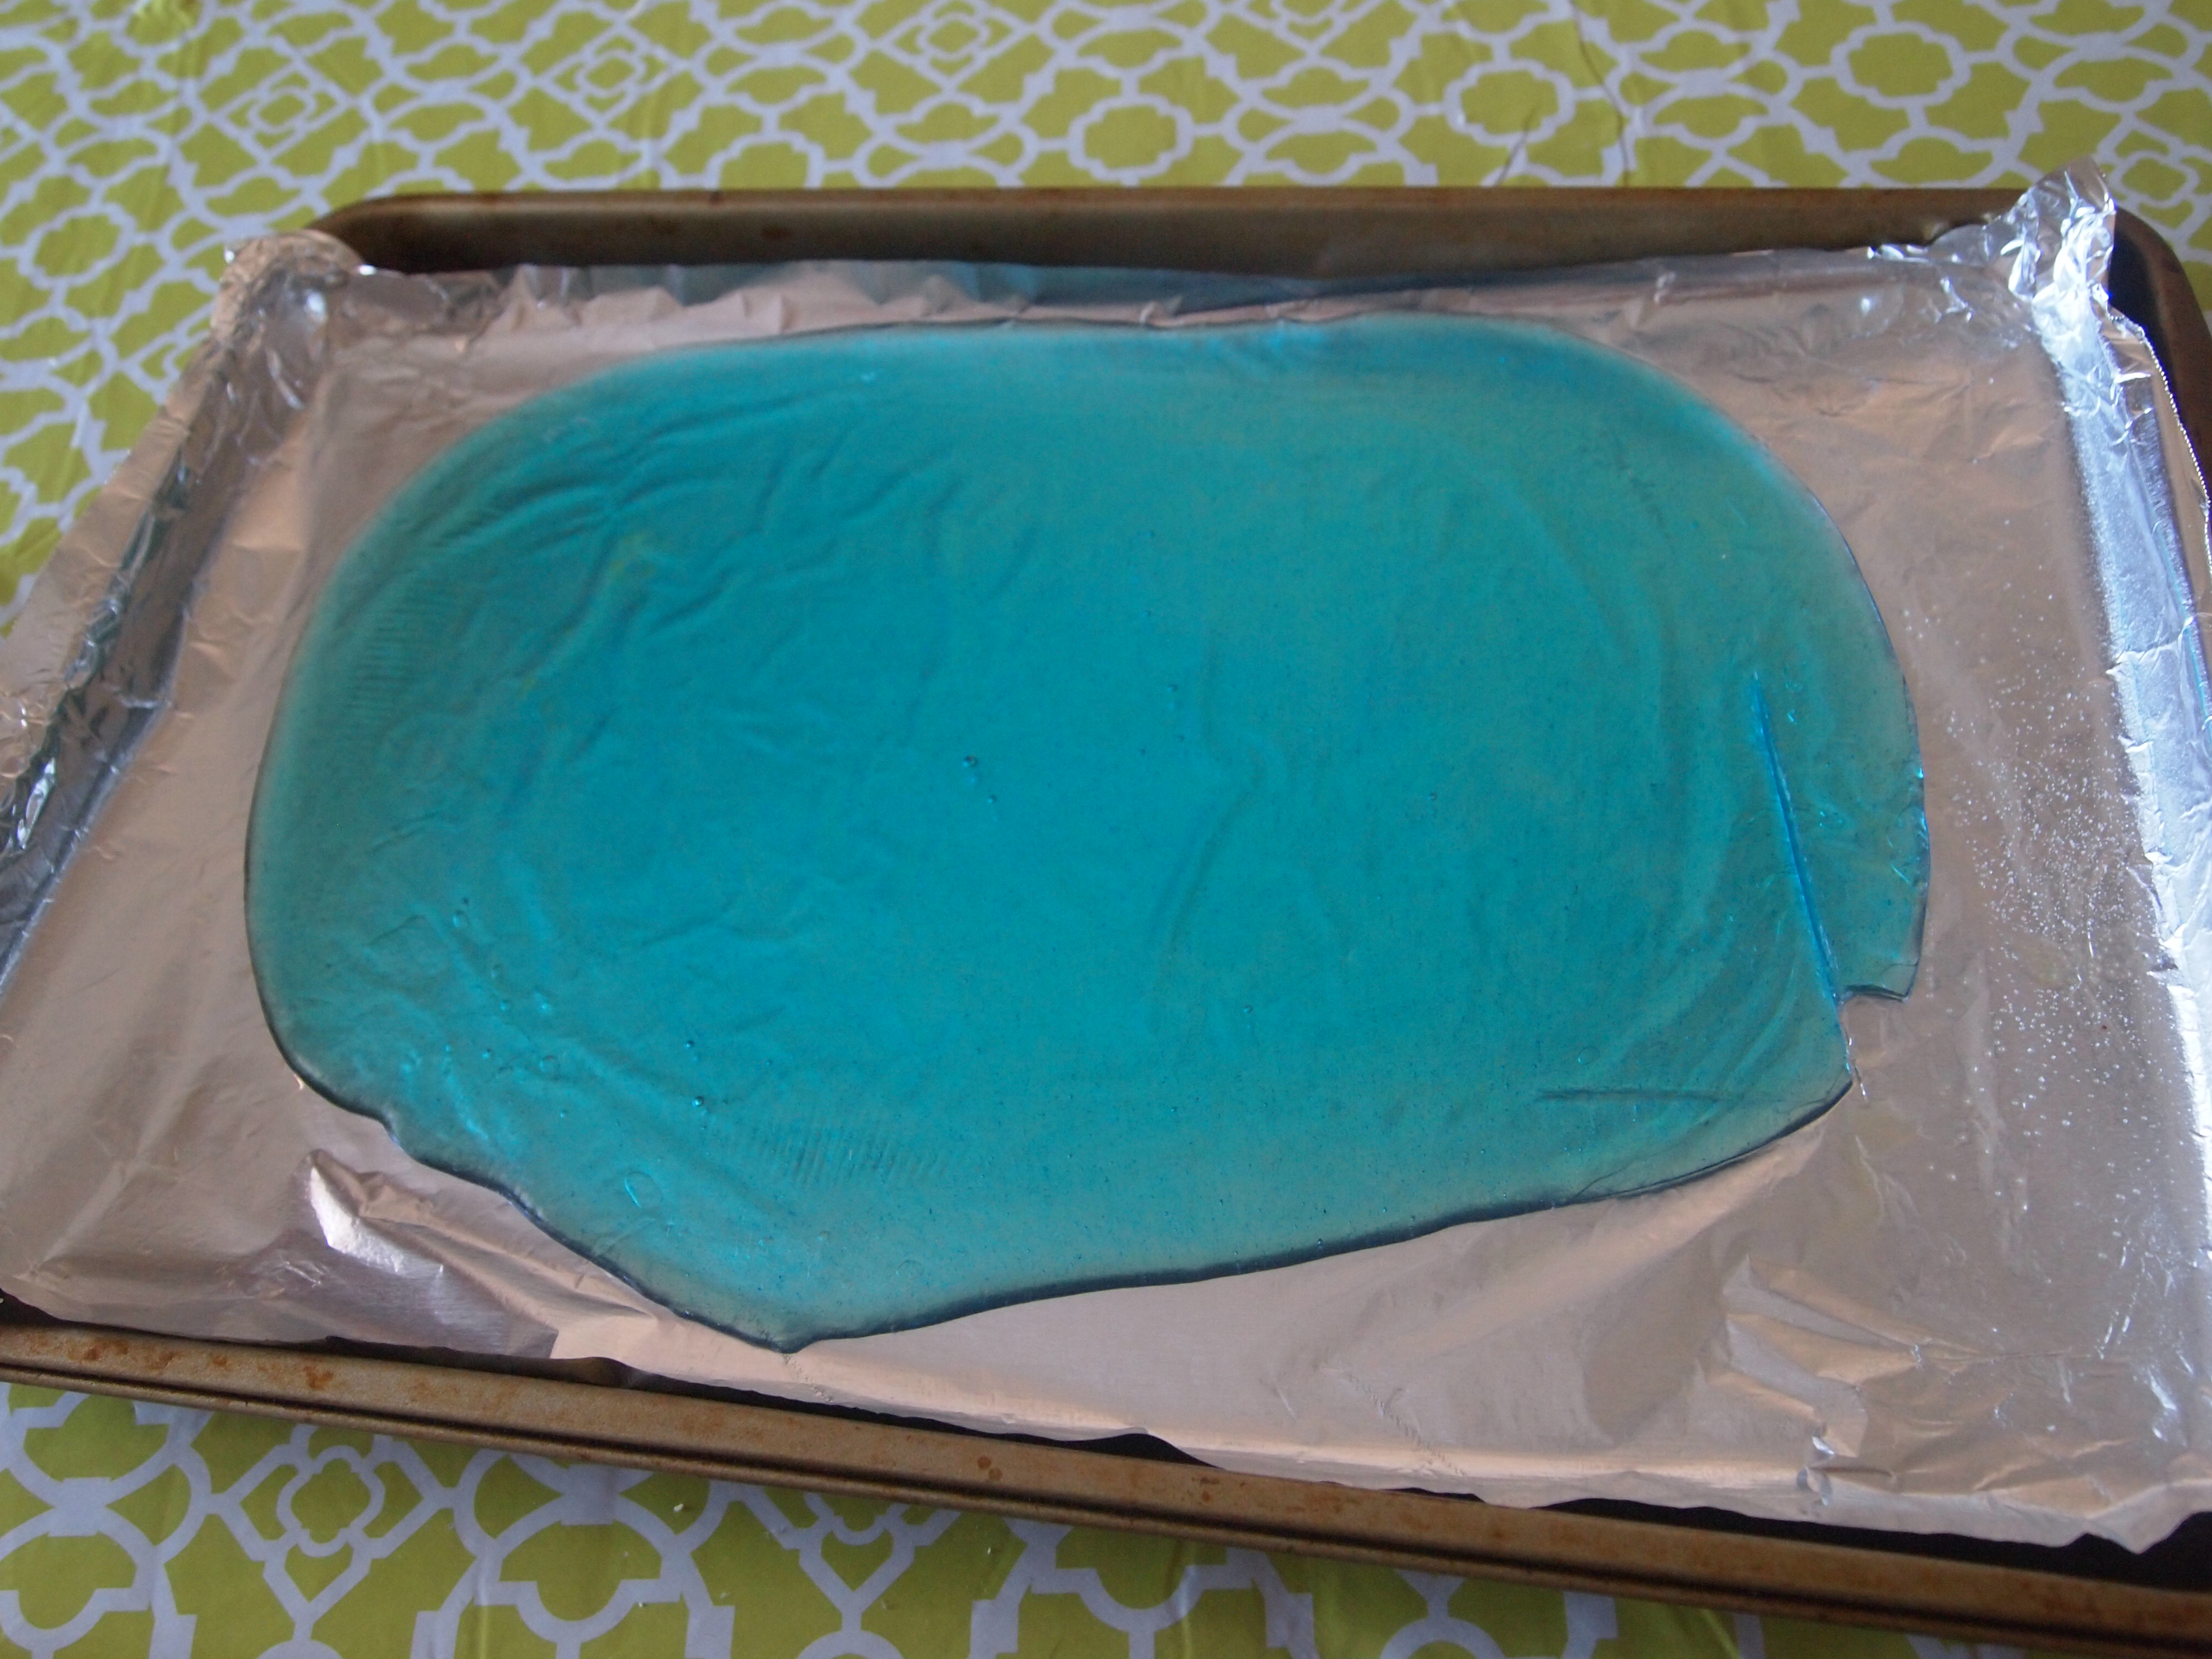
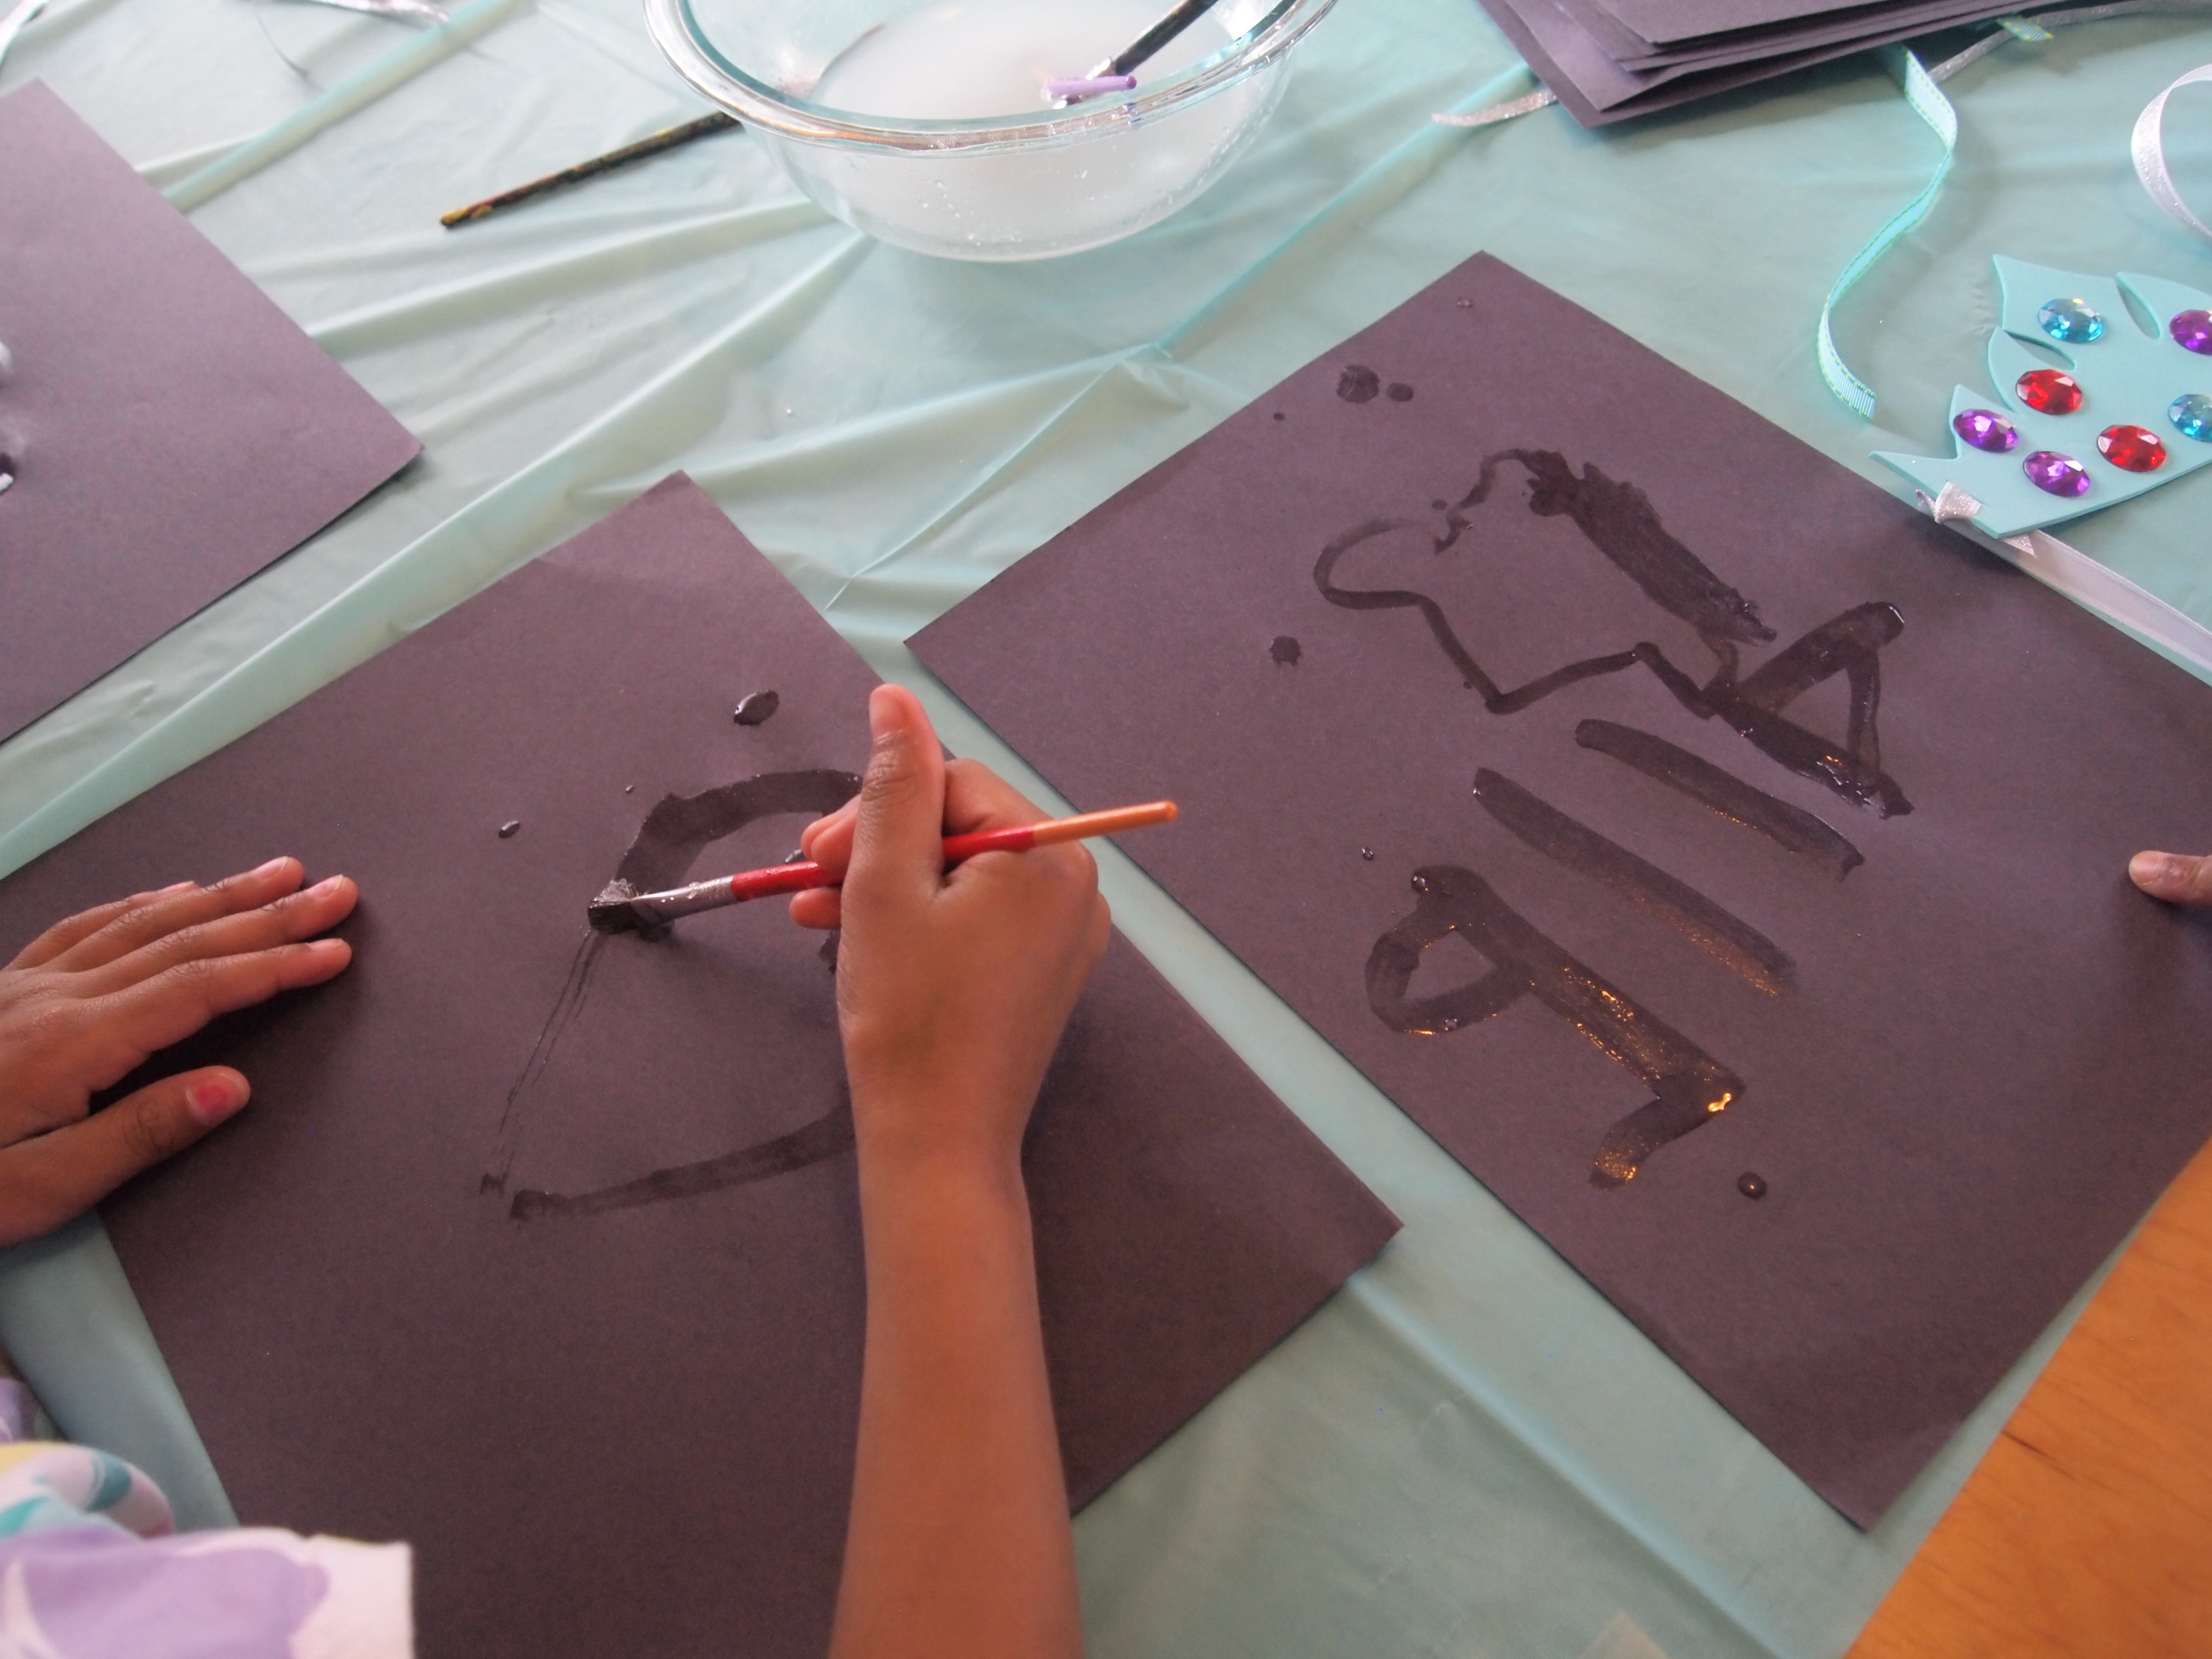
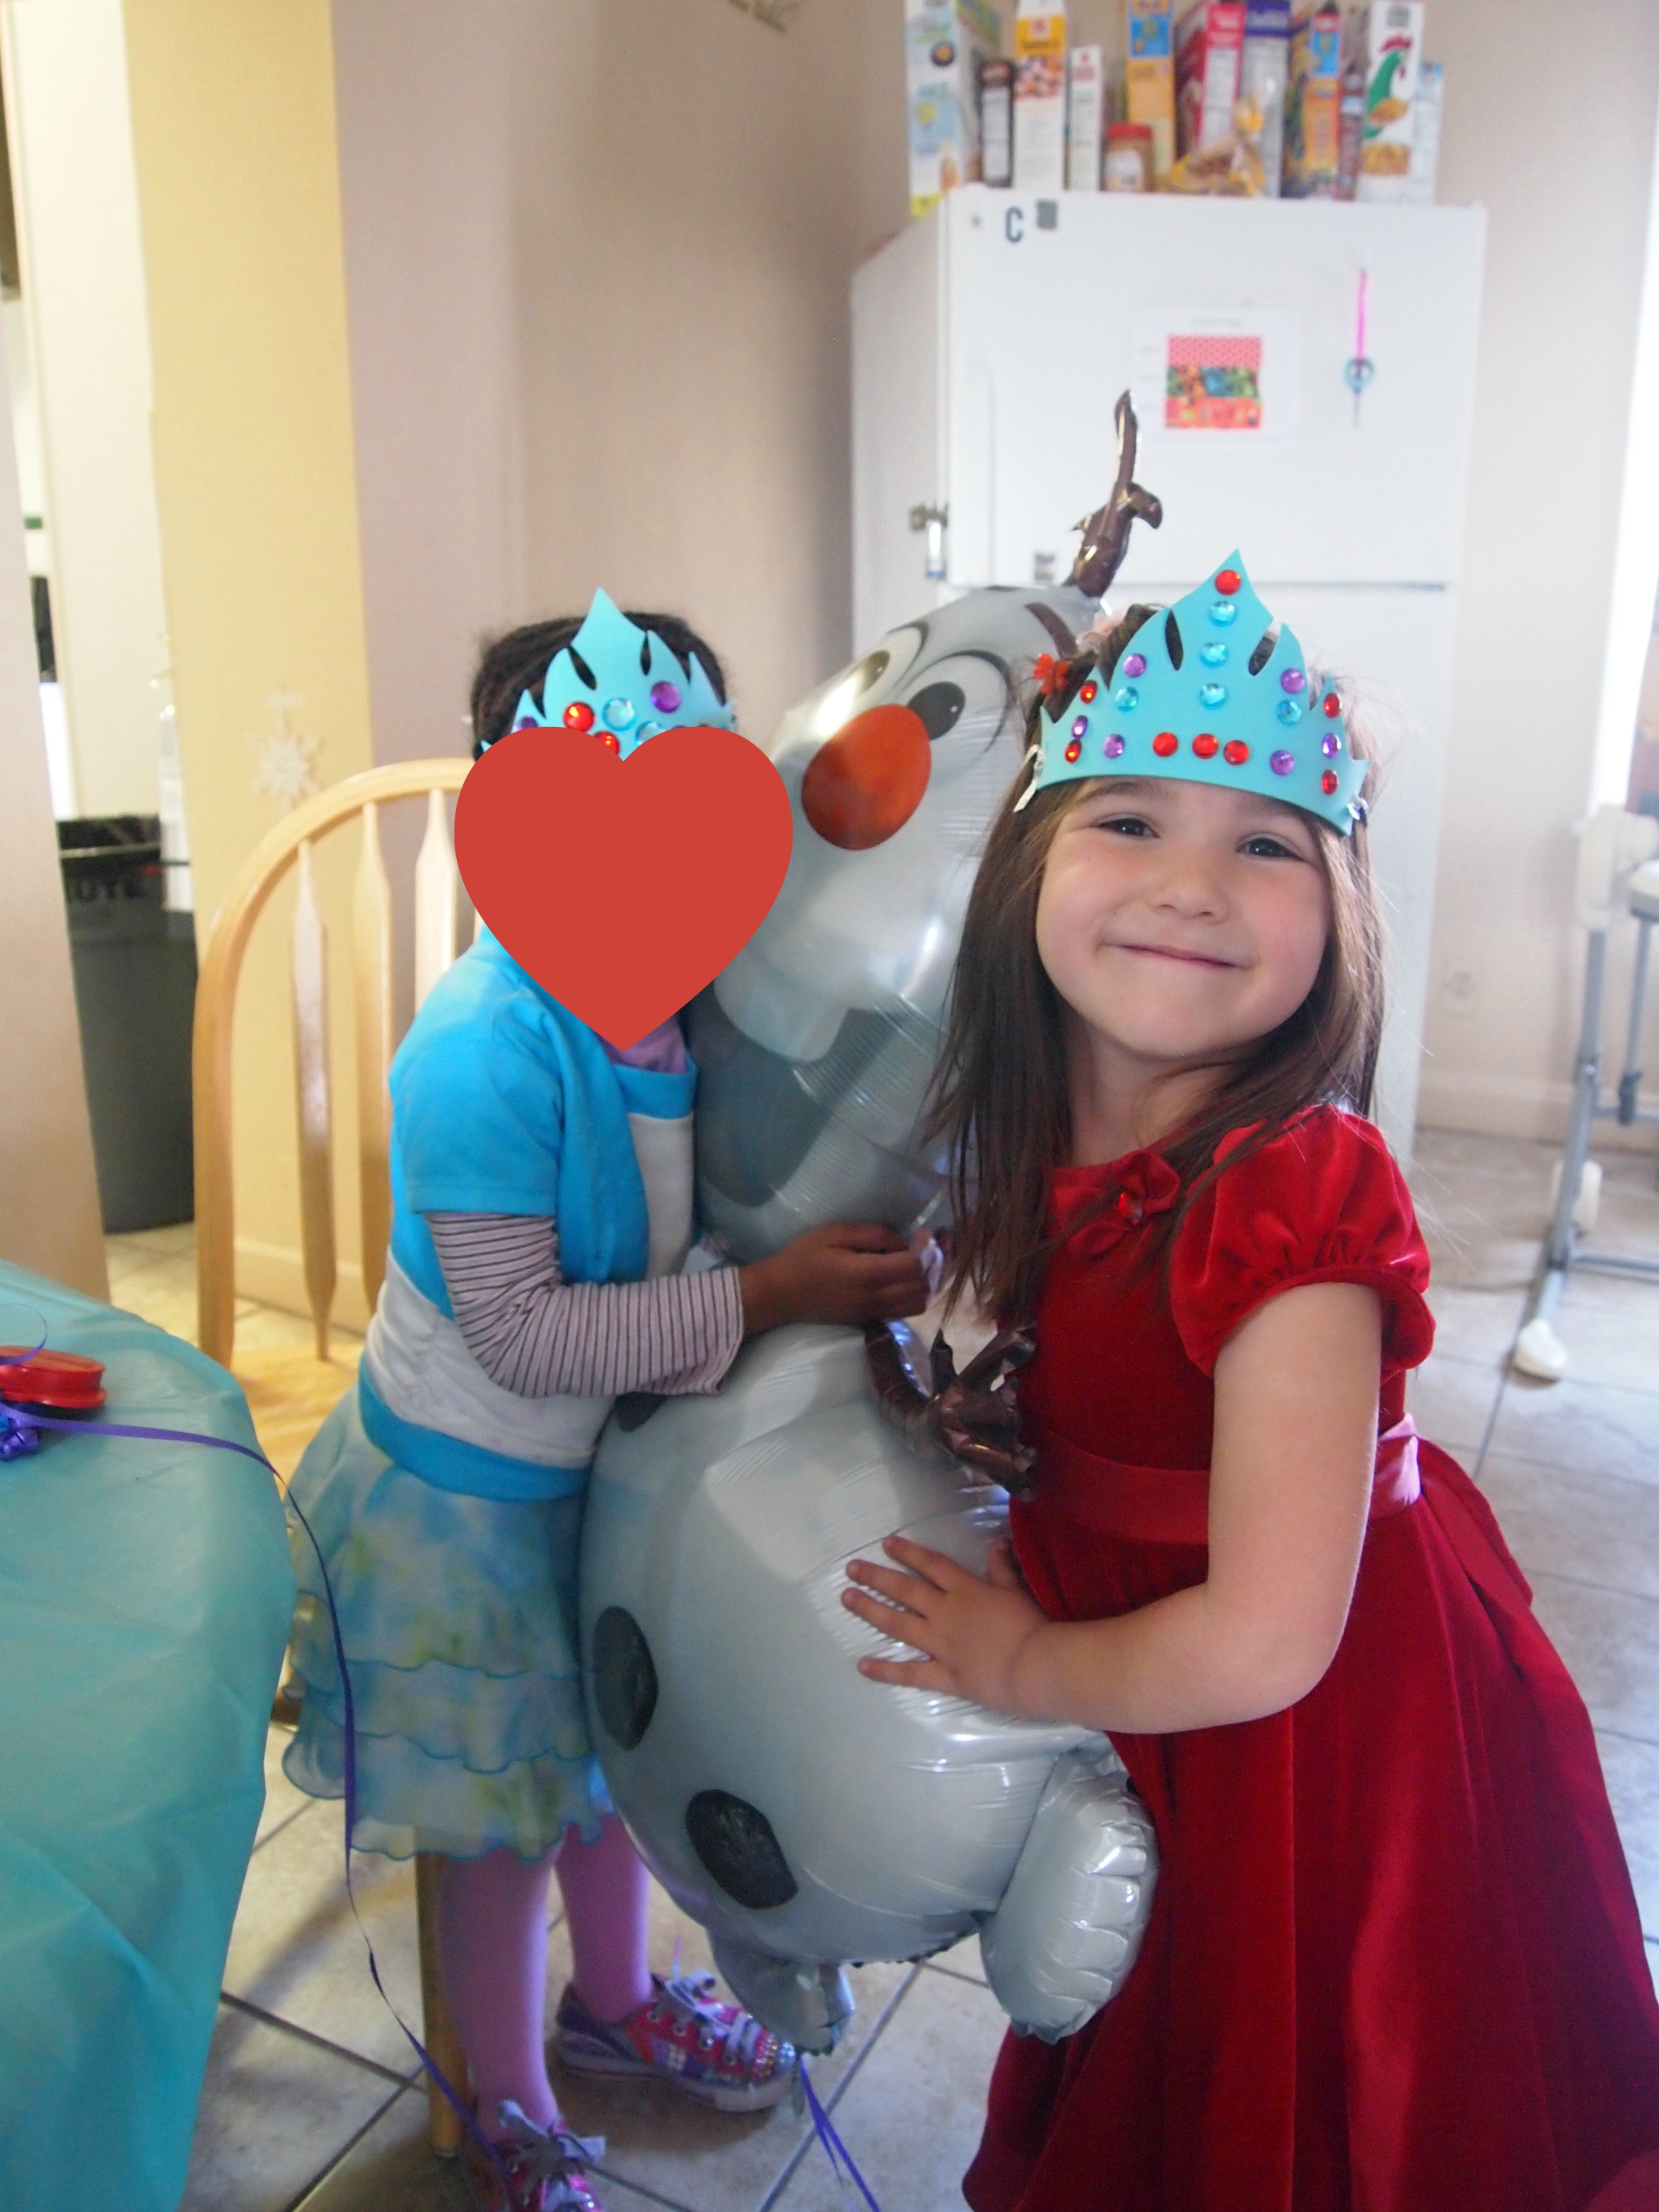
I was really thankful I had brought Penny because as it was, many of the other families were absent and having an extra little girl really made it feel more like a party. I set up the Frozen soundtrack on a laptop and commenced to our party activities.  First, the girls sang along to “Let It Go” as they covered foam crowns with sticker gems I had found on clearance at a craft store.  Next, I mixed equal parts of epson salt with hot water so they could create “ice paintings.” As they dried, the salt crystallized, giving it an icy effect:

OLYMPUS DIGITAL CAMERA

Our birthday girl LOVES painting and crafts and we nearly had to tear her away from this activity after 30 minutes to get on with the rest of the party.  However, while they were distracted with their icy paintings, I took her mom down to our birthday closet to pick out a few toys.  Many of our families can’t afford birthday gifts for their children, so we keep a small supply in the basement (mostly leftovers from our Christmas toy drive). It’s very important that the parent can present these gifts as if they had purchased them- we never tell the child they are from First Step.  Often the parents feel a huge burden of guilt for not being able to provide for their kids and this pain is especially acute around birthdays.  The small act of giving their a child a gift can really help ease this pain.  I was glad to see the smiles from her mom as she chose a dress up set and a doll for her daughter.

Then we did some good ol’ fashioned pin-the-tail type game with Olaf.  I almost always do this type of game at my parties- there is a reason it is a birthday party standard.  Kids LOVE this game, it’s simple, and it’s easy to incorporate into a theme. I’ve done pin-the-propeller-on-the-airplane, pin-the-bow-on-Minnie-Mouse, etc.  The kids couldn’t get enough of pinning the nose on Olaf.

OLYMPUS DIGITAL CAMERA

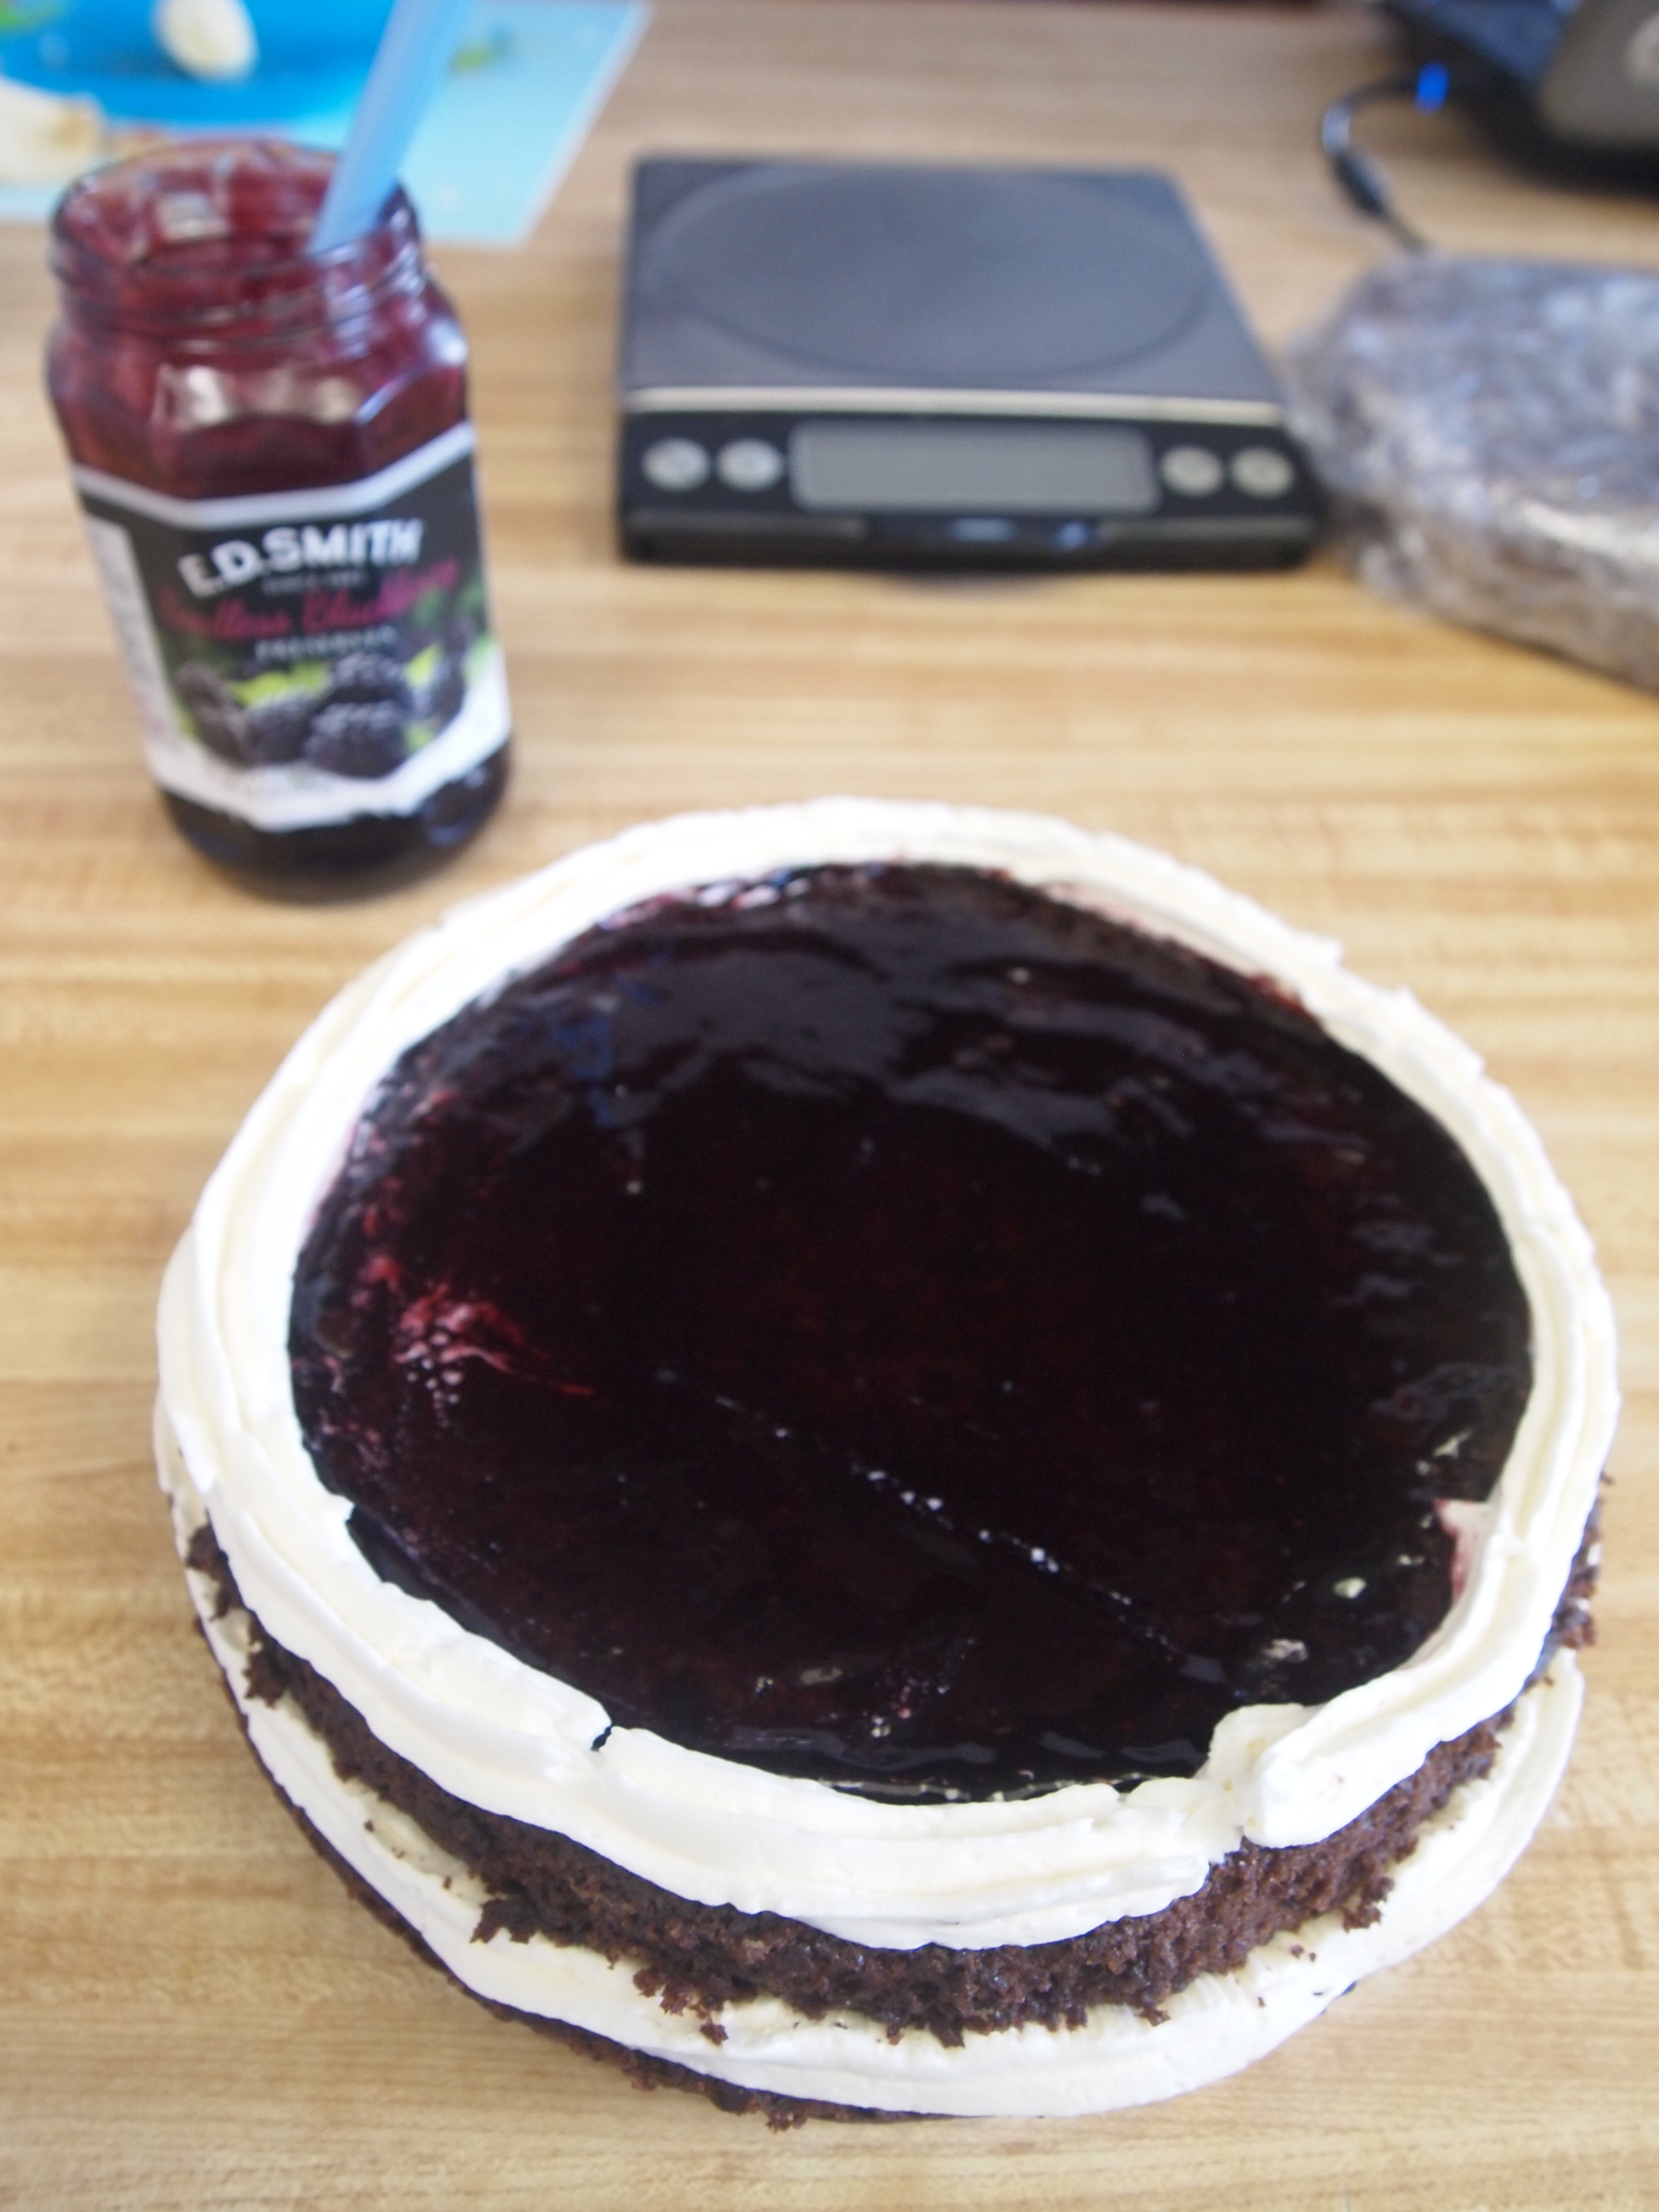
The rest of the party unfolded as most birthdays do: presents, cake, and children running around like crazy from a wild sugar rush.  I can’t include the pictures of our birthday girl as she blew out her candles, but let me assure you, her smile would have blown you away.  As we sliced up my masterpiece (always bittersweet!) and she devoured her first bite of chocolate, buttercream, and blackberry jam, she was bouncing in her seat with happiness.  She said, “This cake is sooo good.  Wait, no this cake is AWESOME!”

And that made every bit of stress and craziness from the past 8 days totally worth it.

 OLYMPUS DIGITAL CAMERA

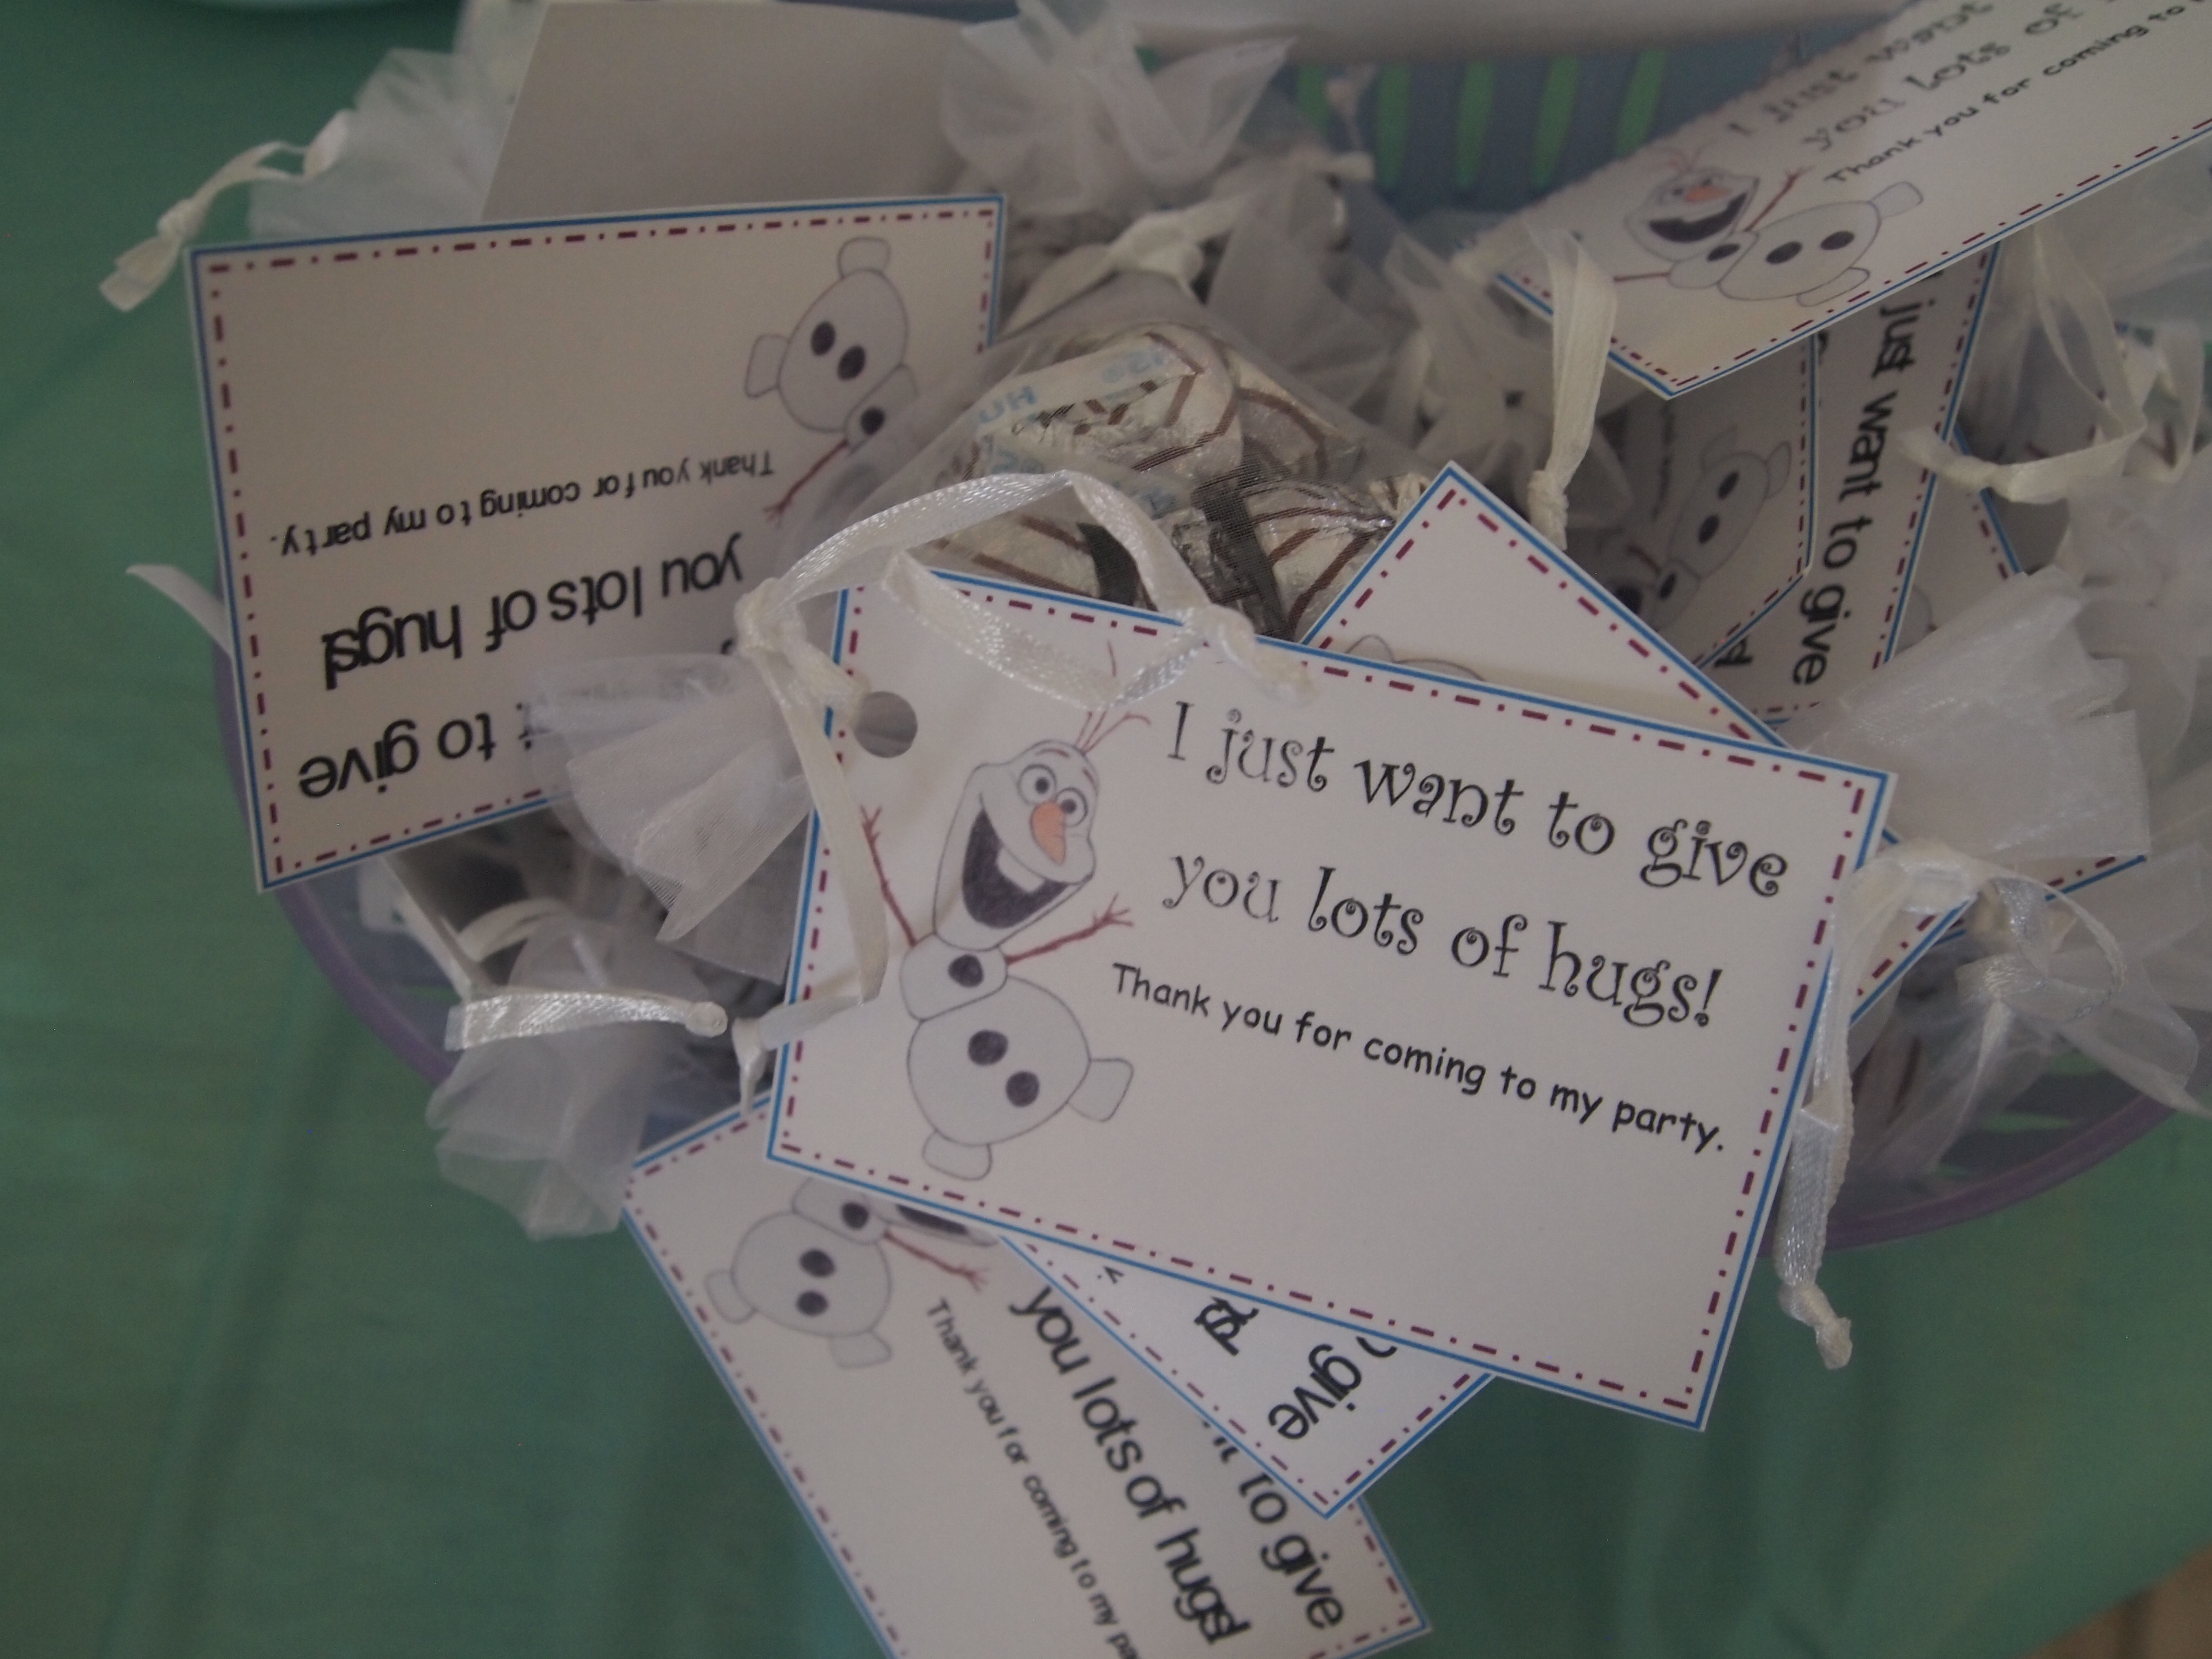
The party was winding down so we said farewell to my stellar volunteers (thanks again Laura and Sarah!) and the birthday girl whizzed around the house handing out my party favors- little bags of Hershey’s hugs.  I love puns.

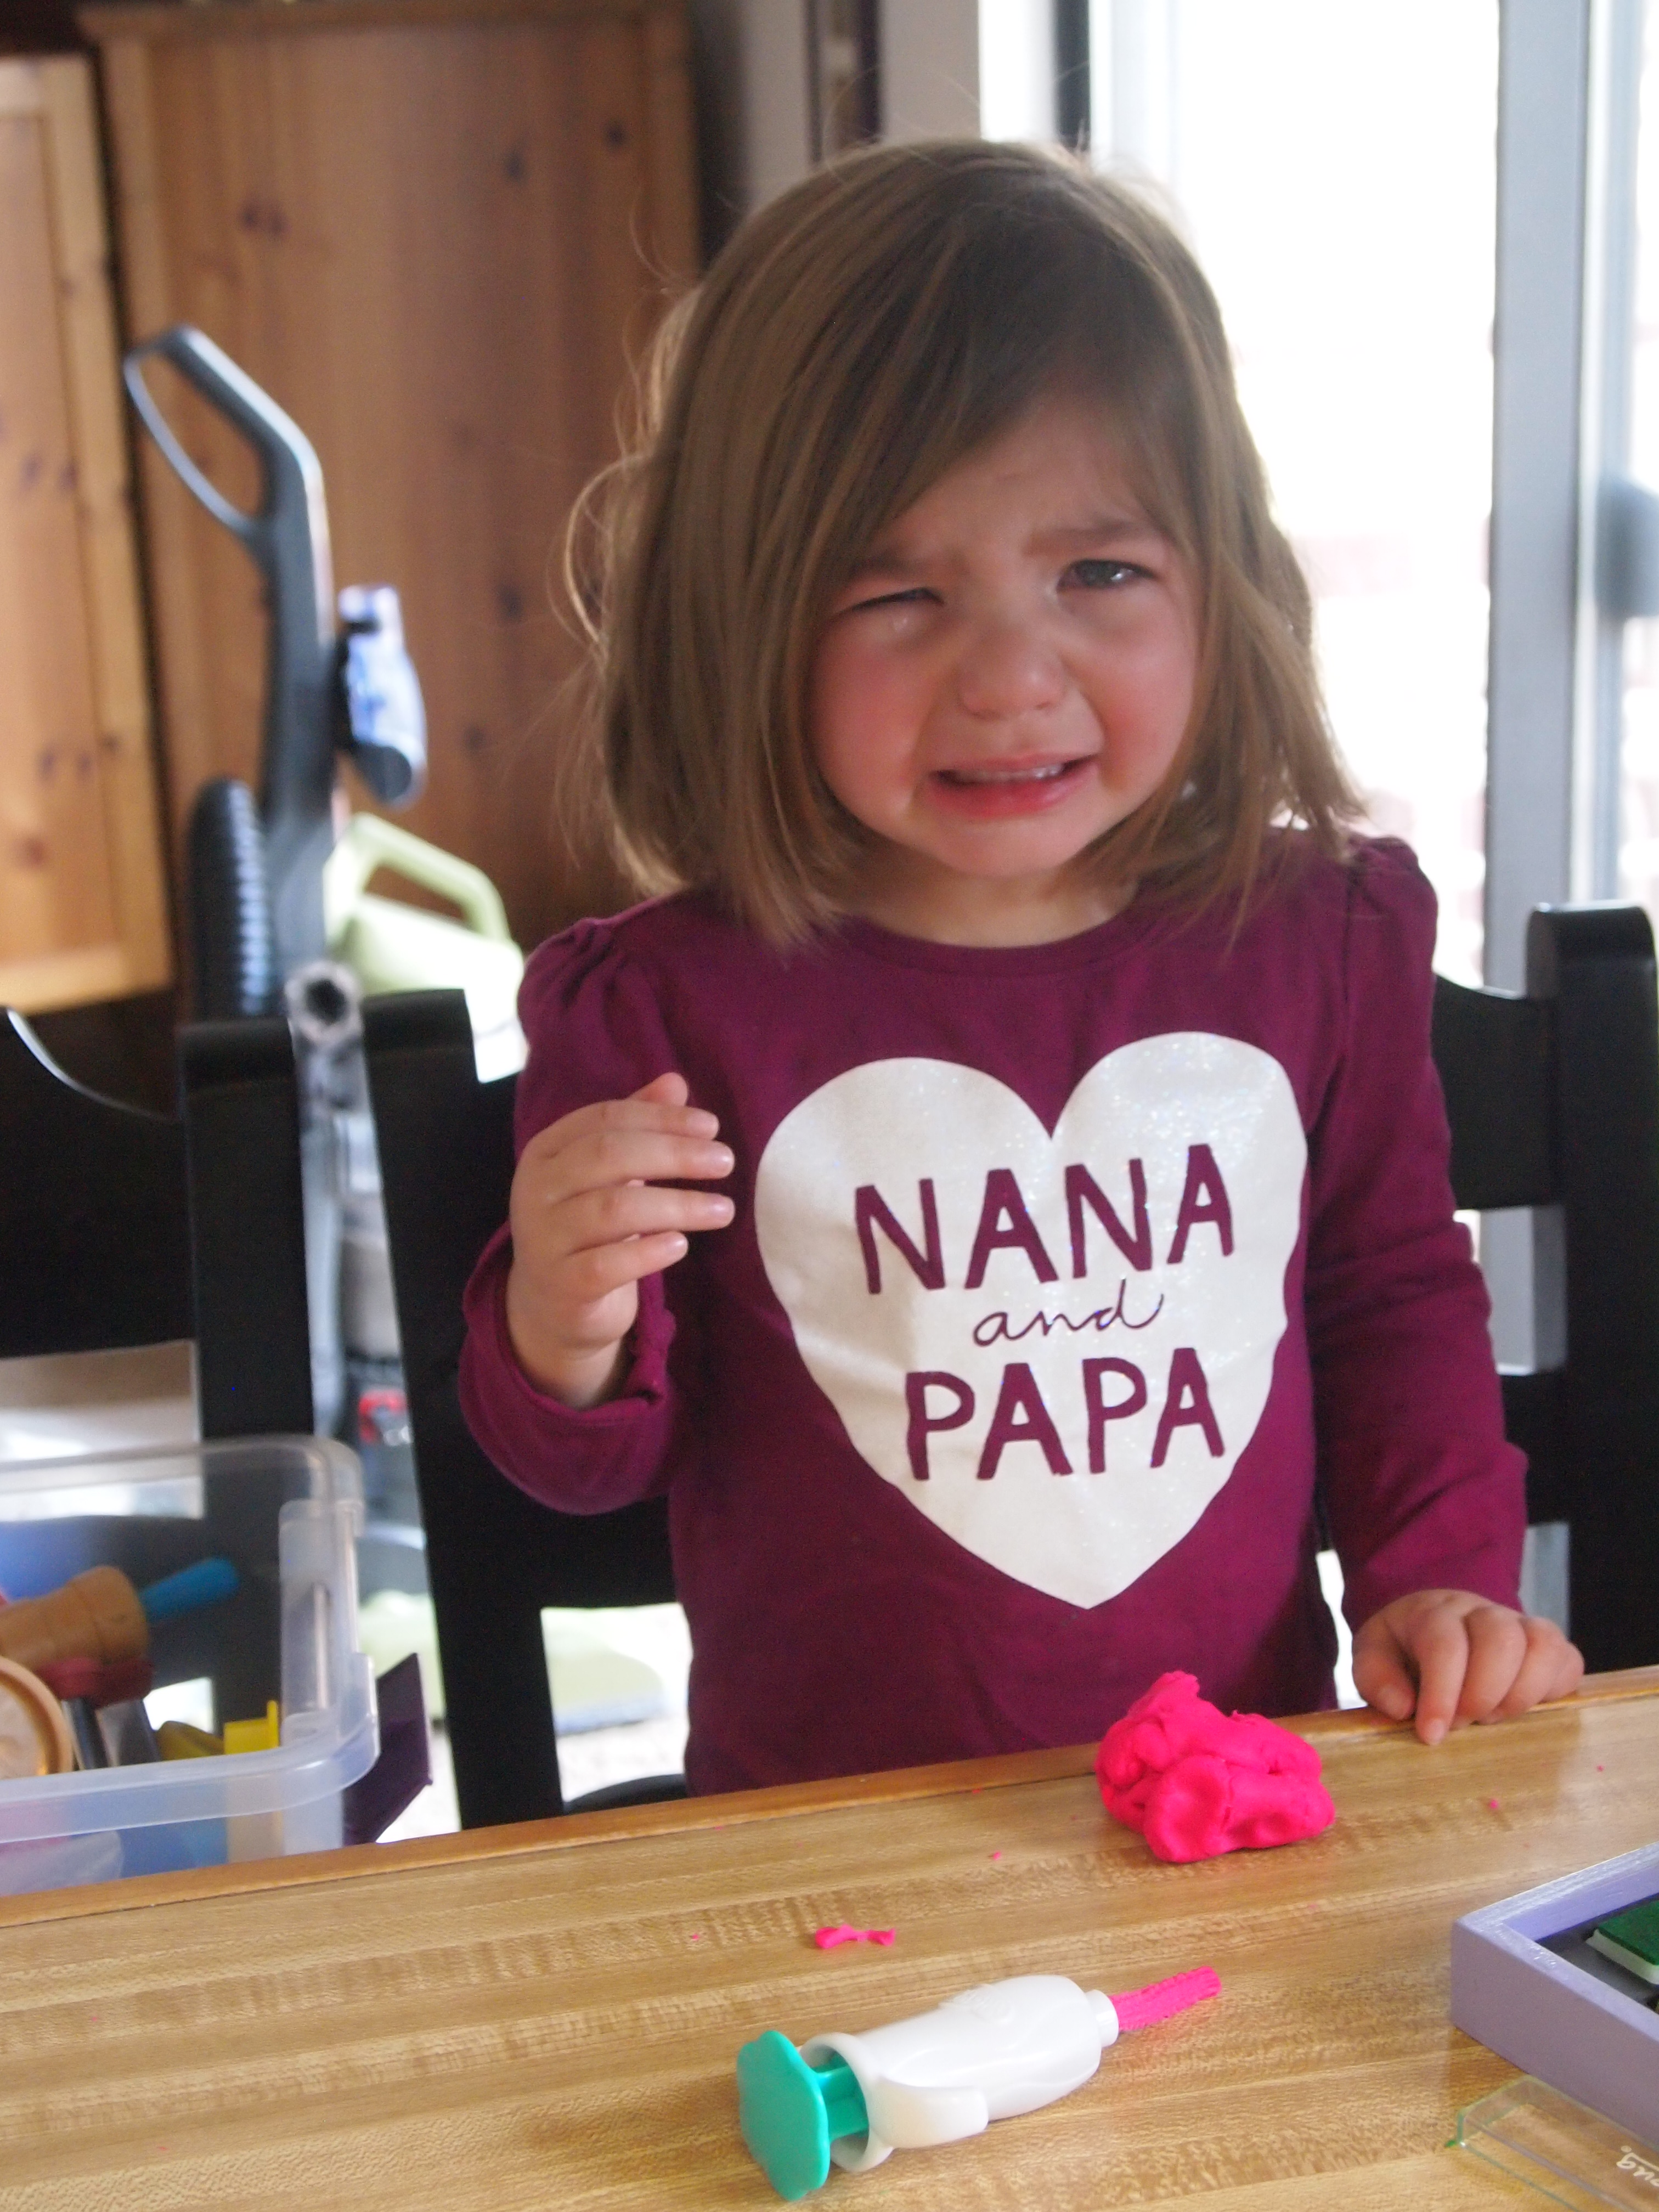
After everything was cleaned up, I began to search for my misplaced daughter whom I found hiding with her new best friends in a homemade blanket fort.  She had behaved very nicely at the party, but barely held back tears as we headed to the car, whimpering pathetically, “I love it here and I want to live here forever.”  Penny is constantly seeking better living situations than living at home with us.

As I drove away, I was struck with how fast a 2-hour party can fly by. Considering I had just put 27 hours into making a cake, along with all the shopping and planning for the rest of the party, some people may think I am nuts.  The cake will be eaten, the toys will be eventually discarded, and life will go on as usual.  But hopefully, what won’t be forgotten is the feeling of worth and value our birthday girl felt on her 5th birthday.  And though the party is obviously for the child, often the act of throwing a party blesses the parent even more- if our birthday girl forgets this party, it’s likely her mother won’t.

When I think about making children feel special on their birthdays, I am drawn to a favorite picture book, On the Night You Were Born, by Nancy Tillman.  I think it would be great to start reading this book at the parties to really help the child feel valued and important.  Here’s an excerpt:

On the night you were born,

the moon smiled with such wonder

that the stars peeked in to see you 

and the night wind whispered,

“Life will never be the same.”

Because there had never been anyone like you…

ever in the world…

Heaven blew every trumpet 

and played every horn 

on the wonderful, marvelous

night you were born.

Living in poverty can make families feel as if life has discarded them and wrecks their self-esteem.  They lose sight (or never realize) that they are a valuable creation- a child of God and cherished and loved unconditionally.  It’s my hope and prayer that both mother and child will know they are “fearfully and wonderfully made,” no matter what life has told them otherwise.  What better way to communicate this than celebrate the day they were born?

It was a good week…and a great party.

Have you ever had a birthday experience when you truly felt loved and cherished?  

P.S. I can’t take complete credit for all the fun party games and activities. If you are planning your own Frozen party anytime soon, you can find all the tutorials here.

Disney Frozen Cake: Part IV

Cake Day 7: Saturday, April 5th

8:00am: It’s all been good fun up to this point.  Yes, working on the cake has consumed the majority of my free time, but by breaking the project into smaller, manageable steps I have still been able to take care of my family and juggle other commitments.  Through the process I have stayed in a pretty positive mood, and even experienced moments of creative satisfaction, warm fuzzies, and whimsy. But on Cake Day #7, those positive feelings were starting to wane.

I woke up in a foul mood.  I wasn’t just a little grumpy- I was waiting-in-line-at-the-DMV-while-doing-my-taxes grumpy.  Perhaps I hadn’t gotten enough sleep after pulling a late night while making Elsa.  Maybe it was the pressure of knowing how much work I had to do in the next 24 hours to complete the cake and be ready for the party.  Whatever the reason, no amount of pancakes, tea, or playful teasing from Micah could snap me out of it.  So it was in this lovely state of mind that I began the final (and biggest, most time consuming, and high pressure) part of creating the Frozen cake.

At least the first step was yummy: leveling the chocolate cakes (which I had stored tightly wrapped in the freezer), filling the layers with seedless blackberry preserves, and crumb coating them with vanilla buttercream.

OLYMPUS DIGITAL CAMERA

While I worked on this part, I think my sour mood must have rubbed off on the girls.  They usually get along pretty well, but for some reason their morning play was filled with constant bickering, crying, and stomping off to their rooms.  The drama reached a crescendo when Ramona said to Penny, “You’re a mean girl,” (a big sentence for our late-talker) which sent Penny into tearful hysterics.  When my patience is that thin, my best response is to yell loudly, “If this doesn’t stop, I am going to lose my mind!”  Not very helpful, I know, but it helps remind my family that my fragile mental health is at stake.  And it makes me feel better. So there.

Luckily, I knew the madness wouldn’t last much longer as it was time for Penny’s ballet lesson. As Micah ushered her to the car (screaming the whole way), I took a deep breath and looked forward to a little peace from sibling rivalry for at least an hour.  I set Ramona up with her beloved playdough and started covering my cakes with fondant.

Having peace restored, I turned on some soothing music and started to get into a bit of a groove.  I even decided to slip Ramona a little taste of frosting because she was being so sweet:

OLYMPUS DIGITAL CAMERA

 But the peace only lasted for a few minutes before chaos began to rein again. First of all, in an attempt to make more space in the fridge for the cake, I took out the meat drawer and set it on the stove while I juggled condiments and milk jugs.  Unfortunately, I had forgotten that the stove top was still hot (we have a flat ceramic stovetop) and I managed to do this to the unsuspecting drawer:

OLYMPUS DIGITAL CAMERA

If you can’t tell from the picture, I melted a huge hole in the bottom of the drawer.  Surprisingly, I stayed pretty calm and actually started laughing (well, maybe a little maniacally).  Who needed that drawer anyway…right?  The poor cheese and deli meats no longer had a home, but it really wasn’t the end of the world.

Deep breath…

I believe at this point I had covered a few of my cakes with white fondant- (the sequence of events really have become a blur to me), but suddenly Ramona’s happy mood began to deteriorate for no apparent reason.  I should submit this photo to reasonsmysoniscrying.com (a hilarious blog, you should check it out).  Here is what my caption would be:

OLYMPUS DIGITAL CAMERA

“I squeezed her playdough frosting the wrong way.”

I am still not really sure what set her off, but it did have something to do with the way I was touching her playdough.  Whatever the reason, she was totally throwing a fit and I was done listening to screaming.  The moment had arrived for a good ol’ fashioned time out, so the playdough was whisked away and she was sent to her room.  Unfortunately, time out apparently had collided with potty time as well.  After her customary 2-minutes of screaming, I was greeted by a red-faced toddler standing in a puddle of pee.

It was now after 12:00pm and I was really starting to fear my threats of losing my mind were going to become a reality.  That’s why when Micah walked back in the door I greeted him wild-eyed, gripped him by his shoulders and said through gritted teeth: “You. Must. Make. The. Children. Go. Away.” I think I must have looked a little bit frightening, so he assured me he could take the kids on an outing for the afternoon as soon as they had eaten lunch.  Good man.

Before we ate lunch I wanted to get to a good stopping point however, so I finished putting in supports and stacked my newly-covered cakes:

OLYMPUS DIGITAL CAMERA

Placing wooden dowel supports in the bottom cake

OLYMPUS DIGITAL CAMERA

Staking a dowel through the whole cake so it will be stable for transporting to the party

OLYMPUS DIGITAL CAMERA

The cakes nicely stacked and the dowel hole covered with a small piece of fondant

OLYMPUS DIGITAL CAMERAA nice clean canvas ready to go!

Time Spent: 5 hours (off and on due to the chaos of the morning)

1:00pm:  Thankfully, after a bite to eat, everyone’s mood was greatly improved and Micah left with the girls for a nice long walk to the grocery store. Having the house finally to myself, I could almost physically feel my blood pressure recede to somewhat normal levels again and I whipped together the last recipe I would need in order to start decorating: royal icing.

OLYMPUS DIGITAL CAMERA

Nice stiff peaks- perfect for a sugary glue

There.  Now every single part of the cake was FINALLY ready to go.  It’s usually at this point in the cake creating process that I have two conflicting feelings.  Once I have my cakes stacked and ready to decorate, I am thrilled because now the really fun part is about to begin- it’s when I get to see the creation I have been planning, sketching, and dreaming about come to life.

But at the same time, I’m usually extremely exhausted and burned out too.

If you’ve followed any of the previous posts, you can appreciate how much work and time I have put into prepping all the different elements of the cake (about 19 hours at this point).  I begin to daydream of such things as store-bought fondant (just for a moment though because it is gross), industrial-sized kitchens, and possibilities of what I might create if I hadn’t had to make everything myself from scratch.  I queue up Cake Boss on Netfilx as my background noise where I continue to fantasize about working in a bakery where I have baked cakes, loads of pre-colored fondant, and sculptors to make my cake ideas come to life.

But back to reality.  I try to just be happy that I’ve made it to the decorating point with no major disasters and delve into “my cake zone.”  This is when all other necessities of life come to a screeching halt- dishes pile up in the sink, children parent themselves, and eating and drinking become non-essential.  Hours mean nothing as they slip by in a blink while I attempt to manipulate sugar into something it never knew it could be.  Honestly, “the zone” is a little weird and I’m sure it drives my family nuts because I viciously ignore them.  But otherwise, this sucker will NEVER get done.

And so the decorating begins…

This is a picture of my attempt in making a rock mountain peak to go on the top tier of the cake.  I carved a shape out of rice krispie treats and marbled some grey fondant for a rock-type affect.  Initially, it seemed like a good plan.

OLYMPUS DIGITAL CAMERA

However, after playing around for a while, I realized the mountain peak idea was going to be trickier than it seemed in concept.  First of all, the cereal treats were not very sturdy and the weight of the fondant caused it droop forward.  I also couldn’t figure out a good way to connect the mountain to the cake without it falling off in transport.  Eventually, I scrapped the mountain peak, fearing it would end in udder disaster.

OLYMPUS DIGITAL CAMERA

I moved on to making the rock face on the side of the tiered cake:

OLYMPUS DIGITAL CAMERA

Then I started creating a snow drift sweeping down the side of the mountain:

OLYMPUS DIGITAL CAMERA

More snow drifts and tufts of grass appear:

OLYMPUS DIGITAL CAMERA

Now the cake is starting to come to life and I am thrilled to get to put on shards of my blue ice candy as a border. A forest also starts to emerge on the other side of the cake:

OLYMPUS DIGITAL CAMERA

By this time, Micah and the kids had returned and Penny was just dying to help out.  She has become fairly skilled at rolling out fondant so I gave her a little project: cutting out snowflakes with my new cutters.  She did a great job and I even used a handful of her snowflakes on the cake (sometimes her creations get subtly swapped out…shhhh.)

OLYMPUS DIGITAL CAMERA

Suddenly, I realized that the entire afternoon was gone and we were pressing into the evening.  After almost 5 hours straight of staring at the cake, I knew I was reaching my limits and was going to need a break.  The idea of making dinner seemed about as appealing to me as someone sticking anchovies in my ears, but thankfully my dad had volunteered to make his special ramen soup (he adds lots of veggies, shrimp, chicken, and chili sauce, yum!). Co-living is the best.

Time Spent: 5 hours

In the meantime, I had been texting with my friend Molly and found out it was her boyfriend, Kevin’s birthday.  I could have known that information sooner since she had sent me a message at 8:00am…but I was a wee bit distracted, wasn’t I?  Molly and Kevin are regulars on our pub trivia team and they wanted to celebrate Kevin’s birthday with us at the Royal Hilltop Tavern.  Micah was dying for some of my attention and I needed a break- so onward to pub trivia!

But it was Kevin’s birthday…and even 30-somethings need birthday love…so why not make him a cake?

Honestly, I probably wouldn’t have said yes to making a cake with such short notice, but I had room temperature buttercream, a chocolate cake in my freezer, and all my cake tools handy.  I knew I could whip up a simple cake in about 30 minutes.  Here’s what I came up with:

OLYMPUS DIGITAL CAMERA

The best part of my day was seeing the happy look on Kevin’s face while he thoroughly enjoyed his huge slice of chocolate cake.  In fact, the whole trivia team loved it, but I slipped my piece to the waitress because I just couldn’t bear to have another gram of sugar enter my body.  Sometimes there can be too much of a good thing…especially if you are eating it all day long.  I left the pub a few minutes early with the great ambition of decorating a little more before bed, but once I saw the cake again, I knew I still needed a break.  Instead, I made a Frozen birthday banner (really just updating a fairy banner I had already) and cut out some templates for some birthday crowns.  Then I crawled into bed and slept as if I were dead.

Total time spent so far: Approx. 24 hours

Next post: Cake completion and party day! At last!

Side note: Thank you so much to Charissa Burns of Teal Owl Designs for my cute new logo!  You’re the best!

Disney Frozen Cake: Part III

Cake Day 5: Thursday, April 3rd

7:00am: One thing I really love about Denver are the freak days of snow.  They come in fast, dump a beautiful layer of white fluffiness, and melt off in a day or so.  This is what I woke up to this morning:

OLYMPUS DIGITAL CAMERA

Nothing in the world will put me in the mood to bake like a snowy day.  So I took this sight as a good omen for a cozy day of cake baking.  I know, you all just want to come over to my house now, drink hot cocoa, and bake delicious desserts with me.  Who wouldn’t want to spend a day like that?

Before I could start whipping up my cake batter, Ramona’s speech therapist, Anne, was due to come over for her weekly appointment.  Ramona was barely talking at her second birthday (she hardly said “Mama”), and though I wasn’t super concerned about it, the services are free and they come to my house, so why not give her a little advantage?  Anne loves Cake Boss and she actually bought a birthday cake from me for her daughter (Check out my Strawberry Shortcake Cake).  Half the time I’m up to my elbows in buttercream when she comes over, but today, I decided to stay out of the kitchen.  I couldn’t resist starting a party-related project though, so while Ramona played speech games, I started making a 3D snowflake for a party decoration.

It turned out like this:

OLYMPUS DIGITAL CAMERA

This was my second attempt because I made the first one out of copy paper and it didn’t have enough structure so I tried it again with cardstock.  It looks complicated but it’s actually simple to make, though I ended up spending most of my morning messing around with paper, scissors, and hot glue instead of cake batter. You can find great instructions here.

1:30pm:  Sometimes I absolutely cannot believe how fast Penny’s school day flies by, but by the time I finished the snowflakes, worked out, and ate lunch, my cozy snowy day was literally melting away.  Luckily Ramona’s naptime arrived and I was finally able to roll up my sleeves and get down to the real task at hand:

OLYMPUS DIGITAL CAMERA

Greasing, flouring, and lining my pans with parchment paper

OLYMPUS DIGITAL CAMERA

Sifting my dry ingredients

OLYMPUS DIGITAL CAMERA

Mixing the wet stuff

OLYMPUS DIGITAL CAMERA

And mixing the two friends together into sweet happiness

My chocolate cake recipe is really very simple, but was not found without a LOT of failures.  I think I must have tried out at least 10 chocolate cake recipes before I found “The One.”  Most of my troubles were with cakes falling because of the high elevation factor or being too dry.  But after months of frustration, I was surprised that instead of coming from a fancy cake book or food blog, my dream chocolate cake recipe comes straight from the Hershey’s website.  It has a deep, true, chocolate flavor, is incredibly moist and is nearly as simple as making a cake from a box.  You can find the recipe here, but I’ve posted my recipe with high elevation adjustments at the bottom of this post.  There, my secret is out (Why do I feel like I just told you I cheated on a test…?).

OLYMPUS DIGITAL CAMERA

Chocolate tower, yay!

Time Spent: 1.5 hours (including baking time)

While the cakes were cooling, I heard a little rap at the door and my heart skipped a beat because I knew my Amazon package had arrived with these little sweeties:

OLYMPUS DIGITAL CAMERA

Cake gadgets!  Arriving at my doorstep!  How could this day possibly get any better?

Well, cupcakes couldn’t hurt…

OLYMPUS DIGITAL CAMERA

Ok, wait, before you think I am insane for whipping up cupcakes on a whim, this picture should really be called: “Heather cleaning out her freezer.”  As usual, I had a freezer stuffed full of leftover baked goods and frosting, leaving very little room for my newly baked cakes.  And I had new fondant toys, so the conclusion was really very logical…for me at least (but I know some of you still think I’m weird).

The fam was very happy to have a tasty dessert after dinner, which was much appreciated since the whole house smelled so chocolatey, it was almost cruel to not have something sweet to offer them (imagine all the sad puppy dog eyes as they look and smell the cake they are not allowed to touch).  I packed up the rest to share with my girlfriends at my Bible study that night.  So though you may think I’m cake obsessed (oh wait, I am…), I was able to make room in my freezer, I got to play with my new fondant cutters, and everyone got a treat. Win-win-win!

9:00pm: After sharing the cupcakes, tea, and some much needed encouragement with my friends, I ran to the store on my way home to grab the last of my party supplies (cups, plates, streamers, etc.).  Cake Day #5, done.


Cake Day 6: Friday, April 4th

7:00am:  When your child enters Kindergarten, there are all sorts of rites of passage as a parent that you naturally step into, such as “Surviving the emotional rollercoaster of the first day of your baby growing up for real,” or “Helping your child deal with name calling,” or my personal favorite, “Rushing to school because your child has thrown up all over themselves in class.”  These are the moments that make you feel like you are entering a new phase of parenting, as having a child in school forces you to pull out all sorts of wisdom, patience, and, faking-like-you-know-how-to-handle-these-situations.

This morning, I was about to step into another grade-school-parent rite of passage: chaperoning a school field trip.

I was actually super excited to be a part of Penny’s field trip- I love having time to get to know her classmates and teachers better.  Penny goes to a wonderful school and I’ve really enjoyed all the staff and she’s had a good experience so far.  So I was pretty happy to have the opportunity to help out during their field trip to see the play, “Lyle the Crocodile” at the Arvada Center.

OLYMPUS DIGITAL CAMERA

Penny and her friend, Alexis on the bus

OLYMPUS DIGITAL CAMERA

The kids warming up their faces during their theater workshop

OLYMPUS DIGITAL CAMERA

Penny as “The Singing Bush” during her class impromptu performance of Hansel and Gretel

After a great theater workshop and lunch, I had the pleasure of sitting by Penny while she watched her very first play.  I was a happy mama.

Other than a kid throwing up on the bus during our ride home, it was a great day.  I know how that parent felt when they got the call….

Now, onto the cake!

8:30pm:OLYMPUS DIGITAL CAMERA

What you see above are the ingredients for my vanilla buttercream frosting.  So simple, yet again.  And yes, that is, ahem…2 1/2lbs of butter (10 sticks).  Hence, this picture explains why I must work out every day in order to be able to shop at a regular clothing store.

Just to be fair, this is a double batch of frosting, my cake is going to be huge, and I am bound to have leftovers.  But why should I justify?  We are talking about cake here, people, not bunny food!

OLYMPUS DIGITAL CAMERA

And no, you can’t gain weight just by looking at this picture

Time Spent: 15 minutes

9:00pm:  After making a cup of tea, I knew it was time to get down to business and make my last figurine: Elsa, the ice queen.  I used the same chibi-type tutorial as I did with Anna, making sure they were going to be about the same size.

OLYMPUS DIGITAL CAMERA

Elsa’s dress/torso

OLYMPUS DIGITAL CAMERA

 Forming Elsa’s hair (most time consuming part- they kind of look like little bananas, right?)

Micah jumped in at this point and helped by making rice krispie treats that I was going to carve into a mountain side on the top of the cake.  Of course, he’ll always help as long as he gets to eat half the pan.

OLYMPUS DIGITAL CAMERA

After two and half episodes of Friday Night Lights, Elsa was looking pretty good:

OLYMPUS DIGITAL CAMERA

 OLYMPUS DIGITAL CAMERA

 Hair is tricky, so I if I tried this figurine again, I might make some changes, but overall I was pretty happy.  Also, there was no way I was going to have time for a second attempt.  Blurry eyed, I stumbled off to bed, knowing the real challenge was coming the next morning as I was going to be putting everything together.  But sweet dreams for now…

Time Spent: 2 1/2 hours

Total time spent so far: 14.25 hours (not including time I have spent on other non-cake related party prep)

To be continued…

Hershey’s Deep Dark Chocolate Cake (with high elevation adjustments)

Just a funny note here: when I went to bake the cake on Thursday, I couldn’t find my paper copy of this recipe and so I went online to find the original.  Apparently Hershey has removed the high elevation adjustments from it’s website so I was totally freaking out.  Luckily I found my paper copy and so I am posting this for my fellow struggling high elevation baking friends and also for myself, just in case there is a fire 😉

Ingredients:

1 3/4 cups sugar

1 3/4 cups flour + 2TB

3/4 cup cocoa powder (I do use Hershey’s- not dutch processed)

1 1/4 tsp baking powder

1 1/4 tsp baking soda

1 tsp salt

2 eggs

1 cup milk +2TB

1/2 cup vegetable oil

2tsp vanilla extract

1 cup boiling water

Directions:

1.) Heat oven to 350F (Hershey’s recommends increasing the temp to 375F for high elevation, but I don’t find it necessary).  Grease, flour and line two 9-inch round pans or one 13x9x2 inch baking pan with parchment paper.  *I find this is a very large recipe and I often split it up into three 9 or 8 inch pans so I can have more layers for yummy fillings.

2.) Stir together sugar, flour, cocoa, baking powder, baking soda and salt in large bowl. Add eggs, milk, oil, and vanilla; beat on medium speed of electric mixer for 2 minutes.  Stir in boiling water (batter will be thin).  Pour batter into prepared pans.  *I usually use my stand mixer, but my picture shows me using a hand mixer because I doubled the recipe and it won’t fit in the bowl. Either will work just fine.

3.) Bake 30-35 minutes for round pans, 35-40 minutes for rectangle pan or until a wooden pick inserted in the center comes out clean.  Cool 10 minutes; remove from pans to wire racks.

DEVOUR!  Or, you know, frost it all pretty or something.

Disney Frozen Cake: Part II

Cake Day 3: Tuesday, April 1st

No early start on cake projects this morning- with Micah home from work this week, I do have to make sure to pay attention to him once in a while. I don’t want my cake obsession to result in spousal neglect.  So we spent the morning running errands together and playing tennis (he won, but just barely!).  The errands were cake related, however as we ran over to the Dollar Store for foamboard (for cake boards), Michael’s (for ribbon, food coloring, and luster dust), and Party City (for birthday party decorations).  I left Party City disgusted because every single Frozen party item was sold out, right down to the last balloon.  A quick search on Amazon for Frozen merchandise ($10.50 for 7 PAPER plates!!!) led me to decide homemade party decorations are going to be my only option if I want to stick with the theme.  I actually prefer homemade stuff, but we’ll see how much I can get done with the epic cake deadline also looming ominously closer.

Before we knew it, the time had come to pick up Penny from school and I hadn’t done a single thing on the cake.

“You may delay, but time will not.” -Benjamin Franklin

3:00pm: I knew I had exactly one hour to squeeze in a quick cake step before I had to leave for a volunteer banquet at work.  It was cake board action time:

OLYMPUS DIGITAL CAMERA

First, I marked my dimensions with a yard stick and cut out two pieces of foam board with an exacto knife.  I need a big board for this cake, so I made it rectangular.  Then I hot glued the two pieces together and glued a sparkling silver ribbon around the edge.

OLYMPUS DIGITAL CAMERA

Next, I colored about 2lbs of fondant sky blue, stopping before the color was entirely incorporated to give it a marbled, icy look.  I rolled out the fondant to about 1/4″ thick.

OLYMPUS DIGITAL CAMERA

To make the fondant stick, I spread a thin layer of uncolored piping gel with an offset spatula onto the prepared foamboard.

.OLYMPUS DIGITAL CAMERA

Finally, I carefully laid the fondant on the foam board and cut away the access fondant with a small knife.  This board has a few bubbles in it, but I think they will be entirely covered by cake anyway, so I’m ok with it not being perfect.

Time Spent: 1 hour

Feeling good about having finished one small project, I changed out of my powder-sugar dusted yoga pants and slipped into a cute purple cocktail dress.  Then off we sped to the SIE Film Center for the volunteer reception for Warren Village.

This is kinda embarrassing, but I was honored as the volunteer of the year for First Step, even though I am technically an employee.  I do all the birthday parties completely separate from my paid position though, so I’m actually a volunteer too. I didn’t really want any recognition, but the gesture was sweet. I’m so blessed to be in a season of life where I have time to volunteer where my passions are and to work with such incredible people.  Here I am with my awesome co-workers, Amy and Angie:

OLYMPUS DIGITAL CAMERA

 Love you, ladies!

Afterwards, Micah and I grabbed a leisurely dinner at The Three Lions, a British soccer pub a few blocks away from the film center.  To my delight, I commenced to beating him at our favorite board game, Ascension, for the first time ever.   It made up a little bit for losing at tennis earlier in the day.

10:00pm:  I was sleepy, battling heartburn, and really ready to head to my cozy bed, but I also wasn’t satisfied with having only completed one cake step.  Feeling a little more confident in candy-making, I decided I had just enough energy to make another batch of blue ice candy before I went to bed.

Watching a candy thermometer rise is very much like watching a kettle of water boil. It seems to take forever, especially when you are sleepy and feeling a tad impatient.  I got a little bored waiting so I started looking at Pinterest for free Frozen decor printouts, and suddenly my thermometer was reading over 300F, and I was totally freaking out.  I threw in the flavoring and color and quickly poured the sugar/corn syrup/water mixture onto my greased pan, crossing my fingers that I hadn’t just wasted precious sleep time to experience another candy making failure.

Luckily, no harm, no foul.  Turns out the recipe is pretty forgiving, and I got the same happy, blue ice-like results as my last attempt.  Also, I tried manipulating the sugar while it was still pliable and came up with some cones, spirals, and towers which should work great for Elsa’s ice castle:

OLYMPUS DIGITAL CAMERA

Then off to bed, glad to have accomplished one more small step towards Frozen cake awesomeness.

Time Spent: 45 minutes

Cake Day 4: April 2nd, 2014

Kid free day!  We have the incredible blessing of having live-in childcare help from their loving and wonderful Grandma Kiki and Grandbear (thanks Mom and Dad!).  I know, I’m completely spoiled- when we first moved to Denver, Micah and I went months at a time without getting a break from the kids together.  But now we are in a co-living situation with my parents and it surprisingly works beautifully for everyone.  We mutually help each other out in lots of different ways and the kids get to spend lots of time with their grandparents.  And the best bonus for us…free, more-than-willing childcare whenever my parents are available.  Truly, it’s a charmed life.

Anyway, Micah and I spent our date day at Matthews/Winters Park, which borders Red Rocks. We take the kids on lots of short hikes, but we used our child-free advantage to climb something with a little more elevation gain.  It was a bit cold and overcast (we have snow coming in tonight- normal for April in Colorado), but the weather held out for us and we still got a nice view:

OLYMPUS DIGITAL CAMERA

OLYMPUS DIGITAL CAMERA

 That’s Red Rocks amphitheater in the background. I swear, one of these days I’m just going to suck up the high ticket cost and go to a concert there.  It’s supposed to be one of the best concert venues in the country.  Someday…

But back to cake….

Time: 8:30pm

I had a goal to finish another figurine tonight, so I decided to work on Olaf, the adorable snowman from the movie.  I was excited to try a tutorial I found on Pinterest where Olaf looks like he is standing on one leg.  I usually stick to figurines who are stumpy or are sitting on their bottoms, but I thought I would challenge myself this time.

Here’s the happy snowman:

OLYMPUS DIGITAL CAMERA

“Hi everyone! I’m Olaf and I like warm hugs!”

I was so excited and pleased when he came out so well, that I thought I would show Micah the song Olaf sings about summer to celebrate (he hasn’t seen the movie yet).  I just ended up really, really annoying Micah…which was pretty humorous for me.  What’s not to love about Olaf?!

Guess I’ll have to wait for the girls to wake up in the morning to get someone to sing along with me to Olaf’s summer song.

Time Spent: 1 hour and 15 minutes (wow, way quicker than Anna!)

Total time spent so far: 10 hours

Tomorrow, let us commence the actual baking of the cake…


Disney Frozen Cake: A Photo Journal, Part I

Making a cake takes a lot of time, and I’ve got a whopper coming up this weekend.  It’s a chocolate cake with blackberry filling for a 5-year-old little girl at Warren Village who is crazy about the movie Frozen.  It’s going to be multi-tiered, includes several detailed figurines, and I’ll even be making an attempt at some homemade candy elements.  So basically, it’s going to be my life for the next few days.

I thought it might be fun to document each step of the cake making process and the craziness, frustration, and joy it brings to my life.  Though I will throw in some baking and decorating tips and recipes, the main point is for you all to get a little peak into my life and how I barely manage to juggle pulling one of these big cake projects off.  I also thought I would keep track of the actual time I spent on this project which is bound to be enlightening/embarrassing. At the end, I’ll be able to share a post about the birthday party too.  I absolutely can’t wait- this little girl didn’t get a birthday party last year and I want to make this party extra special for her!

Cake Day 1: Saturday, March 29th

8:30pm:  Girls were asleep and Micah dropped off to bed early, so I rolled up my sleeves to attempt my hand at making some hard candy to use for Elsa’s ice castle.  I thought I would attempt Sprinklebakes lovely looking icicle candy, even though the idea of candy making at high-altitudes has nearly given me nightmares in the past.  It was supposed to look like this:

Icicle candy-1

Apparently, the nightmares were well deserved because this is what mine looked like:

OLYMPUS DIGITAL CAMERA

Kinda reminds me of Venom from Spiderman, and it tastes just about as good as an alien symbiote might as well.  Does Pinterestfail, come to mind, anyone? Actually, I did find this on Pinterest so I should probably submit it as an entry- I can’t help busting up laughing when I look at these two pictures next to each other.

This recipe was made in the microwave, which I had reservations about anyway.  Microwaves vary quite a bit and with the high elevation factor, I had no way to adjust for our lower boiling temperature.  If you didn’t know, water actually boils at around 200F in Denver, whereas it boils at around 212F at sea level.  This makes candy-making a bit more challenging, but if I can use a candy thermometer, it’s fairly easy to make the necessary adjustments.

So, needless to say, this batch slid into the trash and I retreated to bed to read Game of Thrones.

Time spent: 1 hour


Cake Day 2: Monday, March 31st

9:00am:  Micah is on spring break this week, but Penny is back to school.  Because he is an awesome husband, he took Penny to school in the morning and went grocery shopping with Ramona so I could get a good start on the cake.  After a quick run (gotta do something to keep the weight off- I can’t resist licking the spoon…) a shower, and a cup of tea, I decided to give my ice candy another try.  This time I decided to try Sugarhero’s recipe for Blue Crystal Meth Rock Candy.  Weird name, I know- I guess it has something to do with the show Breaking Bad, which I have never seen.  But I’ve enjoyed her posts in the past and her pics looked like something that could work perfectly for an ice castle.

I started with my trusty candy thermometer and let the sugar, water, and corn syrup do it’s thing:

OLYMPUS DIGITAL CAMERA

After waiting patiently while enjoying another cup of tea, I ended up with this lovely, vanilla flavored concoction:

OLYMPUS DIGITAL CAMERA

 I broke it into pointy shards and I’m going to place them in a pattern on the top of the cake and hopefully it will look artsy, ice-like, and recognizable as a castle. We shall see…I also thought I might crush some of it and put it as a border around the bottom of the cake. I’ll probably need to make another batch in order to have enough for my purposes.  Success!

Time spent: 1 hour

10:45am: Micah returned from the grocery store with a very moody 2-year-old.  Honestly, Ramona seemed to miss Penny after having her around for a whole week, as her main complaint was that the cat wouldn’t play puppets with her.  After wiping some tears, I jumped into my next goal of the day: to make a gumpaste figurine of the character, Anna, from Frozen.

Though I do like to sculpt, human figurines are very intimidating and challenging.  Faces are very difficult to get right, especially when they are a specific character, not to mention realistic hands and accurate proportions.  So though I would love to be able to make something like this someday,

 1ddb38e0d3029bc26302af90e5748ac1

time, skill level, and fear have made me trend toward the easy way out: chibi-style.  If you aren’t familiar with this term, check out my Star Wars cake or my Spock cake.  The figurines I made on those cakes were modeled after some Japanese toys I found online. They are very cartoon-looking, with large heads and little bodies.  They are pretty adorable, and though they may not look realistic, people still recognize the characters.  And I love how they don’t have necks, noses, or other details that often come out weird if you aren’t a crazy sculpture genius.

So began my Anna chibi attempt.  First, (which always turns out to be WAY more time consuming than I think it will be), I had to color the gumpaste. Anna has tons of details so I needed 7 different colors before I could even start constructing her.

Here’s the process for “flesh” colored:

OLYMPUS DIGITAL CAMERA

A little pink…

OLYMPUS DIGITAL CAMERA

And a little orange…

 By then, Ramona had gained her composure and decided she wanted to do what Mommy was doing.  So I set her up next to me with her favorite activity: making “cakes” with playdough.

OLYMPUS DIGITAL CAMERA

OLYMPUS DIGITAL CAMERA

Here’s her finished figurine (that’s a wooden cupcake topper).  She was very proud 🙂

Finally, about an hour after I started, I ended up with my lovely little balls of color:

OLYMPUS DIGITAL CAMERA

To make Anna, I found a nice youtube tutorial for making a chibi with polymer clay, which translates pretty well to gumpaste/fondant.  I got through making her head and part of her hair and then had to take a long break in order to run some errands and pick up Penny from school.

After we got back, Micah decided to take a nap which left me with kid duty.  Honestly though, I intentionally ignore my children when I’m sculpting- I will not wipe their noses, help them find things, or mediate arguing.  Since I probably help them more than I should when I’m not busy, it’s really good practice for them to have problem solve.  If they can’t reach something, they have to get the stool. If they are hungry, they have to open the package themselves, etc.  Today they both decided to join me at the table and continue making playdough creations while we sang to the Frozen soundtrack on youtube.  Not a bad way to spend an afternoon.

A few hours later, I ended up with this:

OLYMPUS DIGITAL CAMERA

I needed to add her head covering because fondant doesn’t smooth out like clay does once there is a seam in it- the top of her head looked messy so I came up with the hood as a solution. Luckily Anna wears a hood sometimes in the movie!

Time Spent (including coloring of gumpaste): 4 hours

8:00pm:  After cleaning up my enormous mess left in the wake of Anna’s creation, a dinner of BLTs (with Micah’s home-cured and smoked bacon…nom, nom, nom), and storytime, I used my last little bit of motivation to bang out a few batches of fondant.

Melting marshmallows:

OLYMPUS DIGITAL CAMERA

Mixing the powdered sugar with the marshmallows:

OLYMPUS DIGITAL CAMERA

And kneeding the fondant to make it happy and smooth:

OLYMPUS DIGITAL CAMERA

And the result was two lovely balls of marshmallow goodness, ready and waiting to become the smooth snow-like covering for Elsa’s mountain:

OLYMPUS DIGITAL CAMERA

Notice the glass of wine?  Yes, I think that was well deserved at this point.  You can find my recipe for homemade marshmallow fondant here.

Time Spent: 1 hour

Total time spent so far:  7 hours (wow…and so far to go still. This is why I couldn’t do these kind of cakes if I had a real job).

Let’s see if I can be nearly as productive in the coming days!

P.S.  Just because this song has been stuck in my head for 3 days, you should get it stuck in your head too: Let It Go  It would make me feel better.